Inleiding
Use this guide to replace a cracked or malfunctioning top analog screen on your EOS 6D.
Wat je nodig hebt
-
-
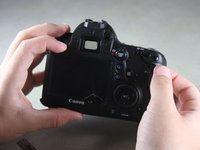
Remove the viewfinder cover by pinching the sides and sliding it upward.
-
-
-
Open the covers to the HDMI/AV/MIC ports on the side of the camera by gently pulling outward on the bottom of the covers.
-
Rotate the covers to the side so that you can see the connection ports inside.
-
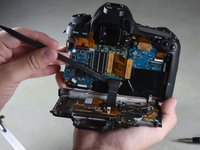
Remove the following screws:
-
Two silver 5mm Phillips #00
-
One black 6mm Phillips #00
-
-
-
Remove the 8mm Phillips #00 screw from the bottom of the front of the camera.
-
-
-
-
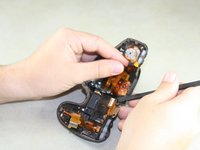
Use the pointed end of the spudger to flip up two silver ribbon wire latches on the inside of the top panel.
-


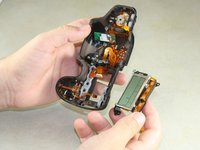
To reassemble your device, follow these instructions in reverse order.
To reassemble your device, follow these instructions in reverse order.
Annuleren: ik heb deze handleiding niet afgemaakt.
9 andere personen hebben deze handleiding voltooid.
Team

Cal Poly, Team 11-48, Amido Spring 2014 Lid van Cal Poly, Team 11-48, Amido Spring 2014
CPSU-AMIDO-S14S11G48
4 Leden
18 handleidingen geschreven
2 opmerkingen
any way to replace the sd card side panel without having to take the lcd panel off