Ga door naar hoofdinhoud
Word lid van de reparatiegemeenschap - Account aanmaken

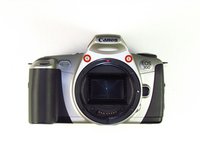
Canon EOS 300 Battery Door Replacement

Wat je nodig hebt

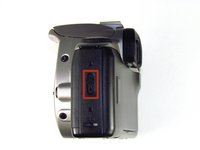
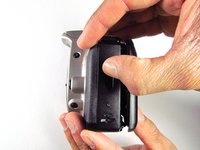
  1. Canon EOS 300 Battery Door Replacement, Batteries: stap 1, afbeelding 1 van 3 Canon EOS 300 Battery Door Replacement, Batteries: stap 1, afbeelding 2 van 3 Canon EOS 300 Battery Door Replacement, Batteries: stap 1, afbeelding 3 van 3
    • Open up the battery door.

    Vraag FixBot
  2. Canon EOS 300 Battery Door Replacement: stap 2, afbeelding 1 van 2 Canon EOS 300 Battery Door Replacement: stap 2, afbeelding 2 van 2
    • Remove the batteries from the camera by sliding them out into your palm.

    Vraag FixBot
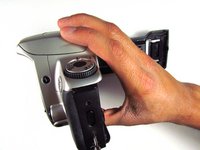
  3. Canon EOS 300 Battery Door Replacement, Side Panel with Lever: stap 3, afbeelding 1 van 2 Canon EOS 300 Battery Door Replacement, Side Panel with Lever: stap 3, afbeelding 2 van 2
    • Release the side latch to open the back panel.

    Vraag FixBot
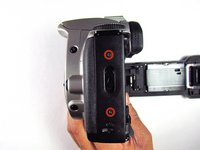
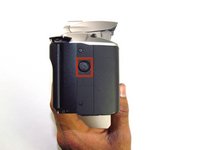
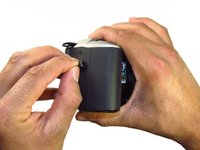
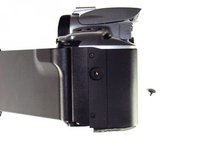
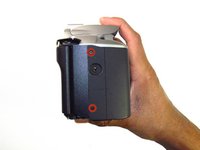
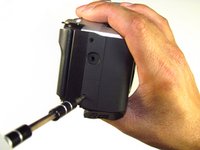
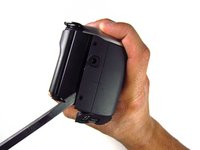
  4. Canon EOS 300 Battery Door Replacement: stap 4, afbeelding 1 van 2 Canon EOS 300 Battery Door Replacement: stap 4, afbeelding 2 van 2
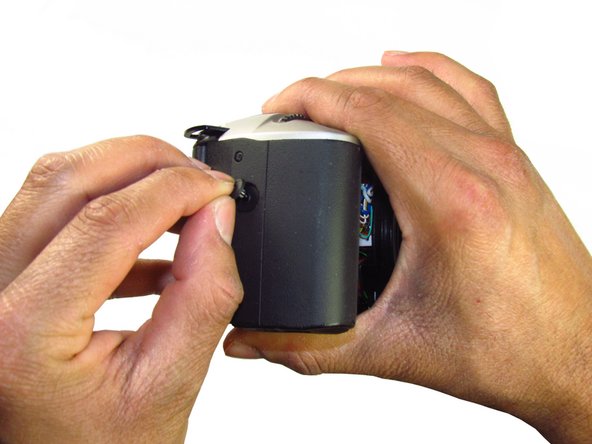
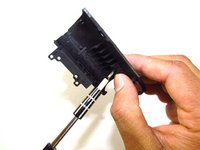
    • Remove the two black 4.5mm screws above and below the latch.

    Vraag FixBot
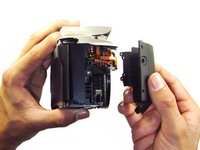
  5. Canon EOS 300 Battery Door Replacement: stap 5, afbeelding 1 van 2 Canon EOS 300 Battery Door Replacement: stap 5, afbeelding 2 van 2
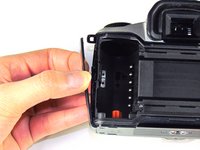
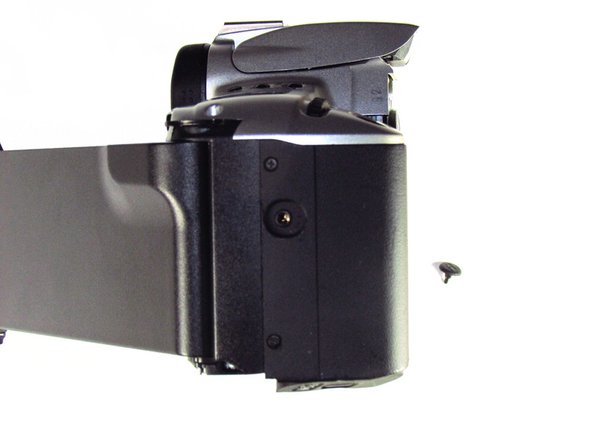
    • Using your finger, carefully pry open the side panel from the top of camera.

    • Pull panel downwards to remove.

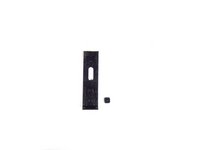
    • Make sure to keep track of the small black piece of rubber under the latch.

    Vraag FixBot
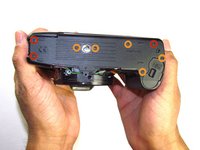
  6. Canon EOS 300 Battery Door Replacement, Front Panel: stap 6, afbeelding 1 van 2 Canon EOS 300 Battery Door Replacement, Front Panel: stap 6, afbeelding 2 van 2
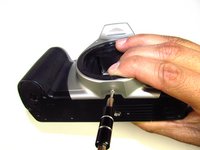
    • Remove the two silver 6mm Phillips #1 screws.

    Vraag FixBot
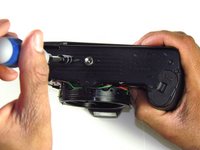
  7. Canon EOS 300 Battery Door Replacement: stap 7, afbeelding 1 van 2 Canon EOS 300 Battery Door Replacement: stap 7, afbeelding 2 van 2
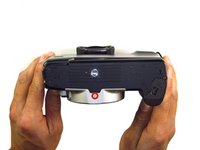
    • Flip camera over to the bottom.

    • Remove the one 5mm Phillips #1 silver screw.

    Vraag FixBot
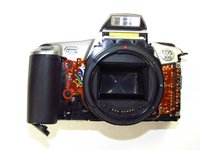
  8. Canon EOS 300 Battery Door Replacement: stap 8, afbeelding 1 van 2 Canon EOS 300 Battery Door Replacement: stap 8, afbeelding 2 van 2
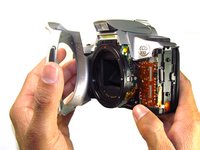
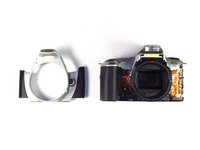
    • Remove the front panel by pulling away from the side with the lever.

    Vraag FixBot
  9. Canon EOS 300 Battery Door Replacement, Bottom Panel: stap 9, afbeelding 1 van 2 Canon EOS 300 Battery Door Replacement, Bottom Panel: stap 9, afbeelding 2 van 2
    • Remove three black 7.3mm Phillips #1 screws located on the corners of the camera.

    • Remove five black 4.8mm Phillips #1 screws.

    Vraag FixBot
  10. Canon EOS 300 Battery Door Replacement: stap 10, afbeelding 1 van 3 Canon EOS 300 Battery Door Replacement: stap 10, afbeelding 2 van 3 Canon EOS 300 Battery Door Replacement: stap 10, afbeelding 3 van 3
    • Simply remove the bottom panel by prying it off with your finger.

    • When removing the panel, be sure the bottom of the camera is facing upright. There are loose gears that may fall out.

    • Be wary of a loose piece of foam attached to the bottom panel.

    Vraag FixBot
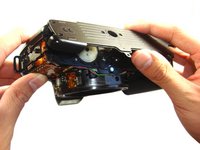
  11. Canon EOS 300 Battery Door Replacement, Side Panel with Grip: stap 11, afbeelding 1 van 3 Canon EOS 300 Battery Door Replacement, Side Panel with Grip: stap 11, afbeelding 2 van 3 Canon EOS 300 Battery Door Replacement, Side Panel with Grip: stap 11, afbeelding 3 van 3
    • Remove the remote control socket cover.

    Vraag FixBot
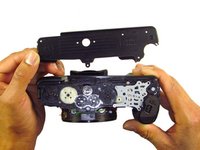
  12. Canon EOS 300 Battery Door Replacement: stap 12, afbeelding 1 van 2 Canon EOS 300 Battery Door Replacement: stap 12, afbeelding 2 van 2
    • Remove two black 4.5mm Phillips #1 screws.

    Vraag FixBot
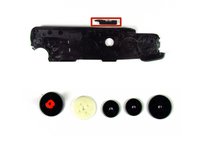
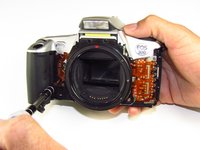
  13. Canon EOS 300 Battery Door Replacement: stap 13, afbeelding 1 van 2 Canon EOS 300 Battery Door Replacement: stap 13, afbeelding 2 van 2
    • Remove two black 4.8mm Phillips #1 screws on the front of the camera.

    Vraag FixBot
  14. Canon EOS 300 Battery Door Replacement: stap 14, afbeelding 1 van 2 Canon EOS 300 Battery Door Replacement: stap 14, afbeelding 2 van 2
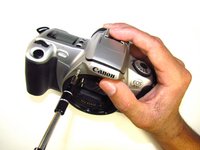
    • Pry open the side grip using a spudger.

    Vraag FixBot
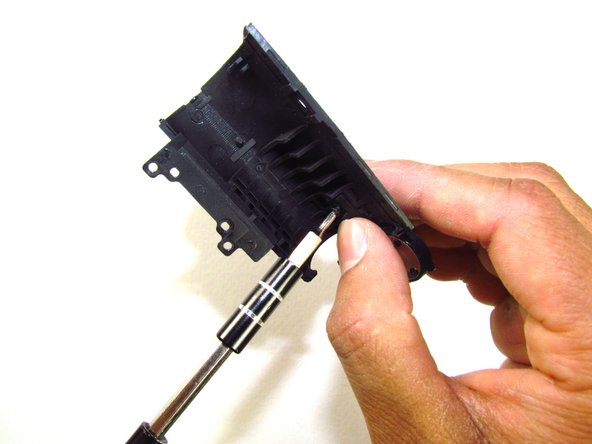
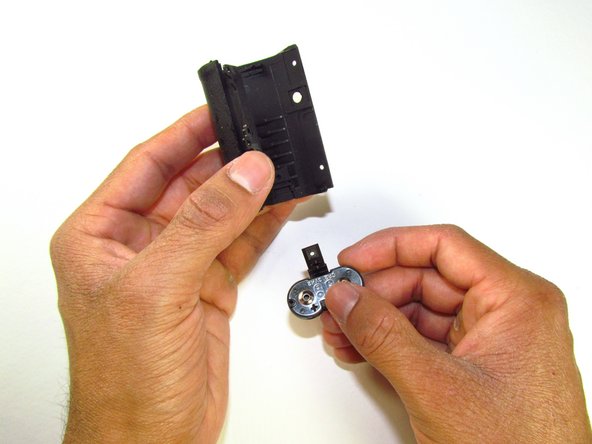
  15. Canon EOS 300 Battery Door Replacement, Battery Door: stap 15, afbeelding 1 van 3 Canon EOS 300 Battery Door Replacement, Battery Door: stap 15, afbeelding 2 van 3 Canon EOS 300 Battery Door Replacement, Battery Door: stap 15, afbeelding 3 van 3
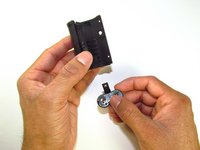
    • Remove one black 5mm Phillips #1 screw.

    Vraag FixBot
Conclusie

To reassemble your device, follow these instructions in reverse order.

4 andere personen hebben deze handleiding voltooid.

Jordan Tang

Lid sinds: 01/24/14

608 Reputatie

5 handleidingen geschreven

Team

Cal Poly, Team 6-20, Maness Winter 2014 Lid van Cal Poly, Team 6-20, Maness Winter 2014

CPSU-MANESS-W14S6G20

4 Leden

32 handleidingen geschreven

3Gids Commentaar

When reassembling, make sure to attach the spring shown in step 8 to the film back release mechanism. I missed this the first time I reassembled the camera and the release/close slide would not automatically close like it did before. I found keeping a finger over the bottom post and using the SIM removal bit to stretch the spring to the top of the slide was very useful. Overall great guide! Thanks for posting!

Cody Mull - Antwoord Deel

would there be a way to do it faster? i just need to attach a battery grip and am not comfortable with taking the whole camera apart just to unscrew 1 screw

sillyfy cz - Antwoord Deel

Thank you for this support.

Where can I find a new battery cover for the Canon EOS 300?

Mine is broken;

Do you have a website, please?

Best regards

Pierre-Yves Estors - Antwoord Deel

Voeg opmerking toe

Weergavestatistieken:

Afgelopen 24 uren: 5

Afgelopen 7 dagen: 24

Afgelopen 30 dagen: 121

Altijd: 3,091