Ga door naar hoofdinhoud
Word lid van de reparatiegemeenschap - Account aanmaken

CASIO CDP-230R Speaker Replacement

Wat je nodig hebt

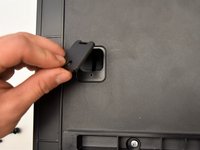
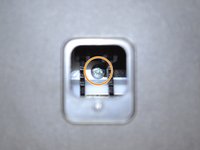
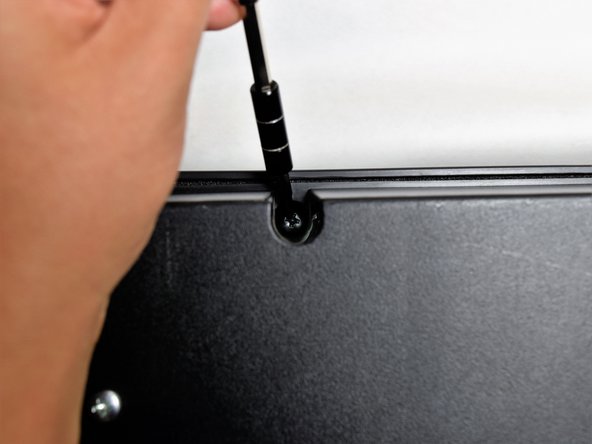
  1. CASIO CDP-230R Speaker Replacement, Panels: stap 1, afbeelding 1 van 3 CASIO CDP-230R Speaker Replacement, Panels: stap 1, afbeelding 2 van 3 CASIO CDP-230R Speaker Replacement, Panels: stap 1, afbeelding 3 van 3
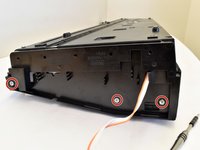
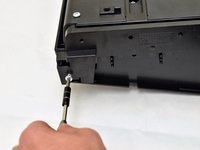
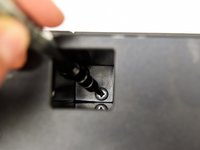
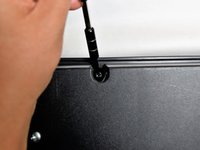
    • Flip the keyboard upside down, with the keys on a flat surface.

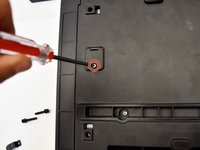
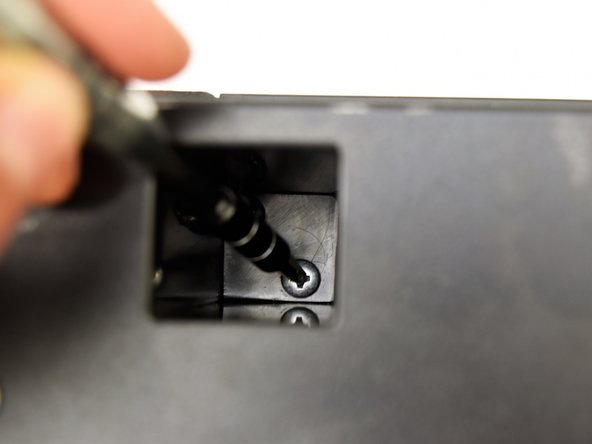
    • Remove the three black 14mm Japanese Industrial Standard (J) head screws using a J1 screwdriver on the top half of the outermost side panel.

    Vraag FixBot

    Voeg opmerking toe

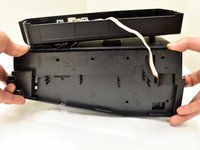
  2. CASIO CDP-230R Speaker Replacement: stap 2, afbeelding 1 van 3 CASIO CDP-230R Speaker Replacement: stap 2, afbeelding 2 van 3 CASIO CDP-230R Speaker Replacement: stap 2, afbeelding 3 van 3
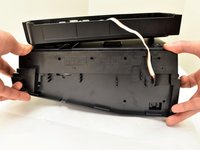
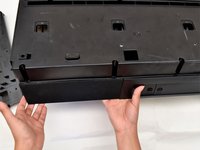
    • Use two hands to grab the side panel from both sides.

    • Pull the panel apart from the device one side at a time.

    • There will be popping sounds when you remove this panel.

    • One side panel will not have an orange & white cable connected to it.

    Vraag FixBot

    Voeg opmerking toe

  3. CASIO CDP-230R Speaker Replacement: stap 3, afbeelding 1 van 3 CASIO CDP-230R Speaker Replacement: stap 3, afbeelding 2 van 3 CASIO CDP-230R Speaker Replacement: stap 3, afbeelding 3 van 3
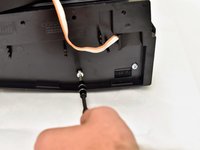
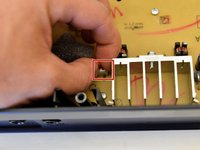
    • Remove the three silver 10mm screws with a J1 screwdriver on the bottom half of the innermost side panel of the device.

    • One side panel will not have an orange & white cable running through.

    Vraag FixBot

    Voeg opmerking toe

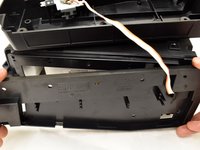
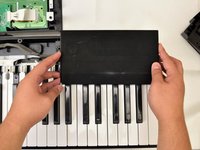
  4. CASIO CDP-230R Speaker Replacement: stap 4, afbeelding 1 van 3 CASIO CDP-230R Speaker Replacement: stap 4, afbeelding 2 van 3 CASIO CDP-230R Speaker Replacement: stap 4, afbeelding 3 van 3
    • Remove the innermost side panel by pinching the top and bottom of the panel and pulling the panel off with both hands.

    • There will be popping sounds when you remove this panel.

    • Repeat steps one through four to remove the other side panel of the keyboard.

    Vraag FixBot

    Voeg opmerking toe

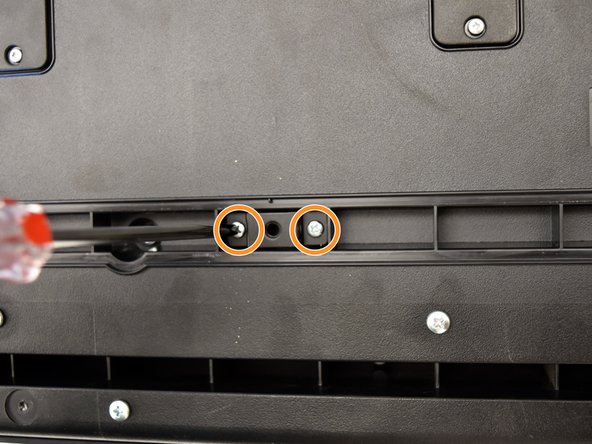
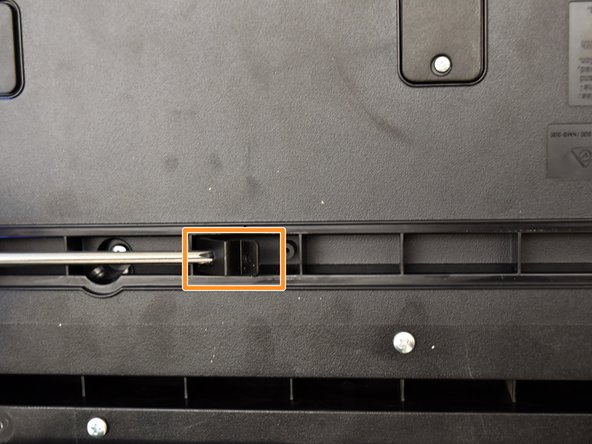
  5. CASIO CDP-230R Speaker Replacement: stap 5, afbeelding 1 van 3 CASIO CDP-230R Speaker Replacement: stap 5, afbeelding 2 van 3 CASIO CDP-230R Speaker Replacement: stap 5, afbeelding 3 van 3
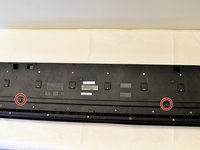
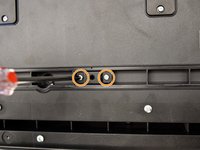
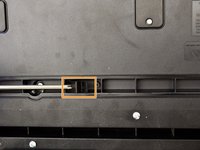
    • Remove the two black 30 mm J head screws with a J1 screwdriver to remove the long black bar.

    • Remove the four silver 8mm x 2mm J head screws with a J1 screwdriver and the two brackets from the back panel.

    • There will be two screws per bracket.

    Vraag FixBot

    Voeg opmerking toe

  6. CASIO CDP-230R Speaker Replacement: stap 6, afbeelding 1 van 3 CASIO CDP-230R Speaker Replacement: stap 6, afbeelding 2 van 3 CASIO CDP-230R Speaker Replacement: stap 6, afbeelding 3 van 3
    • Remove the eight silver 10mm x 1.5mm J head screws with a J1 screwdriver and the square tabs from the back panel.

    • Remove the eight silver 10mm J head screws with a J1 screwdriver underneath the square tabs.

    Vraag FixBot

    Voeg opmerking toe

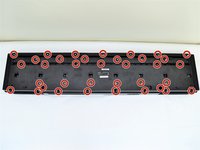
  7. CASIO CDP-230R Speaker Replacement: stap 7, afbeelding 1 van 3 CASIO CDP-230R Speaker Replacement: stap 7, afbeelding 2 van 3 CASIO CDP-230R Speaker Replacement: stap 7, afbeelding 3 van 3
    • Remove the 36 silver 10mm J head screws with a J1 screwdriver from the back panel.

    Vraag FixBot

    Voeg opmerking toe

  8. CASIO CDP-230R Speaker Replacement: stap 8, afbeelding 1 van 3 CASIO CDP-230R Speaker Replacement: stap 8, afbeelding 2 van 3 CASIO CDP-230R Speaker Replacement: stap 8, afbeelding 3 van 3
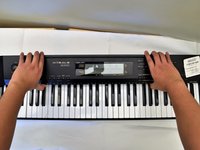
    • Place a hand on the front panel and speakers and carefully flip the keyboard over with the keys facing up.

    • Having a extra pair of hands will be useful.

    • Grab the center of the front panel with two hands and lift to remove panel.

    • Grab the speakers from the sides and lift to remove. Once you have done this for the first speaker, repeat with the second speaker.

    Vraag FixBot

    Voeg opmerking toe

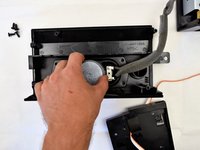
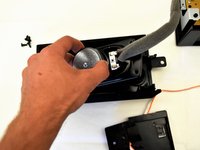
  9. CASIO CDP-230R Speaker Replacement, Speaker: stap 9, afbeelding 1 van 1
    • Lay the speaker flat on the table and remove the four black 10mm J head screws with a J1 screwdriver.

    • You may want to use a screwdriver with a bigger handle for a better grip to remove these screws.

    Vraag FixBot

    Voeg opmerking toe

  10. CASIO CDP-230R Speaker Replacement: stap 10, afbeelding 1 van 2 CASIO CDP-230R Speaker Replacement: stap 10, afbeelding 2 van 2
    • Grasp the speaker from the center and lift the speaker out of the panel.

    Vraag FixBot

    Voeg opmerking toe

  11. CASIO CDP-230R Speaker Replacement: stap 11, afbeelding 1 van 2 CASIO CDP-230R Speaker Replacement: stap 11, afbeelding 2 van 2
    • Follow the cable from the speaker to the button panel.

    • Pull the speaker cable out of the button panel with a slight wiggle.

    • Repeat steps nine through eleven to remove the other speaker.

    Vraag FixBot

    Voeg opmerking toe

Conclusie

To reassemble your device, follow these instructions in reverse order.

Annuleren: ik heb deze handleiding niet afgemaakt.

Irene Luong

Lid sinds: 10/02/17

314 Reputatie

1 Handleiding geschreven

Team

Cal Poly, Team S4-G2, Livingston Fall 2017 Lid van Cal Poly, Team S4-G2, Livingston Fall 2017

CPSU-LIVINGSTON-F17S4G2

4 Leden

6 handleidingen geschreven

1Gids Commentaar

What is the part number for the CDP-230r speaker replacement? I cannot find them online or through Casio. Thanks.

Oli Morgan - Antwoord Deel
Voeg opmerking toe

Weergavestatistieken:

Afgelopen 24 uren: 4

Afgelopen 7 dagen: 11

Afgelopen 30 dagen: 48

Altijd: 2,253