Ga door naar hoofdinhoud
Word lid van de reparatiegemeenschap - Account aanmaken
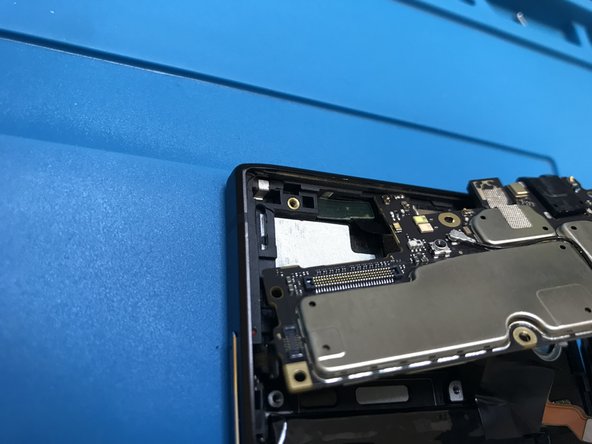
BlackBerry Key2 Disassembly

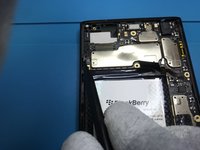
    1. BlackBerry Key2 Disassembly, Blackberry Key2: stap 1, afbeelding 1 van 3 BlackBerry Key2 Disassembly, Blackberry Key2: stap 1, afbeelding 2 van 3 BlackBerry Key2 Disassembly, Blackberry Key2: stap 1, afbeelding 3 van 3
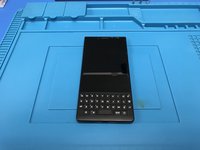
      • The start of our disassembly. Turn off your device before start.

      • Remove the sim card bracket.

      Vraag FixBot

      Voeg opmerking toe

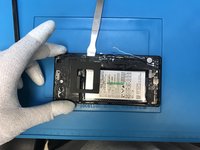
    2. BlackBerry Key2 Disassembly, Heating process: stap 2, afbeelding 1 van 3 BlackBerry Key2 Disassembly, Heating process: stap 2, afbeelding 2 van 3 BlackBerry Key2 Disassembly, Heating process: stap 2, afbeelding 3 van 3
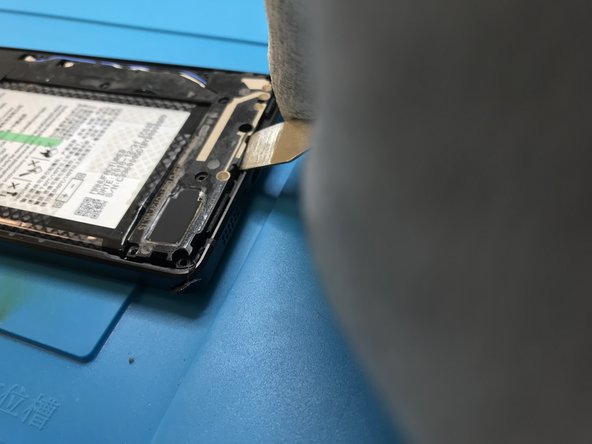
      • Apply heat to the back of the phone to remove the plastic cover.

      • With a pry tool of your preference start to lift up the back cover. Be careful on that part of the process.

      Vraag FixBot

      Voeg opmerking toe

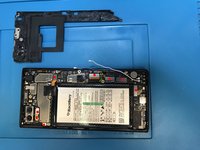
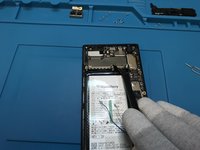
    3. BlackBerry Key2 Disassembly, Removing the screws: stap 3, afbeelding 1 van 3 BlackBerry Key2 Disassembly, Removing the screws: stap 3, afbeelding 2 van 3 BlackBerry Key2 Disassembly, Removing the screws: stap 3, afbeelding 3 van 3
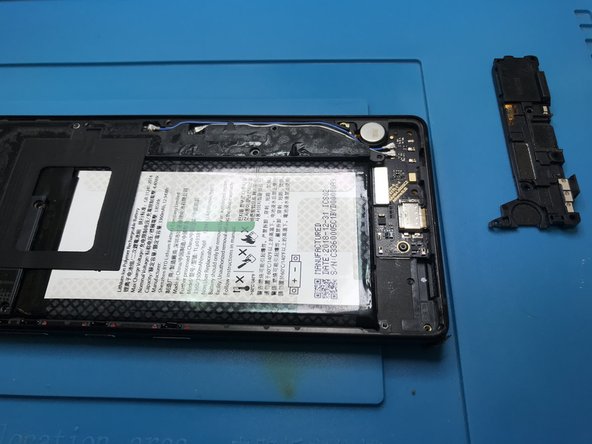
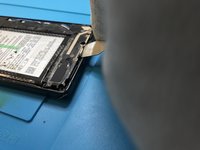
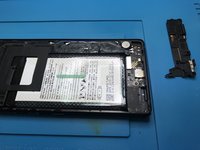
      • Remove all the screws.

      • Remove the loudspeaker module.

      Vraag FixBot

      Voeg opmerking toe

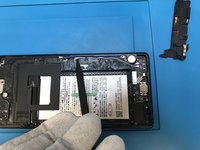
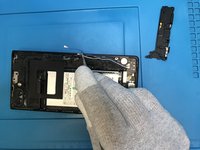
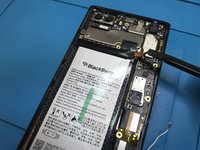
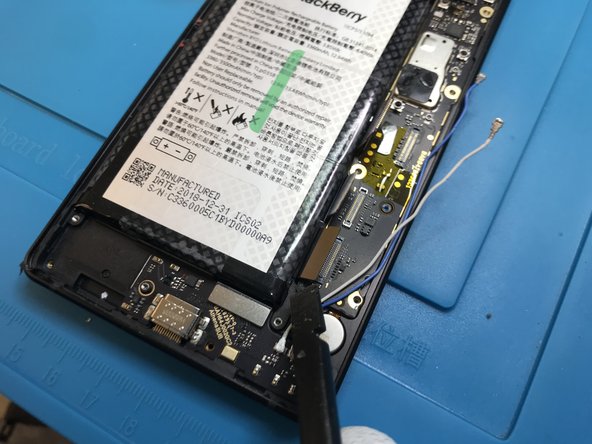
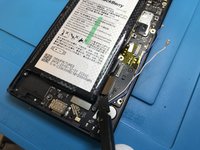
    4. BlackBerry Key2 Disassembly, Antenna cable: stap 4, afbeelding 1 van 3 BlackBerry Key2 Disassembly, Antenna cable: stap 4, afbeelding 2 van 3 BlackBerry Key2 Disassembly, Antenna cable: stap 4, afbeelding 3 van 3
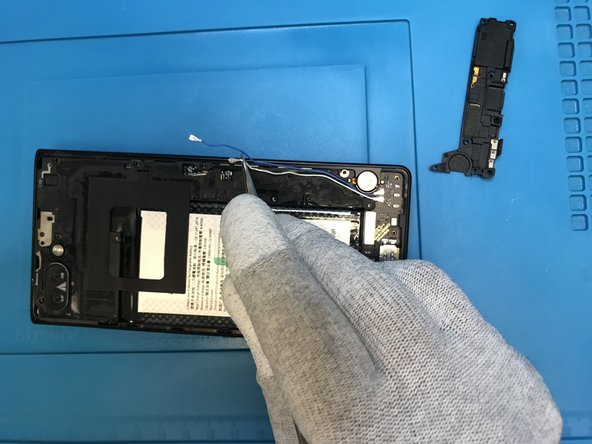
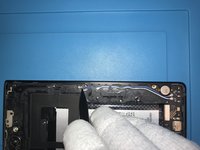
      • Use the point of a plastic spudger to lift the antenna cable connector up off of its socket on the logic board.

      Vraag FixBot

      Voeg opmerking toe

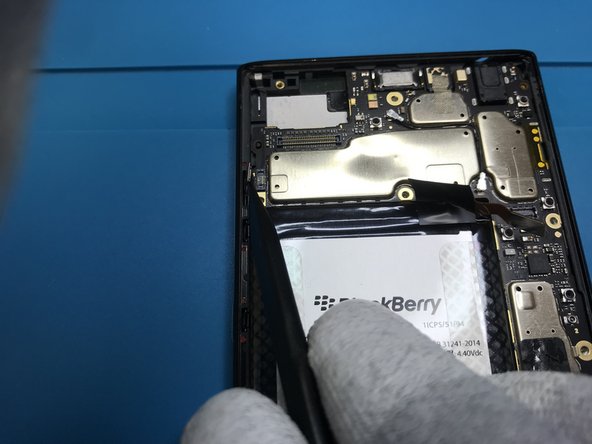
    5. BlackBerry Key2 Disassembly, Back bracket: stap 5, afbeelding 1 van 3 BlackBerry Key2 Disassembly, Back bracket: stap 5, afbeelding 2 van 3 BlackBerry Key2 Disassembly, Back bracket: stap 5, afbeelding 3 van 3
      • Be gentle lifting up the back bracket.

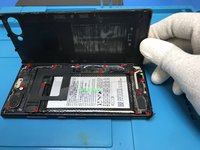
      • I marked in red all the flex cables connected on the motherboard. You got to remove them all.

      • Start disconnecting the battery flex cable.

      Vraag FixBot

      Voeg opmerking toe

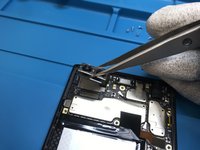
    6. BlackBerry Key2 Disassembly, Removing the flex cables: stap 6, afbeelding 1 van 3 BlackBerry Key2 Disassembly, Removing the flex cables: stap 6, afbeelding 2 van 3 BlackBerry Key2 Disassembly, Removing the flex cables: stap 6, afbeelding 3 van 3
      • Disconnect and remove the rear camera.

      • Then continue disconnecting the other flex cables.

      • Don't forget to use a plastic tool.

      Vraag FixBot

      Voeg opmerking toe

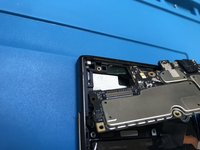
    7. BlackBerry Key2 Disassembly, Removing the motherboard.: stap 7, afbeelding 1 van 3 BlackBerry Key2 Disassembly, Removing the motherboard.: stap 7, afbeelding 2 van 3 BlackBerry Key2 Disassembly, Removing the motherboard.: stap 7, afbeelding 3 van 3
      • Disconnect all the flex cables.

      • Start from the bottom .

      • Lift up gentle and check the last photo,there's a little detail on the proximity sensor. You'll have to disconnect it after lift up the motherboard.

      • Observation : this way worked better for me without damaging the proximity sensor. It doesn't change anything try to heat up a little bit and removing it before remove the motherboard.

      Vraag FixBot

      Voeg opmerking toe

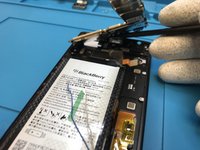
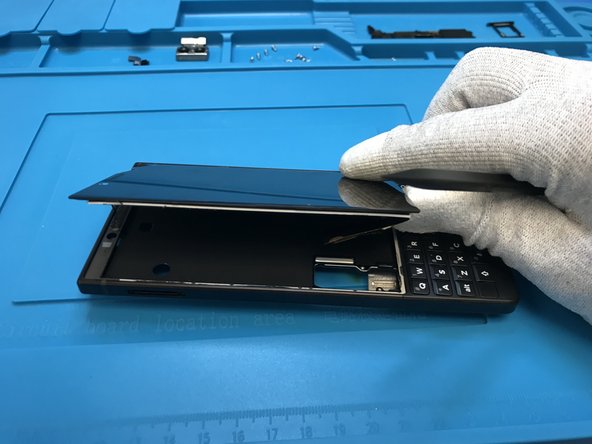
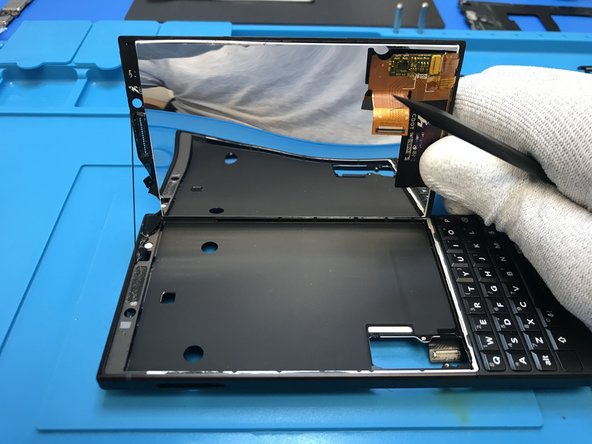
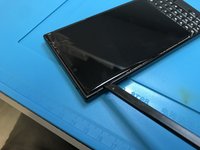
    8. BlackBerry Key2 Disassembly, Removing the LCD.: stap 8, afbeelding 1 van 3 BlackBerry Key2 Disassembly, Removing the LCD.: stap 8, afbeelding 2 van 3 BlackBerry Key2 Disassembly, Removing the LCD.: stap 8, afbeelding 3 van 3
      • Heat the LCD before lift.

      Vraag FixBot

      Voeg opmerking toe

    9. BlackBerry Key2 Disassembly, Final: stap 9, afbeelding 1 van 1
      • And we're done.

      Vraag FixBot

      Voeg opmerking toe

Conclusie

To reassemble your device, follow these instructions in reverse order.

Annuleren: ik heb deze handleiding niet afgemaakt.

15 andere personen hebben deze handleiding voltooid.

DouglasVinicio

Lid sinds: 09/27/18

1.711 Reputatie

1 Handleiding geschreven

4Gids Commentaar

The antenna connector on the daughter board can be broken off really easily. Pop off the connectors carefully. A hot air workstation will make quick work of re attaching tho.

Grant Marshall - Antwoord Deel
OMG that’s probably exactly what happened to me. now the phone does not receive network anymore any suggestions on what to do ?? i am quite certain i cannot get another antenna or board. do you think i can find a matching antenna from another phone entirely ???

Chinedu - Antwoord Deel

Thanks for this tear down! At what step can the battery be removed? It *appears* to be mid-step-5

charleslindsay - Antwoord Deel

Same her no Network so my Key2 ist useless :/

Christoph Alber - Antwoord Deel

Voeg opmerking toe

Weergavestatistieken:

Afgelopen 24 uren: 5

Afgelopen 7 dagen: 21

Afgelopen 30 dagen: 138

Altijd: 18,465