Deze vertaling is door een computer gegenereerd en is nog niet door iemand nagekeken. Spreek je deze taal? Bekijk het hier.
Inleiding
Deze handleiding beschrijft het gebruik van een 2.0 mm inbussleutel om de behuizing te openen, evenals een pincet om het moederbord los te koppelen en te verwijderen. Hiermee krijgt u toegang tot de batterij die zich onder in de behuizing bevindt.
Wat je nodig hebt
-
-
-
Zet het apparaat op zijn zijkant zodat de antenne zich aan de bovenkant bevindt.
 Vraag FixBot
-
-
Gereedschap gebruikt in deze stap:Tweezers$4.99
-
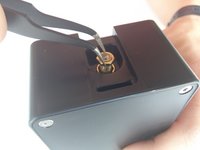
Gebruik het pincet om de hals van de antenne vast te pakken (het deel dat zich het dichtst bij het apparaat bevindt).
-
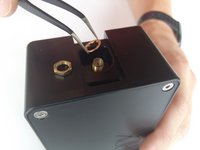
Gebruik je andere hand om de behuizing van de antenne los te draaien.
-
-
-
-
-
Verwijder de vier schroeven (4 mm inbus) op de hoeken van het apparaat met een inbus 2.0-schroevendraaier.
-
-
-
-
-
Verwijder de moer en sluitring van de RF-(kabel)aansluiting, op de plek waar de antenne was aangesloten.
-
-
Gereedschap gebruikt in deze stap:Tweezers$4.99
-
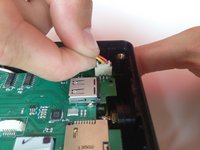
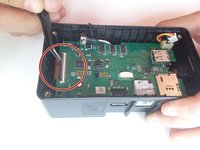
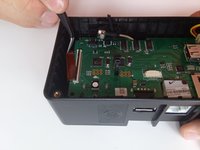
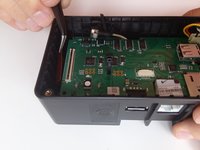
Steek voorzichtig de pincet onder het zwarte lipje en til op om de klem los te maken.
-
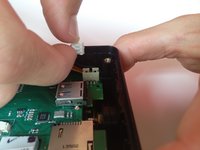
Schuif de lintkabel onder de klem vandaan om het moederbord vrij te maken.
-
-
-
Verwijder de buitenste rubberen afdekkingen door ze uit hun positie te tillen.
-
-
-
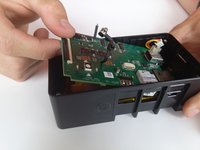
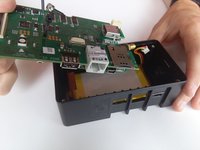
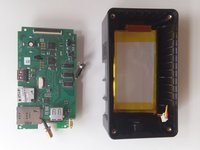
Til het moederbord langzaam uit het apparaat door het op te tillen vanaf het uiteinde naast de lintkabelverbinding.
-
Til het op en trek het uit zijn behuizing.
-
-
-
-
-
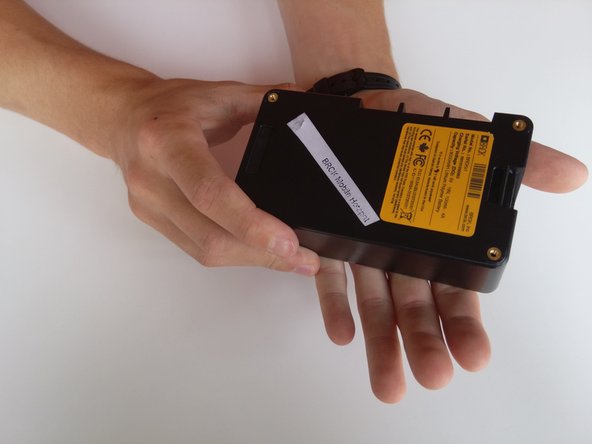
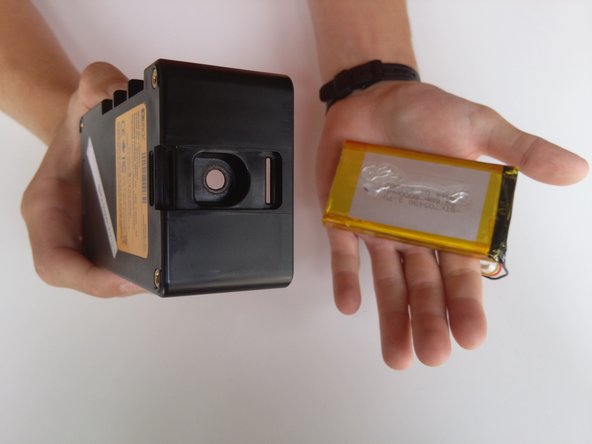
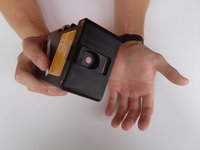
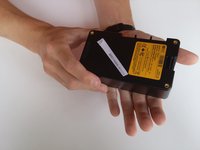
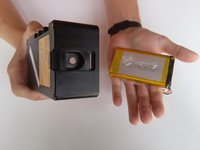
Draai het apparaat ondersteboven. Houd het apparaat vast en tik in je andere hand met wisselende kracht om de accu in het vouwgedeelte te verwijderen.
-
-









Volg deze instructies in omgekeerde volgorde om uw apparaat weer in elkaar te zetten.

Team

Cal Poly, Team 12-3, Lancaster Spring 2015 Lid van Cal Poly, Team 12-3, Lancaster Spring 2015
CPSU-LANCASTER-S15S12G3
3 Leden
84 handleidingen geschreven
