Wat je nodig hebt
-
-
Use the plastic opening tool or black spudger tool to lift the back panel off the tablet.
-
-
-
-
The speaker will be attached by 2 screws with 3.75mm and 3.81mm at the bottom of the plastic holding the speaker in. These 2 screws will need to be removed in order to replace the speaker with a pentalobe screwdriver.
-
-
-
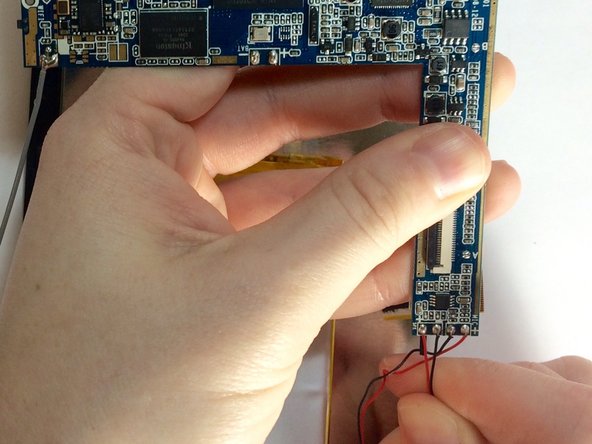
Once the screws are removed, you should fully desolder the speaker wires that are attached to the motherboard. Instructions on how to desolder these wires are here on ifixit: Hoe moet je (de-)solderen?
-


To reassemble your device, follow these instructions in reverse order.
To reassemble your device, follow these instructions in reverse order.

Team

USF Tampa, Team 4-5, Brown Winter 2015 Lid van USF Tampa, Team 4-5, Brown Winter 2015
USFT-BROWN-W15S4G5
3 Leden
12 handleidingen geschreven