Inleiding
This guide is used to provide step-by-step instructions for performing the replacement of
the Velocity PCB on the AT-LP120XUSB or AT-LP120XBT-USB. This procedure is used to resolve the following issues: 1) Inconsistent or no functionality when the Start/Stop button is pressed or On/Off dial is engaged. 2) Flickering red lights on power and speed switches.
No soldering is required to perform this repair.
The Velocity PCB part number is 704-120X-C057 and can be purchased directly through the Audio-Technica Parts Department: (330)686-3153 ext.5002 || parts@tli-atus.com
Wat je nodig hebt
-
-
-
Disconnect any cables from the rear of the turntable and move it to a clear surface.
-
With the turntable facing you, remove the following accessories and tie down the tonearm:
-
Dust Cover & Hinges
-
Black felt mat
-
Platter
-
Headshell & Counterweight
-
45 Adapter
 Vraag FixBot
-
-
-
Using a #PH1 Screwdriver, remove the 13 screws marked
-
Using a #PH0 Screwdriver, remove the 2 screws marked.
-
-
-
-
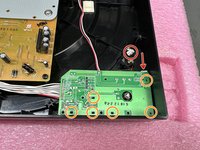
With the bottom panel removed, locate the Velocity PCB.
-
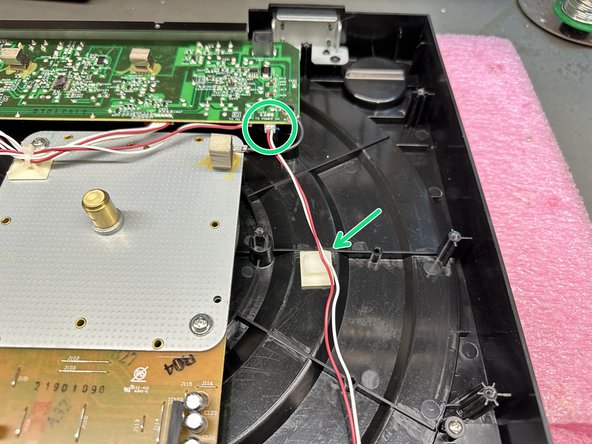
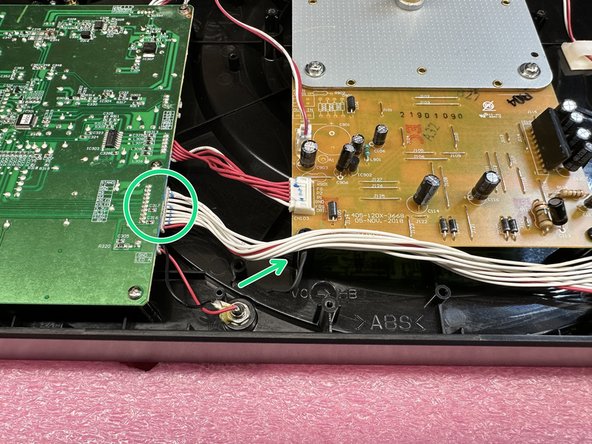
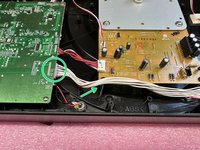
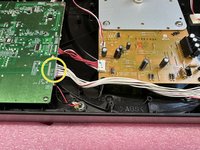
Locate the 3 connectors, and remove them from their corresponding PCBs.
-
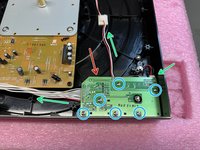
Using a #PH0 screwdriver, remove these 6 screws.
-
-
-
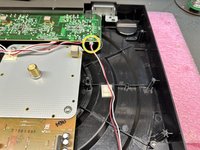
Before mounting the 6 screws, plug in the short connector to the Velocity PCB.
-
Mount the Velocity PCB using the guide post, and secure it with the 6 screws.
-
Connect the 2 longer leads to their corresponding PCBs.
-
-
-
Place the bottom cover back on.
-
Using a #PH1 Screwdriver, secure the bottom cover with the 13 longer screws.
-
Using a #PH0 Screwdriver, secure the bottom cover with the 2 shorter screws.
-
-





Once the repair is completed, put all of your accessories back onto the turntable and reconnect any cables you were using.
For assistance balancing your tonearm, follow the guide attached below.

