Deze vertaling is door een computer gegenereerd en is nog niet door iemand nagekeken. Spreek je deze taal? Bekijk het hier.
Inleiding
Deze handleiding laat zien hoe je het scherm van een Asus ZenBook UX303U-laptop vervangt.
Wat je nodig hebt
-
-
-
Verwijder de twee ronde, rubberen voeten aan de scharnierkant van de laptop.
 Vraag FixBot
-
-
-
Verwijder de elf 4 mm lange Phillips #00 schroeven uit het achterste paneel.
-
-
-
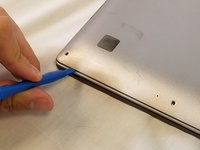
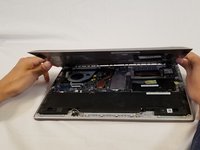
Wrik het achterste paneel los van de laptop met behulp van een plastic openingstool.
-
-
-
-
-
-
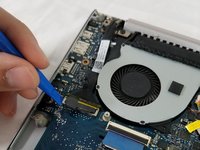
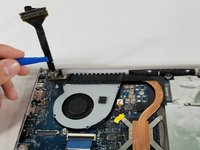
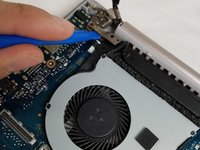
Verwijder de kabel die de schermmodule met het moederbord verbindt.
-
-
-
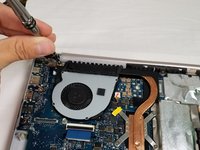
Verwijder de drie 4 mm Phillips #00-schroeven in het scharnier om de moederbordventilator los te maken.
-
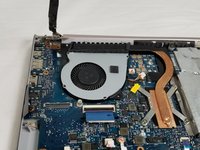
Til het scharnier omhoog.
-
-
-
Verwijder de drie Phillips #00-kruiskopschroeven waarmee het scharnier aan het I/O-bord is bevestigd.
-
-
-
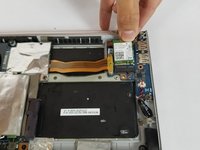
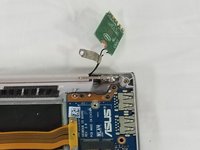
Verwijder de wifi-kaart door deze recht uit de (kabel)aansluiting te trekken.
-
-
-
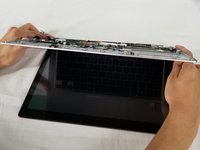
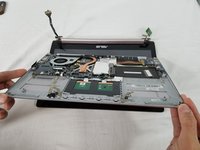
Til het volledige onderste samenstel omhoog en van de scharnieren af die het op zijn plek houden.
-
-










Volg deze instructies in omgekeerde volgorde om je apparaat weer in elkaar te zetten.
Annuleren: ik heb deze handleiding niet afgemaakt.
8 andere personen hebben deze handleiding voltooid.

Team

USF Tampa, Team S3-G5, Nance Spring 2018 Lid van USF Tampa, Team S3-G5, Nance Spring 2018
USFT-NANCE-S18S3G5
3 Leden
60 handleidingen geschreven
7Gids Commentaar
If anyone knows of a good, reliable source to buy a replacement screen assembly let me know, please. I have a 303U with the 1800 screen and I accidentally sat something heavy enough on top of the laptop to crack the screen on the right-third of the screen. I can’t use half of the touch screen and it’s fairly obvious depending on the color/brightness of the content I’m looking at. Would like to be able to replace this and these steps are pretty easy for me to follow so I’m confident I can have a newish looking laptop again if I can find a replacement screen.
Hi ! Did you manage to find one? I’m trying to do the same thing :)
The bottom of the pictured device may feature Phillips #00 screws, but I also have this laptop and the screws around the edge of the bottom panel are Torx T5s on my device.
Same here, asus ux303u screen side hinge is stuffed. But I think it may actually be the plastic screen cover itself where the hinge attaches, not just the hinge.
