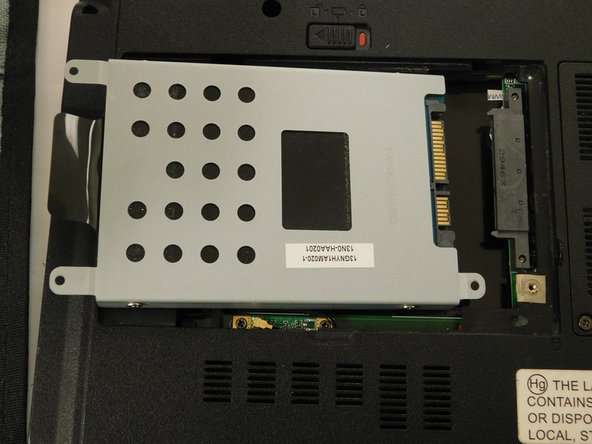
Ga door naar hoofdinhoud

Asus UL30VT-A1 Hard Drive Replacement

Wat je nodig hebt

  1. Asus UL30VT-A1 Hard Drive Replacement, Hard Drive: stap 1, afbeelding 1 van 1
    • Flip your device so that the back of the device is facing you.

  2. Asus UL30VT-A1 Hard Drive Replacement: stap 2, afbeelding 1 van 2 Asus UL30VT-A1 Hard Drive Replacement: stap 2, afbeelding 2 van 2
    • Remove the four screws using your Phillips #0 screwdriver to attain access to your Hard Drive.

    • Remove the panel using a plastic opening tool.

  3. Asus UL30VT-A1 Hard Drive Replacement: stap 3, afbeelding 1 van 2 Asus UL30VT-A1 Hard Drive Replacement: stap 3, afbeelding 2 van 2
    • Gently pull the black strip and the Hard Drive should slide right off. Pull your hard drive to the side not up to avoid damage to the slot.

Conclusie

To reassemble your device, follow these instructions in reverse order.

Één andere persoon heeft deze handleiding voltooid.

Miguel Gonzalez

Lid sinds: 02/04/19

97 Reputatie

1 Handleiding geschreven

Team

Gateway, Team S1-G2, Saknee Spring 2019 Lid van Gateway, Team S1-G2, Saknee Spring 2019

GCC-SAKNEE-S19S1G2

5 Leden

3 handleidingen geschreven

0 opmerkingen

Voeg opmerking toe

Weergavestatistieken:

Afgelopen 24 uren: 0

Afgelopen 7 dagen: 2

Afgelopen 30 dagen: 8

Altijd: 213