Inleiding
Is the camera on your Asus Transformer Pad Infinity broken? Follow this guide for instructions on how to replace the camera in your Asus Transformer Pad tablet.
Wat je nodig hebt
-
-
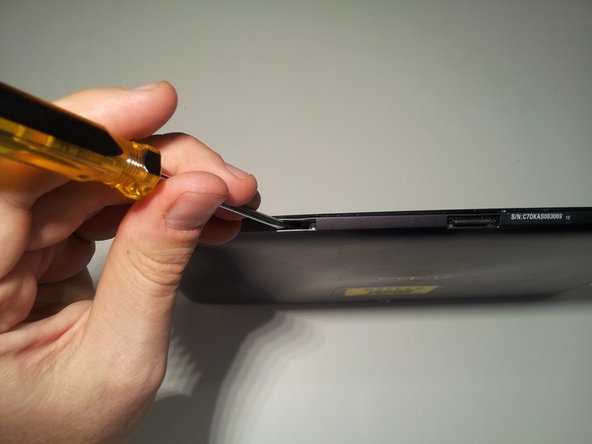
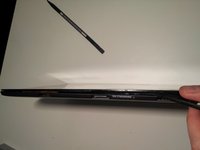
Insert a small flat head screwdriver into the 2 docking station guide ports on the bottom of the tablet.
-
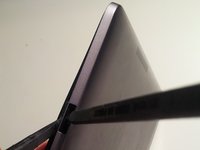
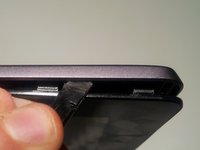
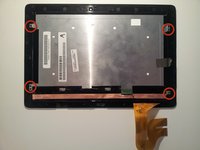
Unlock screen casing tabs
-
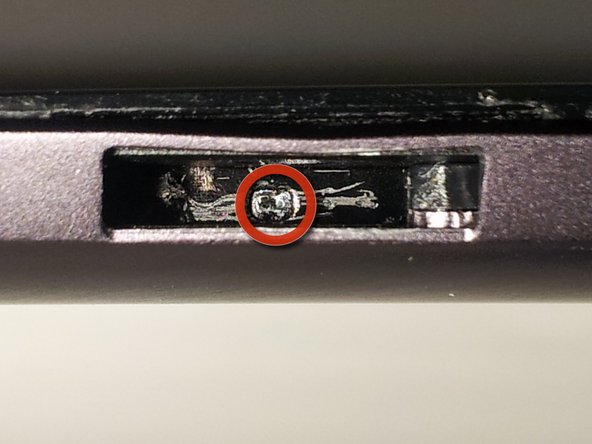
Push tab with screwdriver to the right until it clicks
-
You should see a small arrow in the bottom of the port
-
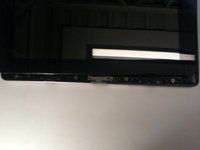
Unlock the tabs in both docking station guide ports.
-
-
-
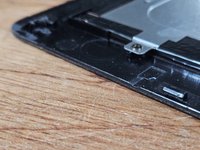
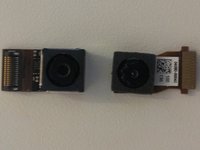
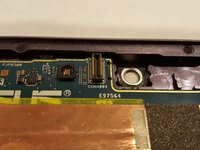
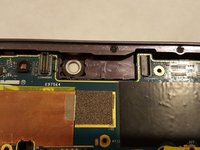
To remove the front facing camera (right):
-
Use your spudger to unlock the ribbon cable
-
Slide the camera out
-
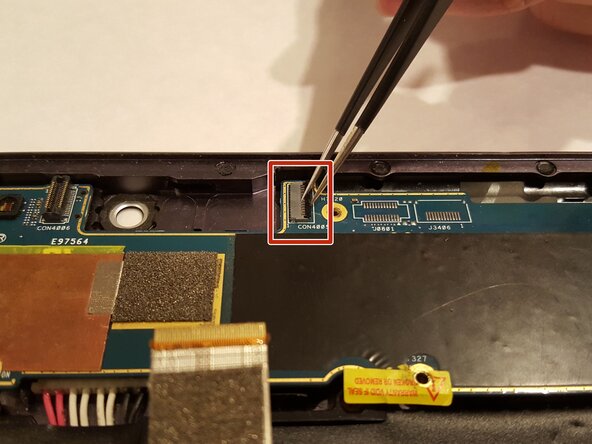
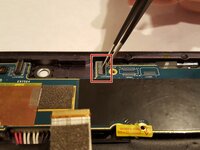
To remove the rear facing camera (top):
-
Apply light lifting pressure to unplug it from it's socket
-
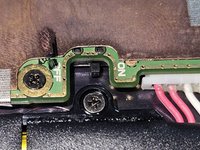
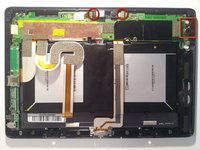
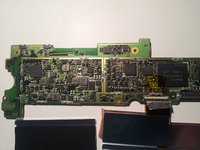
Remove the backup battery on the right side:
-
Unplug the cable from the motherboard with your spudger
-
-
-
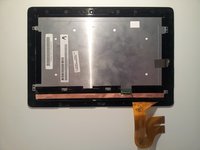
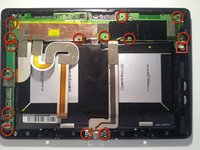
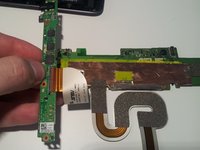
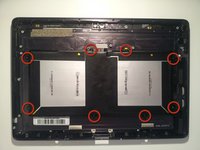
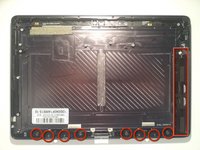
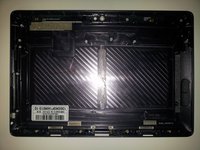
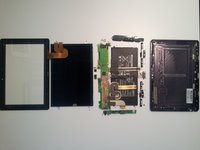
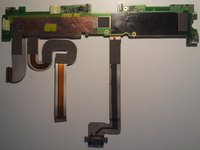
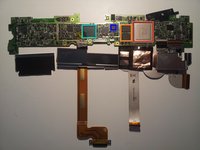
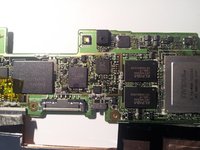
Remove the motherboard, daughterboard, and dock connector
-
Unscrew 14 points
-
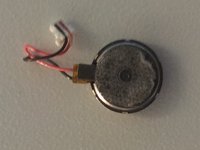
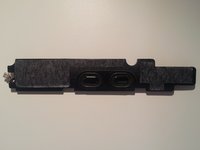
Unplug the speaker from the motherboard before removing it
-
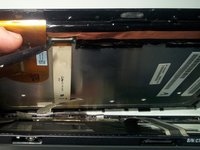
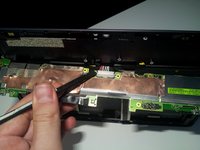
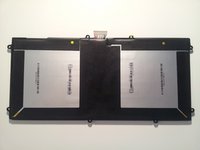
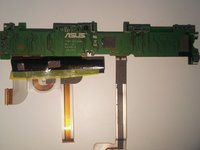
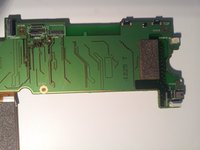
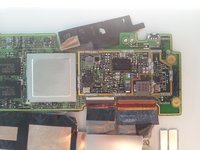
Reveal the battery connector:
-
Flip the motherboard from the top edge of the tablet down (towards the battery).
-
Unplug with light pressure from your spudger.
-
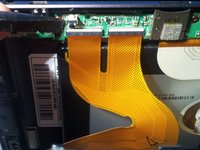
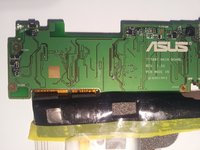
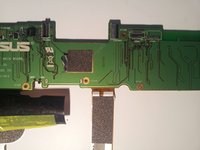
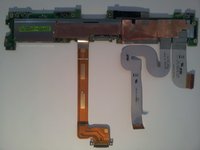
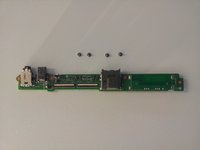
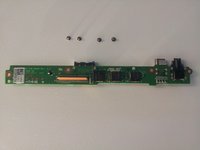
Disconnect the motherboard from the daughterboard:
-
Unlock the ribbon cable on the back side of the daughterboard
-


To reassemble your device, follow these instructions in reverse order. Take your e-waste to an R2 or e-Stewards certified recycler.

Team

UMass Dartmouth, Team 5-1, Gulbrandsen Fall 2015 Lid van UMass Dartmouth, Team 5-1, Gulbrandsen Fall 2015
UMASSD-GULBRANDSEN-F15S5G1
3 Leden
10 handleidingen geschreven