Ga door naar hoofdinhoud
Word lid van de reparatiegemeenschap - Account aanmaken

Asus ROG Strix GL702VS Trackpad Replacement

Wat je nodig hebt

    1. Asus ROG Strix GL702VS Trackpad Replacement, Back Cover: stap 1, afbeelding 1 van 1
      • Flip the computer so the bottom of the laptop is facing up.

      Vraag FixBot
      Voeg opmerking toe

    2. Asus ROG Strix GL702VS Trackpad Replacement: stap 2, afbeelding 1 van 1
      • Remove the ten JIS #0 screws around the edge of the laptop.

      • The two bottom screws are slightly shorter

      Vraag FixBot

      Voeg opmerking toe

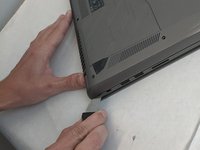
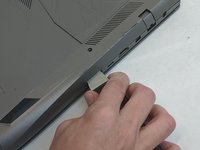
    3. Asus ROG Strix GL702VS Trackpad Replacement: stap 3, afbeelding 1 van 2 Asus ROG Strix GL702VS Trackpad Replacement: stap 3, afbeelding 2 van 2
      • Use a Jimmy to carefully free each side of the bottom casing.

      Vraag FixBot

      Voeg opmerking toe

    4. Asus ROG Strix GL702VS Trackpad Replacement: stap 4, afbeelding 1 van 1
      • Lift up the back casing from the computer.

      • You may hear clicking or snapping sounds. This is just the plastic clips coming loose.

      Vraag FixBot
      Voeg opmerking toe

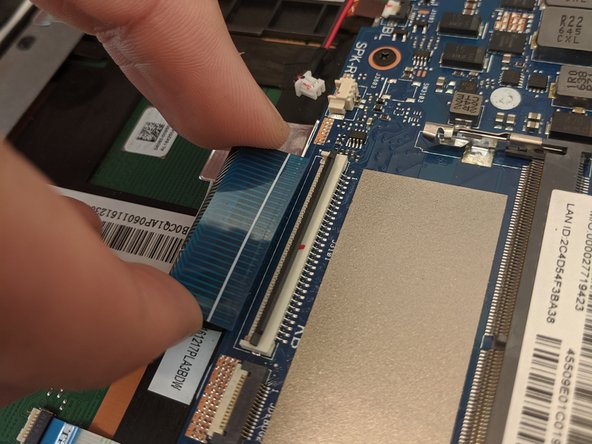
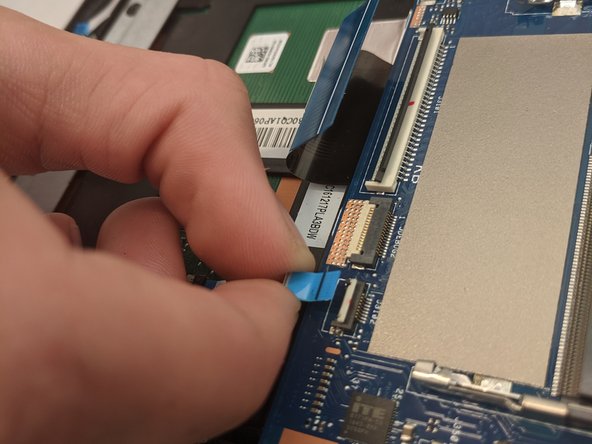
    1. Asus ROG Strix GL702VS Trackpad Replacement, Trackpad: stap 5, afbeelding 1 van 3 Asus ROG Strix GL702VS Trackpad Replacement, Trackpad: stap 5, afbeelding 2 van 3 Asus ROG Strix GL702VS Trackpad Replacement, Trackpad: stap 5, afbeelding 3 van 3
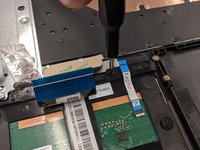
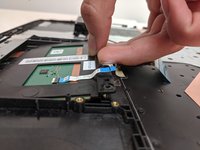
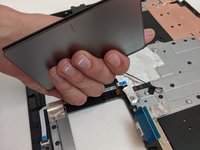
      • Disconnect the ribbon cables from the connectors at the bottom of the motherboard by lifting up the tabs with a nylon spudger tool.

      • Slide the ribbon cables out of the connectors on the motherboard.

      Vraag FixBot
      Voeg opmerking toe

    2. Asus ROG Strix GL702VS Trackpad Replacement: stap 6, afbeelding 1 van 2 Asus ROG Strix GL702VS Trackpad Replacement: stap 6, afbeelding 2 van 2
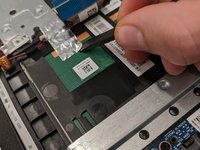
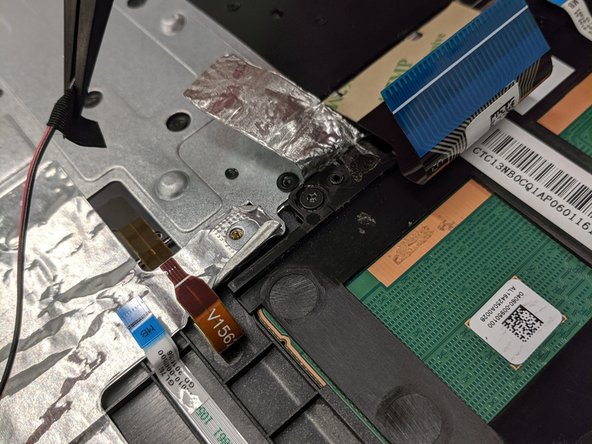
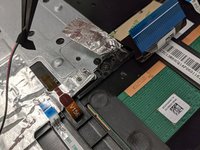
      • Remove the covering foil holding the trackpad into place.

      • Completely peel the foil back to ensure it does not interfere with the following processes.

      Vraag FixBot

      Voeg opmerking toe

    3. Asus ROG Strix GL702VS Trackpad Replacement: stap 7, afbeelding 1 van 2 Asus ROG Strix GL702VS Trackpad Replacement: stap 7, afbeelding 2 van 2
      Gereedschap gebruikt in deze stap:
      Tweezers
      $4.99
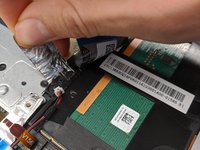
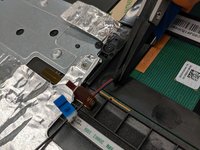
      • Lift up speaker cable that is laying overtop using a pair of tweezers.

      • Do not to overextend the wire since you may accidently pull the wire out.

      Vraag FixBot

      Voeg opmerking toe

    4. Asus ROG Strix GL702VS Trackpad Replacement: stap 8, afbeelding 1 van 3 Asus ROG Strix GL702VS Trackpad Replacement: stap 8, afbeelding 2 van 3 Asus ROG Strix GL702VS Trackpad Replacement: stap 8, afbeelding 3 van 3
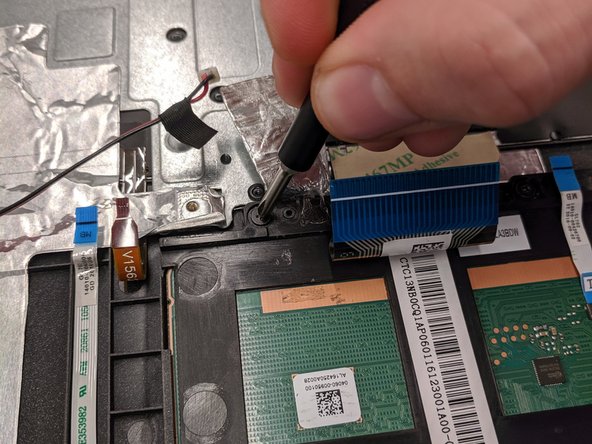
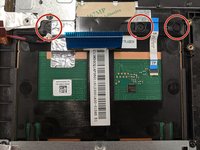
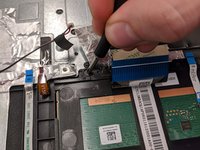
      • Remove the three 4mm JIS #0 screws that are securing the trackpad.

      Vraag FixBot

      Voeg opmerking toe

    5. Asus ROG Strix GL702VS Trackpad Replacement: stap 9, afbeelding 1 van 2 Asus ROG Strix GL702VS Trackpad Replacement: stap 9, afbeelding 2 van 2
      • Once freed, slide the trackpad backwards towards the center of laptop.

      • This may require some jiggling. Lifting the laptop off your working surface may help.

      • Sliding the trackpad back in can be a bit tricky. Ensure it is fully seated before continuing reassembly.

      Vraag FixBot

      Voeg opmerking toe

Conclusie

To reassemble your device, follow these instructions in reverse order.

Annuleren: ik heb deze handleiding niet afgemaakt.

0Gids Commentaar

Voeg opmerking toe

Weergavestatistieken:

Afgelopen 24 uren: 2

Afgelopen 7 dagen: 11

Afgelopen 30 dagen: 42

Altijd: 1,389