Ga door naar hoofdinhoud
Word lid van de reparatiegemeenschap - Account aanmaken

Asus Padfone 2 Vibrator Replacement

Wat je nodig hebt

    1. Asus Padfone 2 Vibrator Replacement, Power Down Device: stap 1, afbeelding 1 van 1
      • Hold down the power button

      Vraag FixBot

      Voeg opmerking toe

    2. Asus Padfone 2 Vibrator Replacement, Remove Back Plate: stap 2, afbeelding 1 van 3 Asus Padfone 2 Vibrator Replacement, Remove Back Plate: stap 2, afbeelding 2 van 3 Asus Padfone 2 Vibrator Replacement, Remove Back Plate: stap 2, afbeelding 3 van 3
      • Use plastic opening tool to pry off the back cover of the phone.

      Vraag FixBot

      Voeg opmerking toe

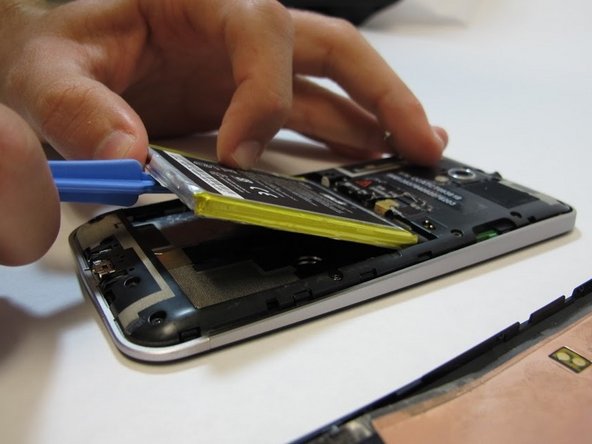
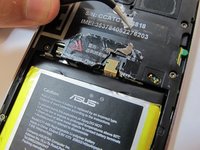
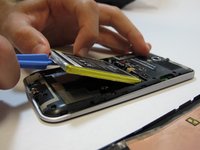
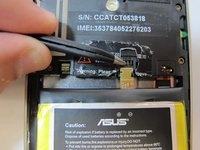
    3. Asus Padfone 2 Vibrator Replacement, Battery Removal: stap 3, afbeelding 1 van 3 Asus Padfone 2 Vibrator Replacement, Battery Removal: stap 3, afbeelding 2 van 3 Asus Padfone 2 Vibrator Replacement, Battery Removal: stap 3, afbeelding 3 van 3
      Gereedschap gebruikt in deze stap:
      Tweezers
      $4.99
      • Remove the warning sticker that covers the battery plug and connecting cord.

      • Look for the widest gap on either side of the battery. Using the plastic opening tool carefully lift battery out.

      • The battery is held down with adhesive. Be careful not to damage battery or connecting cord.

      • Disconnect battery connecting cord using tweezers.

      Vraag FixBot

      Voeg opmerking toe

    4. Asus Padfone 2 Vibrator Replacement, Remove Internal Back Plate: stap 4, afbeelding 1 van 2 Asus Padfone 2 Vibrator Replacement, Remove Internal Back Plate: stap 4, afbeelding 2 van 2
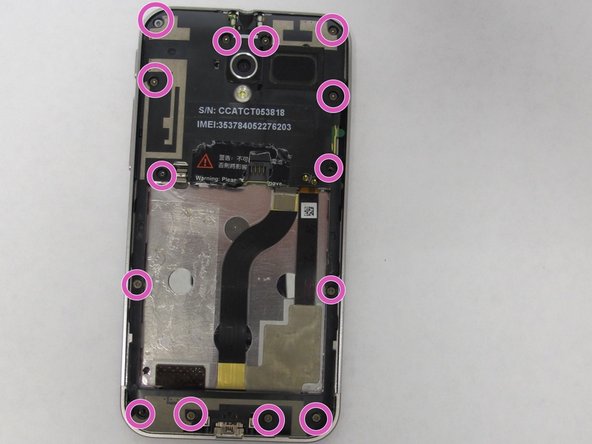
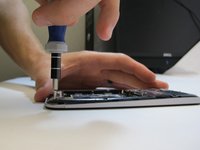
      • Use T5 Torx screwdriver to remove 14 screws from internal back plate.

      • Use of magnetic pad will help with keeping track of screws.

      • Once screws are out, remove the plate.

      Vraag FixBot

      Voeg opmerking toe

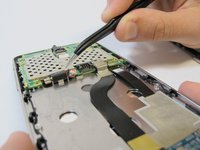
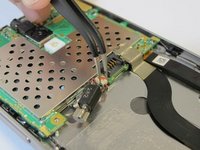
    5. Asus Padfone 2 Vibrator Replacement, Removal of A68 Vibrator: stap 5, afbeelding 1 van 2 Asus Padfone 2 Vibrator Replacement, Removal of A68 Vibrator: stap 5, afbeelding 2 van 2
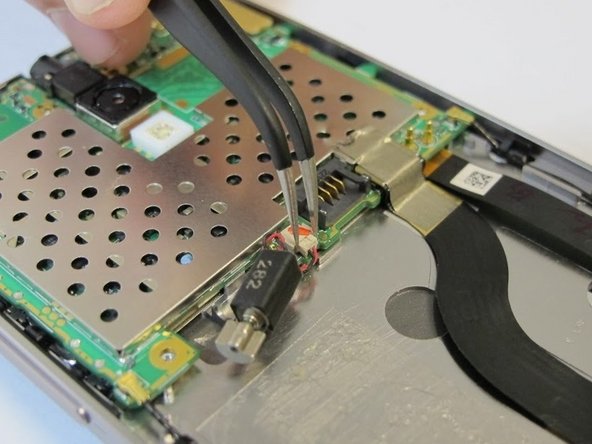
      • Use tweezers to remove motor from housing, pulling the plug downward away from the phone.

      • Use tweezers to unplug the device from the circuit board.

      Vraag FixBot

      Voeg opmerking toe

Conclusie

To reassemble your device, follow these instructions in reverse order.

Annuleren: ik heb deze handleiding niet afgemaakt.

2 andere personen hebben deze handleiding voltooid.

Zach Standridge

Lid sinds: 09/25/14

368 Reputatie

2 handleidingen geschreven

Team

USF Tampa, Team 5-4, Mcgee Fall 2014 Lid van USF Tampa, Team 5-4, Mcgee Fall 2014

USFT-MCGEE-F14S5G4

4 Leden

27 handleidingen geschreven

0Gids Commentaar

Voeg opmerking toe

Weergavestatistieken:

Afgelopen 24 uren: 1

Afgelopen 7 dagen: 3

Afgelopen 30 dagen: 24

Altijd: 1,741