Inleiding
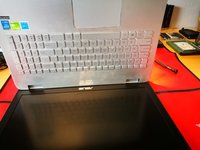
When your laptop becomes to hot. Follow this guide, to replace your CPU's thermal paste and remove dust, for better performance.
While following this guide, remove every dust you see, to optimize the performance of your laptop. Using a simple paint brush, or compressor/compressed air.
It's highly recommended to use anti static tools, to prevent damage!
Wat je nodig hebt
-
-
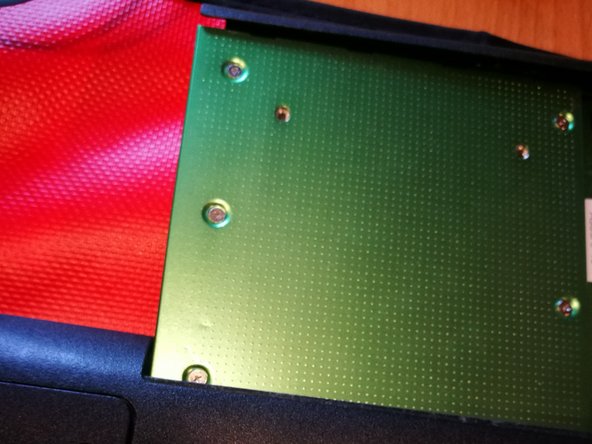
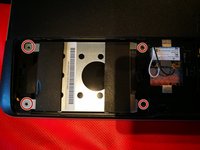
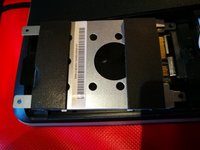
Remove all the screws.
I lost the yellow ones, it seems that the size is M2
But unfortunaltely the 10mm length is too short. Do you have any idea about the length of these ones ?
Thank you
-
-
-
-
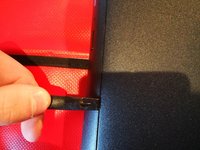
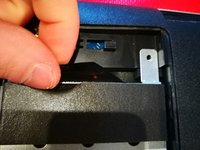
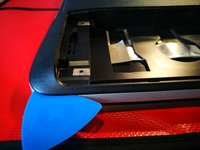
Starting in an edge, pull the pick in. Slide left-right/right-left, to create an opening.
-
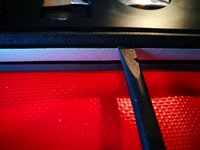
When there is an opening, use a spudger to seperate the rest of the downside of the case. Slide it trough the whole downside.
-
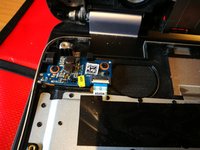
Slide further with the spudger to the side where are the least ports (one USB port). Optionally use a opening pick, if necessary.
-
-
-
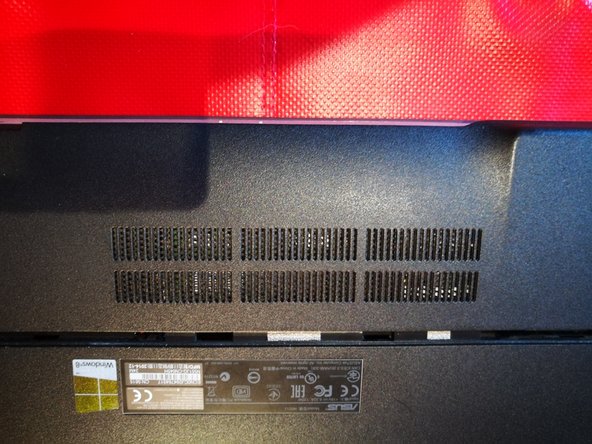
Use the spudger from the downside edge, until you reach the network port.
-
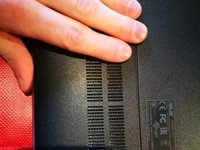
Behind the network port, try to insert an opening pick, to create a new opening.
-
When done, slide with the spudger to the rest of the network-side.
-
-
-
Use opening pick to create an opening at battery side. Try to open the battery side with opening pick only. Only when necessary use the spudger on this side.
-
-
-
Lift up the case (with finger/hand), so the whole case is released.
-
Open the laptop. Turn the laptop upside down.
-
-
-
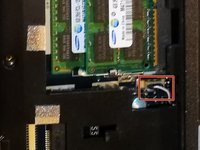
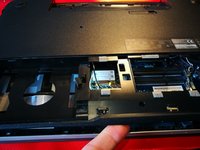
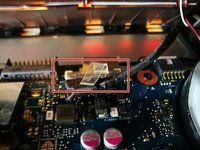
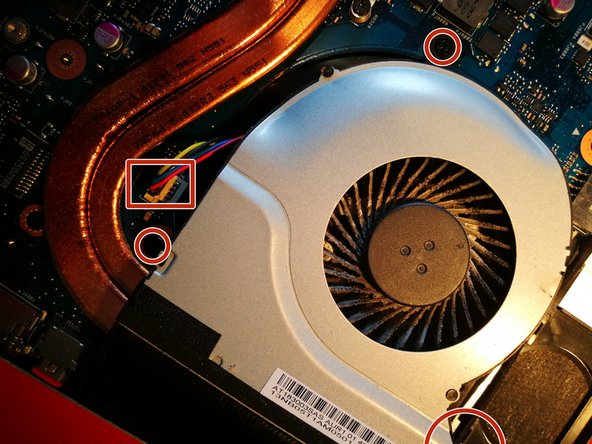
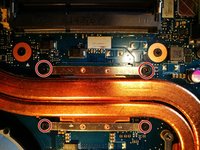
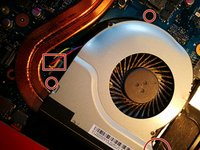
Remove the red marked screws and the red marked connector.
-
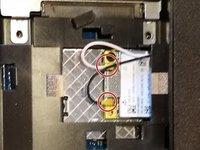
Optionally remove the yellow marked screws.
-
-
-
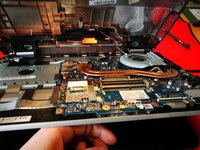
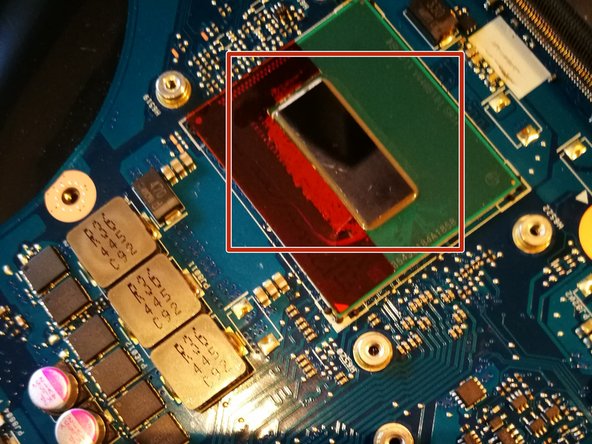
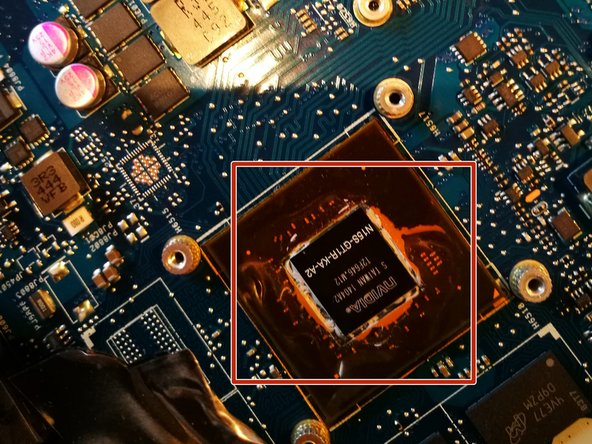
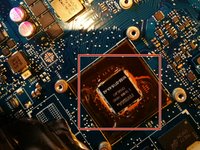
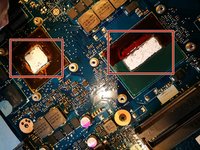
Clean the processor and videocard chip, so the thermal paste will be removed.
-
-
-
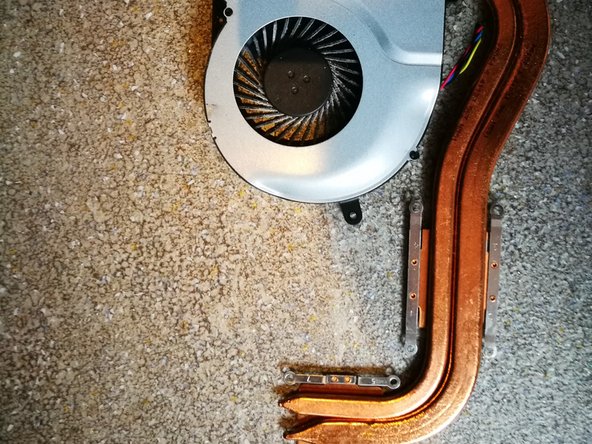
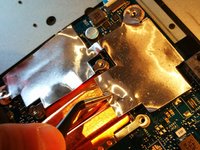
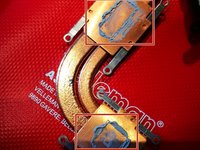
Remove the (dried) thermal paste of the cooling unit.
-
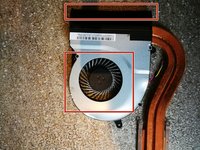
Clean the dust, by using compressed air, or an paint brush.
-
-
-
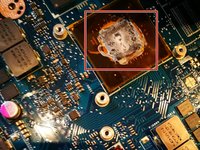
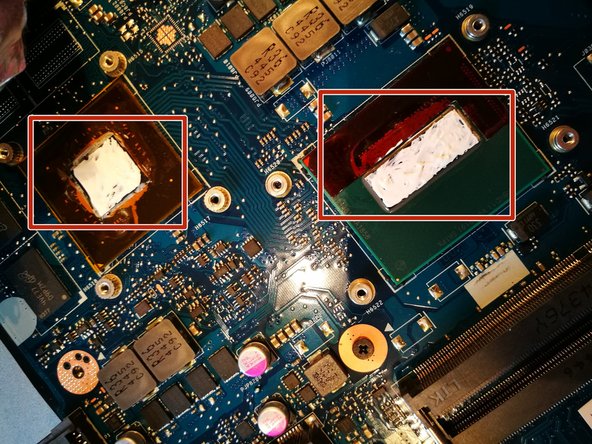
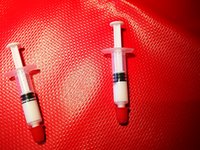
Put one drop on the processor, two on the videocard. Use not to much (could counteract the cooling process).
-
Gently divide the thermal paste like on the picture, over the whole "metal" part of the chips.
-


To reassemble your device, follow these instructions in reverse order.
While disassemble and reassemble, remove every dust you see, for better performance.
Let me know if this guide helped you!
To reassemble your device, follow these instructions in reverse order.
While disassemble and reassemble, remove every dust you see, for better performance.
Let me know if this guide helped you!
Annuleren: ik heb deze handleiding niet afgemaakt.
8 andere personen hebben deze handleiding voltooid.
5Gids Commentaar
Thanks for your guide! Is it possible to make a guide to replace the LED IPS screen from the N551JQ? Mine is black after a crash.
I think this is not very difficult, mostly you can simply pull off the plastic frame that is over your LCD (be carefull with pulling off!). You can pull it off with your fingers starting inside.
(Plastic frame can damage, but they are not expensive).
Then remove some screws, LCD will release, but it is still connected with some cables on the backside.
Try it and make pictures, so you can create a guide :).
Thanks for the guide! Sadly after doing this I found that my right side I/O (audio out and 1x usb port) no longer works. Any suggestions as to what could be the cause and how to solve this?
I'm pretty sure I have done everything by the book so I'm really bashing my head against the wall right now, I've never had this occur when replacing thermal paste before.
Thanks for your help
Maybe you released/loosened its connector or you damaged the board?
It was indeed a ribbon cable which had come loose (luckily no mobo damage). Something that I noticed is that the factory thermal paste had been applied all over the vram chips, as well as on those chips labeled “R36” directly “south” of the gpu die. I have the JW version of this laptop, which has some thin rectangular metal plates attached to the heatpipes, so as to cover the vram chips and others surrounding the gpu die. I found that kinda strange, seeing that the JQ version does not have this at all.