Ga door naar hoofdinhoud
Word lid van de reparatiegemeenschap - Account aanmaken

Asus MeMO Pad 7 ME170C Motherboard Replacement

Wat je nodig hebt

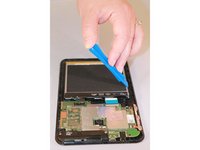
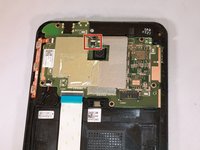
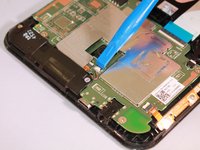
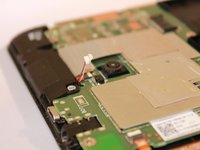
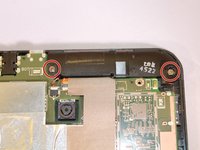
    1. Asus MeMO Pad 7 ME170C  Motherboard  Replacement, Motherboard: stap 1, afbeelding 1 van 3 Asus MeMO Pad 7 ME170C  Motherboard  Replacement, Motherboard: stap 1, afbeelding 2 van 3 Asus MeMO Pad 7 ME170C  Motherboard  Replacement, Motherboard: stap 1, afbeelding 3 van 3
      • Power off the device before disassembly.

      • Be gentle; excessive force can result in a damaged or cracked screen.

      • Gently pry a Jimmy all around the seam of the device until the back panel detaches.

      Vraag FixBot

      Voeg opmerking toe

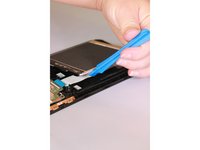
    2. Asus MeMO Pad 7 ME170C  Motherboard  Replacement: stap 2, afbeelding 1 van 3 Asus MeMO Pad 7 ME170C  Motherboard  Replacement: stap 2, afbeelding 2 van 3 Asus MeMO Pad 7 ME170C  Motherboard  Replacement: stap 2, afbeelding 3 van 3
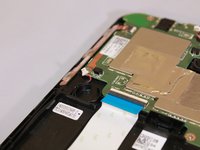
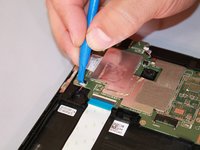
      • Use an iFixit opening tool to gently push the black bundle cable connector in a forward motion until it loosens without pushing down on the bundle cable connector.

      Vraag FixBot

      Voeg opmerking toe

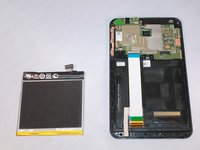
    3. Asus MeMO Pad 7 ME170C  Motherboard  Replacement: stap 3, afbeelding 1 van 3 Asus MeMO Pad 7 ME170C  Motherboard  Replacement: stap 3, afbeelding 2 van 3 Asus MeMO Pad 7 ME170C  Motherboard  Replacement: stap 3, afbeelding 3 van 3
      • Use the plastic opening tool to pry around the edges of the battery.

      • The battery should be laying freely in its port.

      • Lift the battery out of its port.

      Vraag FixBot

      Voeg opmerking toe

    4. Asus MeMO Pad 7 ME170C  Motherboard  Replacement: stap 4, afbeelding 1 van 3 Asus MeMO Pad 7 ME170C  Motherboard  Replacement: stap 4, afbeelding 2 van 3 Asus MeMO Pad 7 ME170C  Motherboard  Replacement: stap 4, afbeelding 3 van 3
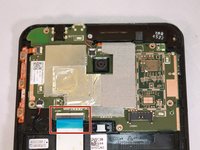
      • Use a plastic opening tool to slide the white cable connector completely out of the port.

      Vraag FixBot

      Voeg opmerking toe

    5. Asus MeMO Pad 7 ME170C  Motherboard  Replacement: stap 5, afbeelding 1 van 3 Asus MeMO Pad 7 ME170C  Motherboard  Replacement: stap 5, afbeelding 2 van 3 Asus MeMO Pad 7 ME170C  Motherboard  Replacement: stap 5, afbeelding 3 van 3
      Gereedschap gebruikt in deze stap:
      Tweezers
      $4.99
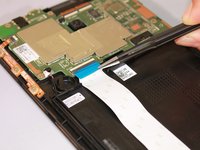
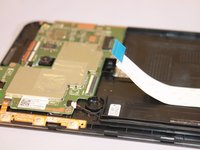
      • Flip up the beige clip to loosen the cable.

      • Use the wide nosed tweezers to pinch the blue tab attached to the ribbon cable.

      • Pull the blue tab gently in a lateral motion until it is completely out of its port.

      Vraag FixBot

      Voeg opmerking toe

    6. Asus MeMO Pad 7 ME170C  Motherboard  Replacement: stap 6, afbeelding 1 van 3 Asus MeMO Pad 7 ME170C  Motherboard  Replacement: stap 6, afbeelding 2 van 3 Asus MeMO Pad 7 ME170C  Motherboard  Replacement: stap 6, afbeelding 3 van 3
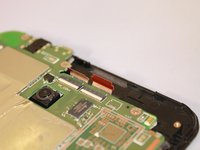
      • Use the wide nosed tweezers to gently pull out the orange ribbon inserted in the port on the motherboard.

      Vraag FixBot

      Voeg opmerking toe

    7. Asus MeMO Pad 7 ME170C  Motherboard  Replacement: stap 7, afbeelding 1 van 3 Asus MeMO Pad 7 ME170C  Motherboard  Replacement: stap 7, afbeelding 2 van 3 Asus MeMO Pad 7 ME170C  Motherboard  Replacement: stap 7, afbeelding 3 van 3
      • Use a plastic opening tool to push the white cable connector out of its port in a side to side motion.

      Vraag FixBot

      Voeg opmerking toe

    8. Asus MeMO Pad 7 ME170C  Motherboard  Replacement: stap 8, afbeelding 1 van 2 Asus MeMO Pad 7 ME170C  Motherboard  Replacement: stap 8, afbeelding 2 van 2
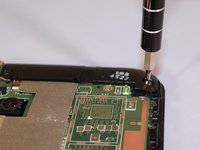
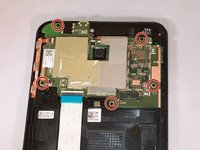
      • Use the Phillips #000 screwdriver to unscrew the seven screws.

      • There should be two silver and five black screws.

      Vraag FixBot

      Voeg opmerking toe

    9. Asus MeMO Pad 7 ME170C  Motherboard  Replacement: stap 9, afbeelding 1 van 2 Asus MeMO Pad 7 ME170C  Motherboard  Replacement: stap 9, afbeelding 2 van 2
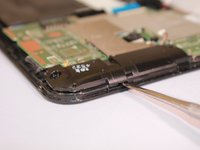
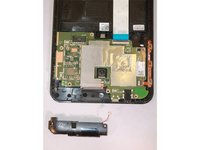
      • Once the screws are removed, the speaker component will be loosely laying in the track.

      • Use the metal spudger tool to remove the speaker by gently lifting the edge of it.

      Vraag FixBot

      Voeg opmerking toe

    10. Asus MeMO Pad 7 ME170C  Motherboard  Replacement: stap 10, afbeelding 1 van 3 Asus MeMO Pad 7 ME170C  Motherboard  Replacement: stap 10, afbeelding 2 van 3 Asus MeMO Pad 7 ME170C  Motherboard  Replacement: stap 10, afbeelding 3 van 3
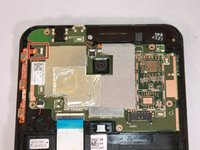
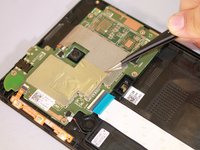
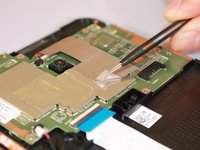
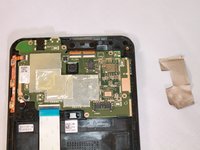
      • Remove the silver tape on one corner with the needle nosed tweezers, and remove the tape from the motherboard.

      Vraag FixBot

      Voeg opmerking toe

    11. Asus MeMO Pad 7 ME170C  Motherboard  Replacement: stap 11, afbeelding 1 van 3 Asus MeMO Pad 7 ME170C  Motherboard  Replacement: stap 11, afbeelding 2 van 3 Asus MeMO Pad 7 ME170C  Motherboard  Replacement: stap 11, afbeelding 3 van 3
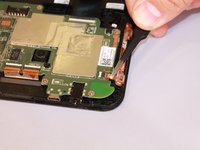
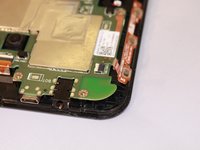
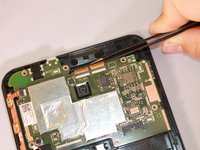
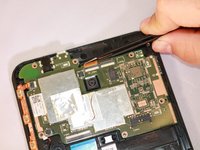
      • Use the needle nosed tweezers to gently pull both of the orange ribbon cables out of their ports.

      Vraag FixBot

      Voeg opmerking toe

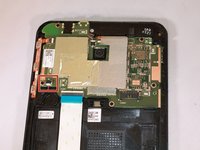
    12. Asus MeMO Pad 7 ME170C  Motherboard  Replacement: stap 12, afbeelding 1 van 3 Asus MeMO Pad 7 ME170C  Motherboard  Replacement: stap 12, afbeelding 2 van 3 Asus MeMO Pad 7 ME170C  Motherboard  Replacement: stap 12, afbeelding 3 van 3
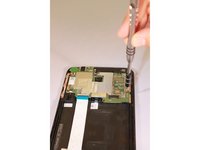
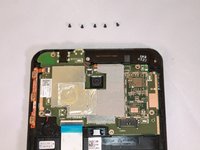
      • Use the Phillips #000 screwdriver to unscrew all five screws.

      Vraag FixBot

      Voeg opmerking toe

    13. Asus MeMO Pad 7 ME170C  Motherboard  Replacement: stap 13, afbeelding 1 van 2 Asus MeMO Pad 7 ME170C  Motherboard  Replacement: stap 13, afbeelding 2 van 2
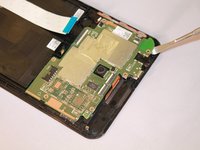
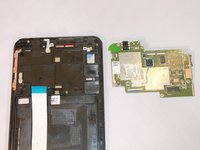
      • To uninstall the motherboard, use the metal spudger tool to lift it out of the device.

      Vraag FixBot

      Voeg opmerking toe

Conclusie

To reassemble your device, follow these instructions in reverse order.

Annuleren: ik heb deze handleiding niet afgemaakt.

6 andere personen hebben deze handleiding voltooid.

1Gids Commentaar

You are amazing!! Please make the tutorial "how change ASUS ME170 Touch Screen Digitizer". Thanks!!!

Walter Tejerina - Antwoord Deel

Voeg opmerking toe

Weergavestatistieken:

Afgelopen 24 uren: 2

Afgelopen 7 dagen: 12

Afgelopen 30 dagen: 36

Altijd: 3,771