Ga door naar hoofdinhoud

Deze handleiding heeft recentere wijzigingen. Schakel over naar de nieuwste niet-geverifieerde versie.

Apple Powerbook 5300 Trackpad Replacement

Wat je nodig hebt

  1. Apple Powerbook 5300 Trackpad Replacement, Battery: stap 1, afbeelding 1 van 1
    • Position the Powerbook towards you with the monitor closed.

    • Press the battery removal latch located on the right side of the front panel.

    • Gently slide the battery out.

    • The keyboard, front pane, and hard drive are connected to the laptop's logic board via a ribbon cable. Lift up slowly on each component with one hand and disconnect the ribbons from their ports on the logic board.

  2. Apple Powerbook 5300 Trackpad Replacement, Keyboard: stap 2, afbeelding 1 van 1
    • Turn the laptop over and remove the three T8 torx screws from the bottom panel.

  3. Apple Powerbook 5300 Trackpad Replacement: stap 3, afbeelding 1 van 1
    • Turn the laptop back over and open the monitor.

    • With the monitor facing towards you, gently pull up on the keyboard panel from the bottom.

    • With the keyboard turned over as pictured, carefully remove its ribbon cable from the connection port on the logic board. Use a spudger to lift the white plastic retainer about 1/16" to release the cable.

  4. Apple Powerbook 5300 Trackpad Replacement, Trackpad: stap 4, afbeelding 1 van 2 Apple Powerbook 5300 Trackpad Replacement, Trackpad: stap 4, afbeelding 2 van 2
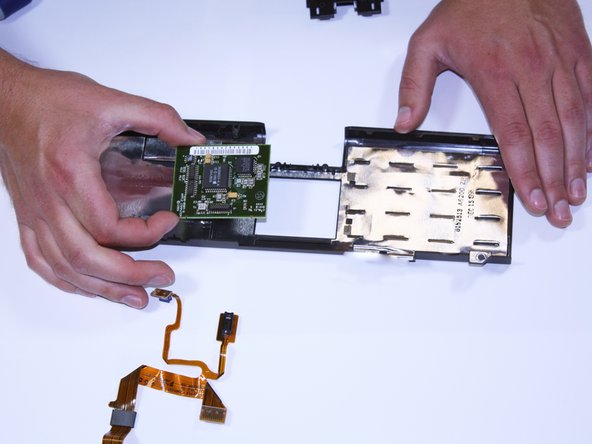
    • Lift up and forward on the front portion of the laptop. Watch out for the ribbon cable, and disconnect it by pulling the cable straight up and out of its connector.

  5. Apple Powerbook 5300 Trackpad Replacement: stap 5, afbeelding 1 van 2 Apple Powerbook 5300 Trackpad Replacement: stap 5, afbeelding 2 van 2
    • Unscrew the two torx #8 screws holding the mouse button in place.

    • Then slide the button out.

  6. Apple Powerbook 5300 Trackpad Replacement: stap 6, afbeelding 1 van 2 Apple Powerbook 5300 Trackpad Replacement: stap 6, afbeelding 2 van 2
    • Unscrew the last torx #8 screw holding the trackpad assembly in place.

    • Now the entire trackpad will lift out of place.

    • Disconnect all ribbon cables by pulling them up and out of their connectors.

Conclusie

To reassemble your device, follow these instructions in reverse order.

Scott

Lid sinds: 04/26/11

155 Reputatie

5 handleidingen geschreven

Team

Cal Poly, Team 25-30, Garner Spring 2011 Lid van Cal Poly, Team 25-30, Garner Spring 2011

CPSU-GARNER-S11S25G30

4 Leden

6 handleidingen geschreven

0 opmerkingen

Voeg opmerking toe

Weergavestatistieken:

Afgelopen 24 uren: 0

Afgelopen 7 dagen: 4

Afgelopen 30 dagen: 21

Altijd: 5,885