Inleiding
With extended use, the buttons on your Amazon Luna gaming controller may show signs of wear and tear, such as reduced sensitivity, sticking, or becoming completely unresponsive. These issues can arise from dirt and grime buildup, mechanical degradation, or prolonged exposure to pressure during gameplay. Addressing these problems through regular maintenance is essential to keeping your controller performing at its best and prolonging its overall lifespan.
Wat je nodig hebt
-
-
-
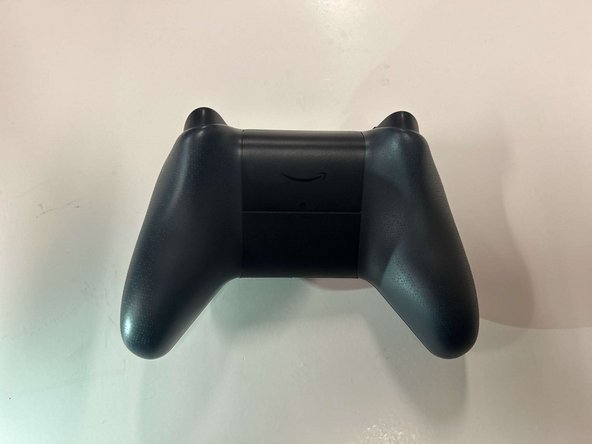
Locate the latch on the back panel.
-
Pull down gently to open the compartment and expose the battery slots.
-
Remove batteries.
-
-
-
-
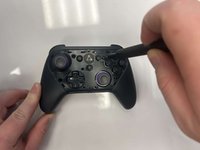
Flip the controller over to its front and locate the seam where the front plate connects to the rest of the body.
-
-
-
-
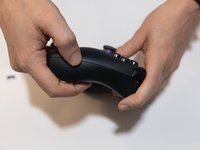
Hold the controller firmly.
-
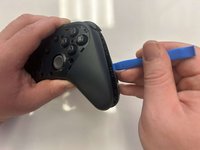
Insert the thin edge of an iFixit opening tool into the seam at the edge of the front plate close to the A button.
-
Work slowly and carefully around all sides to avoid snapping the clips.
-
-
-
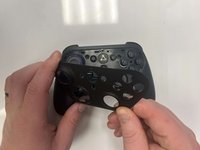
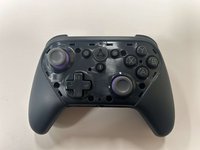
Once all clips are released, lift the front plate away from the controller.
-
-
-
-
-
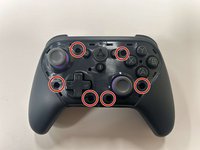
Remove the six 8 mm screws securing the controller's body using a TR9 Torx screwdriver.
-
-
-
Gently pry along the seam that separates the two halves of the controller using an opening tool.
-
Work your way around the perimeter to carefully release the clips securing the two halves.
-
-
-
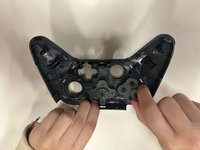
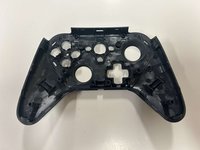
Lay the front of the controller shell downward.
-
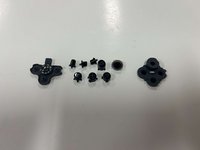
Remove the rubber padding that keeps the buttons in place.
-
Remove the buttons from the shell housing.
-
-
 Vraag FixBot








To reassemble your device, follow these instructions in reverse order.
Annuleren: ik heb deze handleiding niet afgemaakt.
Één andere persoon heeft deze handleiding voltooid.

Team

Western Carolina University, Team 1-4, Virtue Fall 2024 Lid van Western Carolina University, Team 1-4, Virtue Fall 2024
WCU-VIRTUE-F24S1G4
3 Leden
15 handleidingen geschreven
