Ga door naar hoofdinhoud
Word lid van de reparatiegemeenschap - Account aanmaken

Alienware M15x GPU Replacement

Wat je nodig hebt

    1. Alienware M15x GPU Replacement, GPU: stap 1, afbeelding 1 van 1
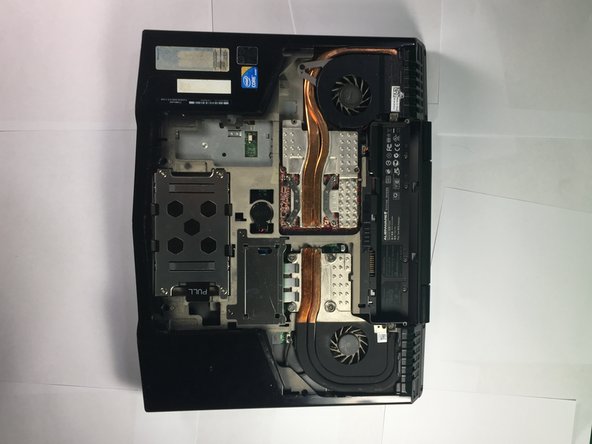
      • Turn the laptop over so that the bottom is facing upward.

      Vraag FixBot

      Voeg opmerking toe

    2. Alienware M15x GPU Replacement: stap 2, afbeelding 1 van 1
      • Release the battery latch and flip the battery out.

      Vraag FixBot

      Voeg opmerking toe

    3. Alienware M15x GPU Replacement: stap 3, afbeelding 1 van 2 Alienware M15x GPU Replacement: stap 3, afbeelding 2 van 2
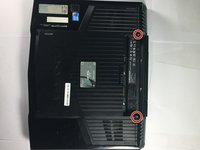
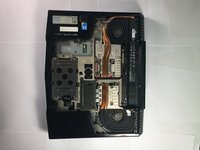
      • Remove the two 4mm screws using a Phillips #1 screwdriver.

      • Remove the compartment door by sliding it away from the battery.

      Vraag FixBot

      Voeg opmerking toe

    4. Alienware M15x GPU Replacement: stap 4, afbeelding 1 van 1
      • Remove the four 4mm screws with the Phillips #1 screwdriver.

      Vraag FixBot

      Voeg opmerking toe

    5. Alienware M15x GPU Replacement: stap 5, afbeelding 1 van 1
      • Position the laptop vertically so that the hinge is facing up and the laptop is slightly open toward the ground

      • The laptop position should resemble an upside-down V shape.

      • Locate the panel and pry open using a plastic opening tool.

      Vraag FixBot

      Voeg opmerking toe

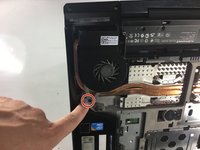
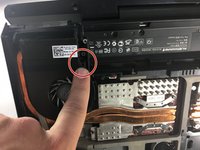
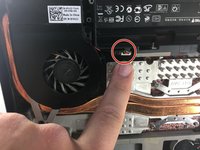
    6. Alienware M15x GPU Replacement: stap 6, afbeelding 1 van 3 Alienware M15x GPU Replacement: stap 6, afbeelding 2 van 3 Alienware M15x GPU Replacement: stap 6, afbeelding 3 van 3
      Gereedschap gebruikt in deze stap:
      Tweezers
      $4.99
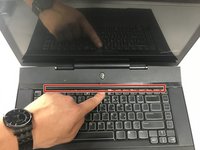
      • Position the laptop normally, with the bottom on the ground and the screen flipped up towards you.

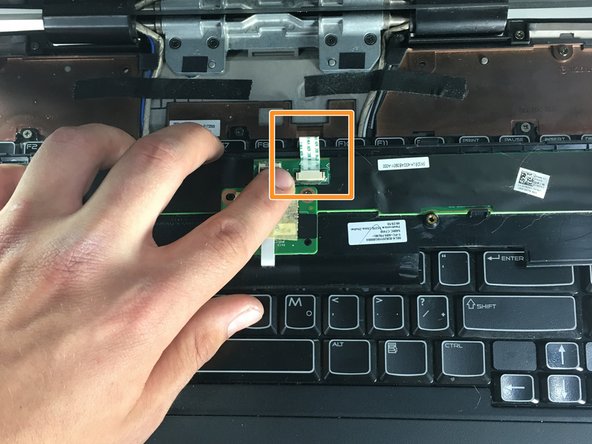
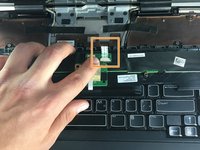
      • Lift the power button panel using the plastic opening tool.

      • Disconnect the ribbon cable by using tweezers to unclip the two small black clips. Remove power button panel.

      Vraag FixBot

      Voeg opmerking toe

    7. Alienware M15x GPU Replacement: stap 7, afbeelding 1 van 1
      • Remove the two 4mm screws with a Phillips #1 screwdriver.

      Vraag FixBot

      Voeg opmerking toe

    8. Alienware M15x GPU Replacement: stap 8, afbeelding 1 van 2 Alienware M15x GPU Replacement: stap 8, afbeelding 2 van 2
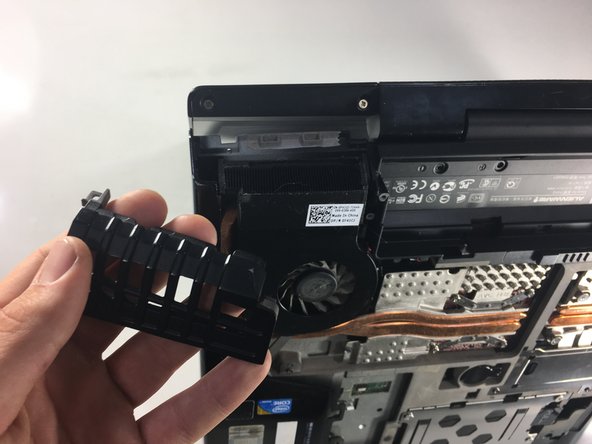
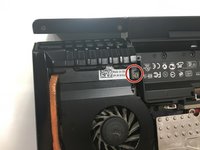
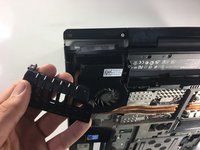
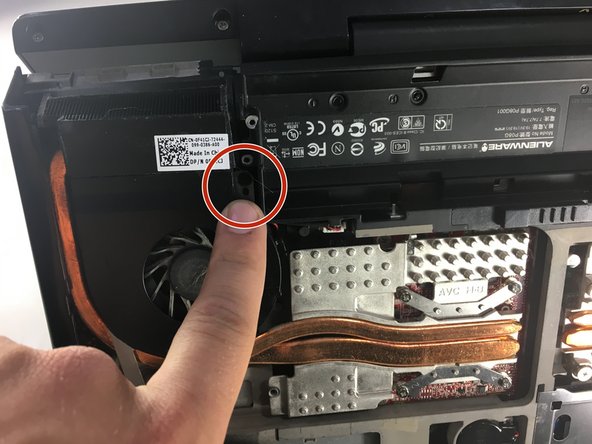
      • Use a Phillips #1 screwdriver to remove the 4mm screw from the exhaust port cover.

      • Remove the exhaust port cover entirely.

      Vraag FixBot

      Voeg opmerking toe

    9. Alienware M15x GPU Replacement: stap 9, afbeelding 1 van 3 Alienware M15x GPU Replacement: stap 9, afbeelding 2 van 3 Alienware M15x GPU Replacement: stap 9, afbeelding 3 van 3
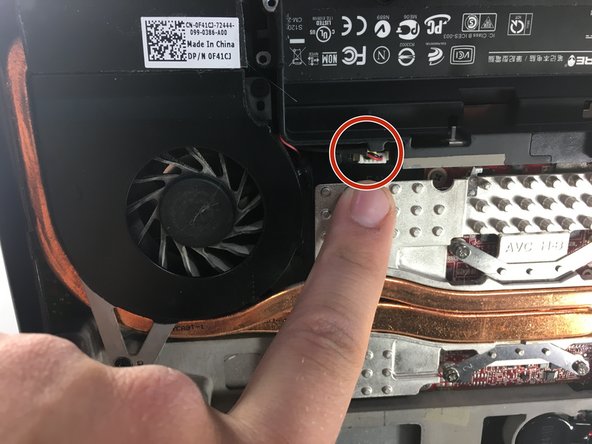
      • Use a Phillips #0 screwdriver to remove the two 3mm screws holding the fan in place, then unclip the electrical connection using tweezers.

      Vraag FixBot

      Voeg opmerking toe

    10. Alienware M15x GPU Replacement: stap 10, afbeelding 1 van 1
      • Remove the heat sink by loosening the 4 screws with a Phillips #0 screwdriver.

      Vraag FixBot

      Voeg opmerking toe

    11. Alienware M15x GPU Replacement: stap 11, afbeelding 1 van 1
      • Use a Phillips #0 screwdriver to remove the two screws.

      • Remove the GPU from the laptop.

      • When replacing the GPU, it is important to reapply thermal paste in a small line along the length of the chip.

      Vraag FixBot

      Voeg opmerking toe

Conclusie

To reassemble your device, follow these instructions in reverse order.

Annuleren: ik heb deze handleiding niet afgemaakt.

Tomas Kronmark

Lid sinds: 01/22/18

193 Reputatie

1 Handleiding geschreven

Team

Cal Poly, Team S11-G3, Banghart Winter 2018 Lid van Cal Poly, Team S11-G3, Banghart Winter 2018

CPSU-BANGHART-W18S11G3

5 Leden

6 handleidingen geschreven

0Gids Commentaar

Voeg opmerking toe

Weergavestatistieken:

Afgelopen 24 uren: 2

Afgelopen 7 dagen: 11

Afgelopen 30 dagen: 35

Altijd: 2,331