Inleiding
Acer Swift 3 2022 Model Number: N20C12
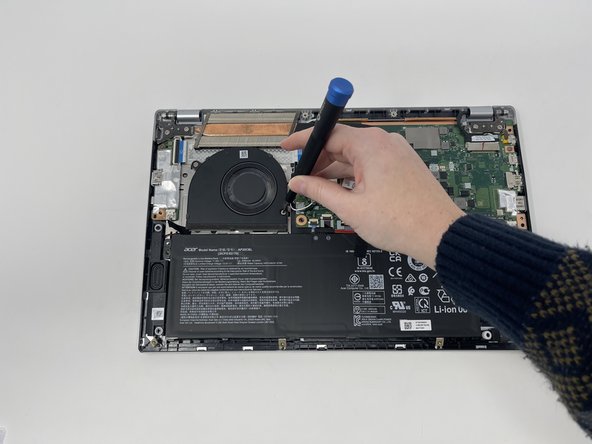
If your Acer Swift 3 2022 is exhibiting a constant buzzing and humming noise and is overheating, use this guide to remedy those problems. This relatively easy procedure will have your computer as silent as when you first got it and no longer hot to the touch.
Before following this guide, try to remove dust and debris from the fan. This can be accomplished by using an ESD-safe brush or small dust blower and directing it at the fan located in the inner portion of the laptop. This should be completed before following through with the replacement. To view more information view our troubleshooting page.
Wat je nodig hebt


To reassemble your device, follow these instructions in reverse order.
To reassemble your device, follow these instructions in reverse order.

Team

Utah Tech University, Team 1-2, McMurrin Fall 2022 Lid van Utah Tech University, Team 1-2, McMurrin Fall 2022
UTAHTECH-MCMURRIN-F22S1G2
2 Leden
6 handleidingen geschreven