Ga door naar hoofdinhoud
Word lid van de reparatiegemeenschap - Account aanmaken

Acer Aspire 3000 Screen Replacement

Wat je nodig hebt

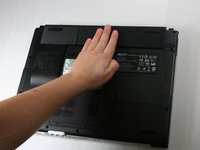
  1. Acer Aspire 3000 Screen Replacement, Battery: stap 1, afbeelding 1 van 1
    • Begin with the device face down.

    • Orient the laptop so that the battery is on the side opposite of you and the headphone ports are facing towards you.

    Vraag FixBot
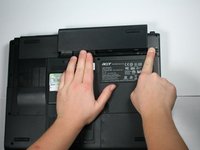
  2. Acer Aspire 3000 Screen Replacement: stap 2, afbeelding 1 van 2 Acer Aspire 3000 Screen Replacement: stap 2, afbeelding 2 van 2
    • Slide the button found below the battery to the left into the unlocked position.

    • You will know the battery is unlocked if the tab is pushed to the side where the symbol is unlocked.

    Vraag FixBot
  3. Acer Aspire 3000 Screen Replacement: stap 3, afbeelding 1 van 2 Acer Aspire 3000 Screen Replacement: stap 3, afbeelding 2 van 2
    • Locate the battery and the tab to the right of it.

    • Pull the tab to the right while simultaneously pushing the battery away from you.

    • Make sure you push the battery only when tab is held in the right position in order to avoid damage to the device.

    Vraag FixBot
  4. Acer Aspire 3000 Screen Replacement, Wireless Card: stap 4, afbeelding 1 van 1
    • Remove the two 4.6 mm Phillips #1 screws on the lower edge of the laptop case.

    Vraag FixBot
  5. Acer Aspire 3000 Screen Replacement: stap 5, afbeelding 1 van 1
    • Pop the three side tabs out of the back case.

    Vraag FixBot
  6. Acer Aspire 3000 Screen Replacement: stap 6, afbeelding 1 van 1
    • Remove the panel that covers the graphics card.

    Vraag FixBot
  7. Acer Aspire 3000 Screen Replacement: stap 7, afbeelding 1 van 1
    • Remove the black and white cables attached to the graphics card.

    • Be careful to lift vertically as to not mess up either part of the connectors.

    Vraag FixBot
  8. Acer Aspire 3000 Screen Replacement: stap 8, afbeelding 1 van 1
    • Push the white flanges on either side of the graphics card out.

    • The card should lift on its own slightly out of the case.

    Vraag FixBot
  9. Acer Aspire 3000 Screen Replacement: stap 9, afbeelding 1 van 1
    • Remove the card by lifting up and away from the edge that has all of the contacts on it.

    Vraag FixBot
  10. Acer Aspire 3000 Screen Replacement, Keyboard: stap 10, afbeelding 1 van 1
    • Lift the laptop to be on its edge, with the bottom of the screen in the air.

    Vraag FixBot
  11. Acer Aspire 3000 Screen Replacement: stap 11, afbeelding 1 van 1
    • Remove the three 4.6 mm Phillips #1 screws that are on this edge.

    Vraag FixBot
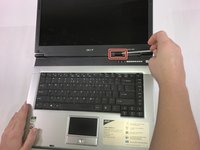
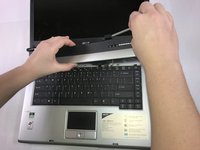
  12. Acer Aspire 3000 Screen Replacement: stap 12, afbeelding 1 van 2 Acer Aspire 3000 Screen Replacement: stap 12, afbeelding 2 van 2
    • Wedge a spudger into the latch on the right side.

    • Open the lid completely to facilitate removal.

    • Pull the handle of the spudger towards you to pop the first of the tabs that hold this piece in place.

    • Starting from right to left, pop the remaining tabs by lifting up on the panel and rotating the panel to the left.

    Vraag FixBot
  13. Acer Aspire 3000 Screen Replacement: stap 13, afbeelding 1 van 1
    • Unscrew the two 4.6 mm Phillips #1 screws.

    Vraag FixBot
  14. Acer Aspire 3000 Screen Replacement: stap 14, afbeelding 1 van 1
    • Gently lift the top edge of the keyboard out of its place.

    • Do not completely remove the keyboard as there is still a ribbon cable connecting it to the device.

    Vraag FixBot
  15. Acer Aspire 3000 Screen Replacement: stap 15, afbeelding 1 van 1
    • Lift the ZIF connector's black retaining flap. Then gently slide the ribbon cable out.

    • Remove the keyboard.

    Vraag FixBot
  16. Acer Aspire 3000 Screen Replacement, Screen: stap 16, afbeelding 1 van 1
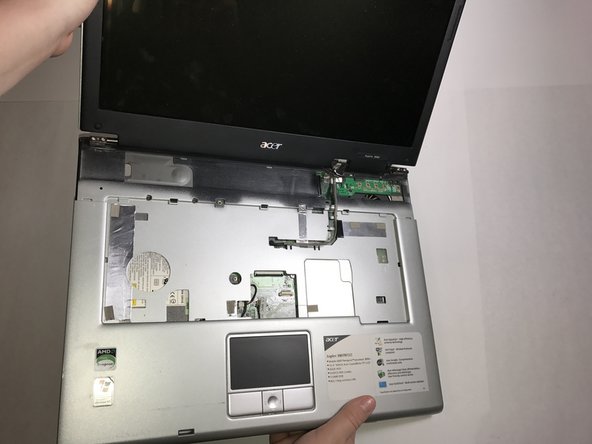
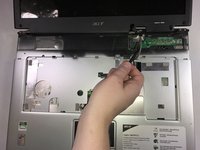
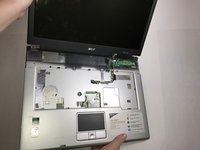
    • Lift the connector attached to a black cable that leads to the screen of the laptop.

    • Be sure to lift vertically, moving your hand slightly towards and away from you as necessary to gently separate the connectors.

    Vraag FixBot
  17. Acer Aspire 3000 Screen Replacement: stap 17, afbeelding 1 van 2 Acer Aspire 3000 Screen Replacement: stap 17, afbeelding 2 van 2
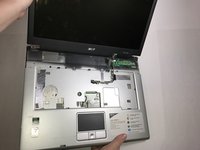
    • Using a spudger, free the grey cable from underneath the plastic bars holding it within the body of the laptop.

    Vraag FixBot
  18. Acer Aspire 3000 Screen Replacement: stap 18, afbeelding 1 van 3 Acer Aspire 3000 Screen Replacement: stap 18, afbeelding 2 van 3 Acer Aspire 3000 Screen Replacement: stap 18, afbeelding 3 van 3
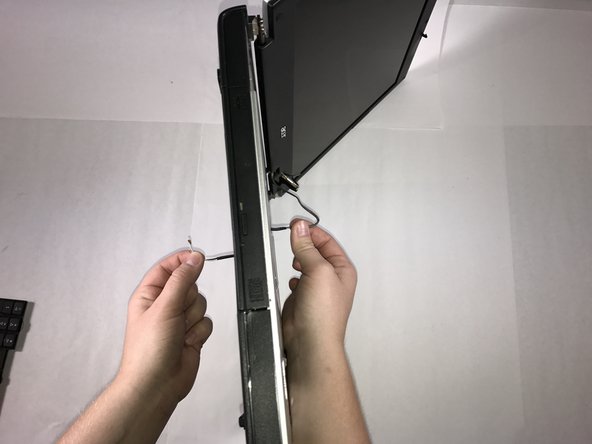
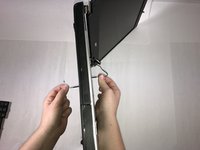
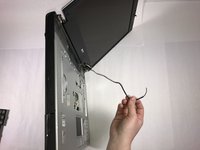
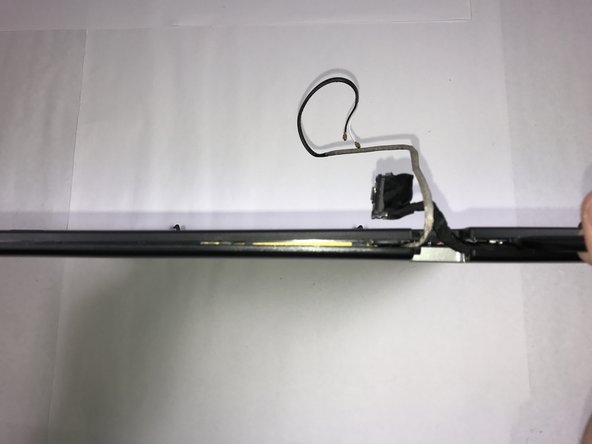
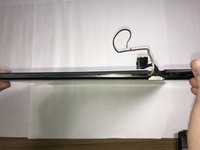
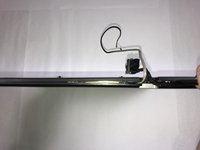
    • Rotate the laptop to where it is standing on its side.

    • Take the black and white ended cable that was disconnnected earlier and straighten it out on the underside of the laptop.

    • Pull the cable through to the keyboard side of the laptop.

    Vraag FixBot
  19. Acer Aspire 3000 Screen Replacement: stap 19, afbeelding 1 van 3 Acer Aspire 3000 Screen Replacement: stap 19, afbeelding 2 van 3 Acer Aspire 3000 Screen Replacement: stap 19, afbeelding 3 van 3
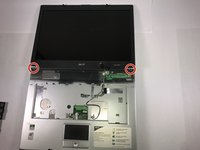
    • Unscrew the four 4.6 mm screws located here.

    • Unscrewing one screw from each side at a time and then supporting the screen as the final screws are removed will help protect the laptop's components.

    Vraag FixBot
  20. Acer Aspire 3000 Screen Replacement: stap 20, afbeelding 1 van 2 Acer Aspire 3000 Screen Replacement: stap 20, afbeelding 2 van 2
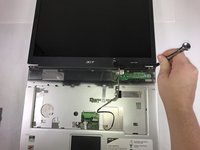
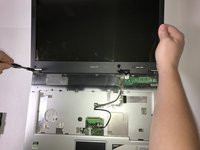
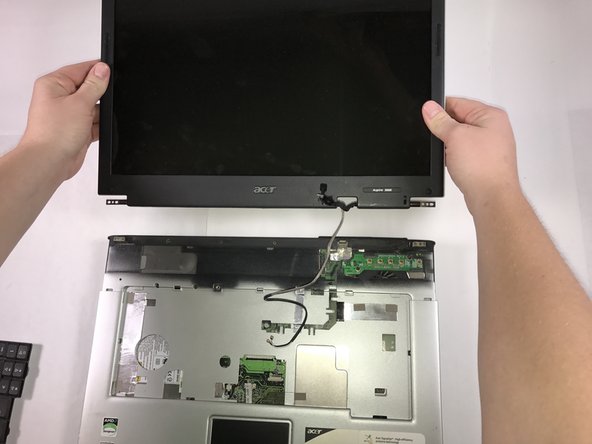
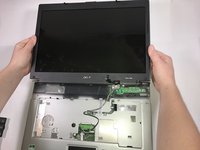
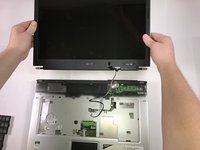
    • Lift the screen and its casing away from the laptop.

    Vraag FixBot
  21. Acer Aspire 3000 Screen Replacement: stap 21, afbeelding 1 van 3 Acer Aspire 3000 Screen Replacement: stap 21, afbeelding 2 van 3 Acer Aspire 3000 Screen Replacement: stap 21, afbeelding 3 van 3
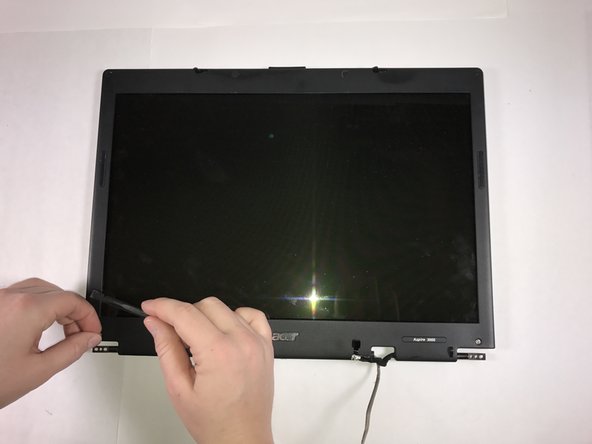
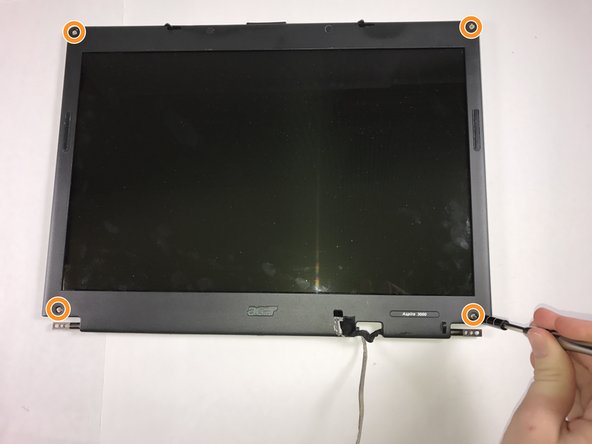
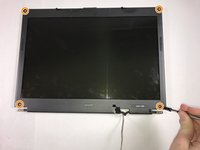
    • Using a spudger, push the four rubber circles covering the screws for the upper casing.

    • Unscrew the four 4.6 mm screws that were just uncovered.

    • There may be some residual adhesive on the top of the screws, this will not harm the driver as you remove the screws.

    Vraag FixBot
  22. Acer Aspire 3000 Screen Replacement: stap 22, afbeelding 1 van 3 Acer Aspire 3000 Screen Replacement: stap 22, afbeelding 2 van 3 Acer Aspire 3000 Screen Replacement: stap 22, afbeelding 3 van 3
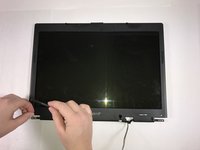
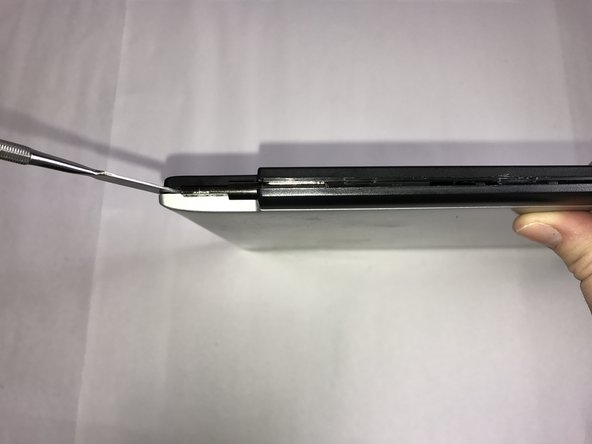
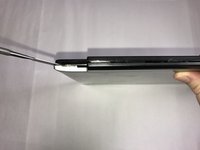
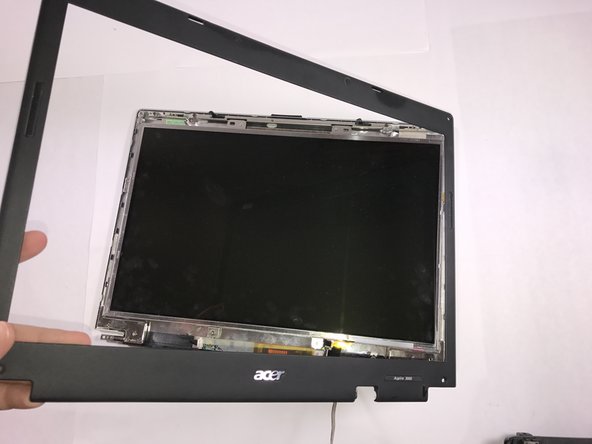
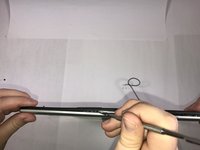
    • Begin prying apart the two halves of the screen casing, starting at the bottom near where the cables enter the casing.

    • The process for separating the two halves is to take a spudger, inserting and twisting it until the tabs holding the casing together audibly pop.

    • Slide the spudger down the divide between the casings, twisting it whenever a tab is encountered to release it.

    Vraag FixBot
  23. Acer Aspire 3000 Screen Replacement: stap 23, afbeelding 1 van 3 Acer Aspire 3000 Screen Replacement: stap 23, afbeelding 2 van 3 Acer Aspire 3000 Screen Replacement: stap 23, afbeelding 3 van 3
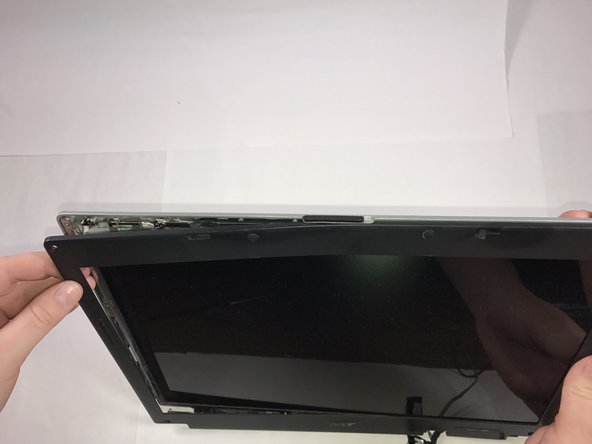
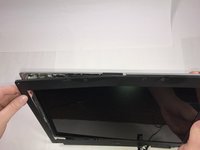
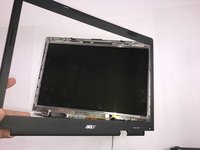
    • After the bottom has been freed and the side of the casing has started to separate, one's hands can be used safely to pry apart the rest of the casing.

    Vraag FixBot
  24. Acer Aspire 3000 Screen Replacement: stap 24, afbeelding 1 van 3 Acer Aspire 3000 Screen Replacement: stap 24, afbeelding 2 van 3 Acer Aspire 3000 Screen Replacement: stap 24, afbeelding 3 van 3
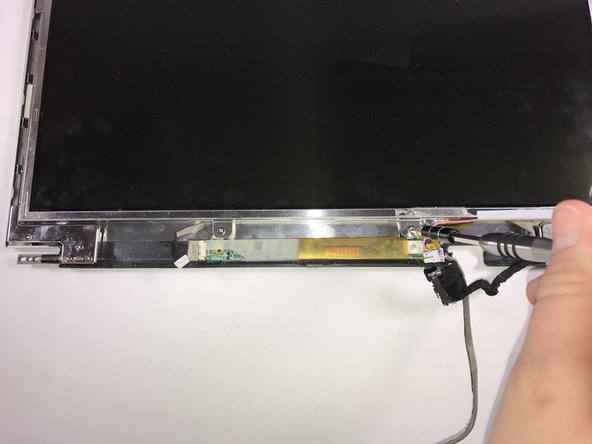
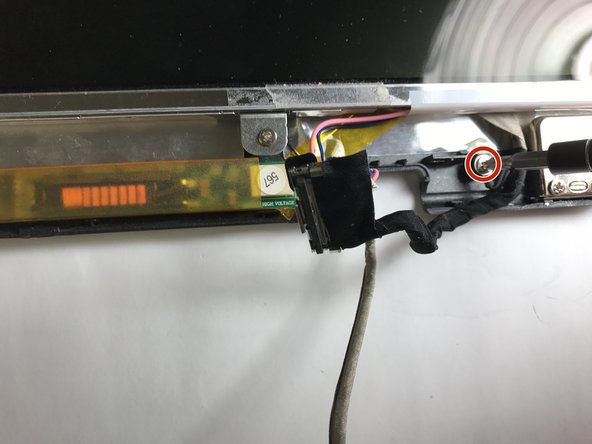
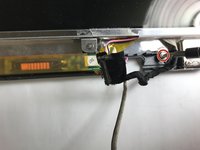
    • Release the two connectors from the screen to the circuit board on the bottom of the casing.

    • Unscrew the grounding screw for the black cable.

    Vraag FixBot
  25. Acer Aspire 3000 Screen Replacement: stap 25, afbeelding 1 van 1
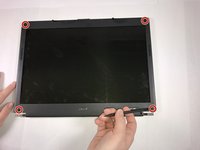
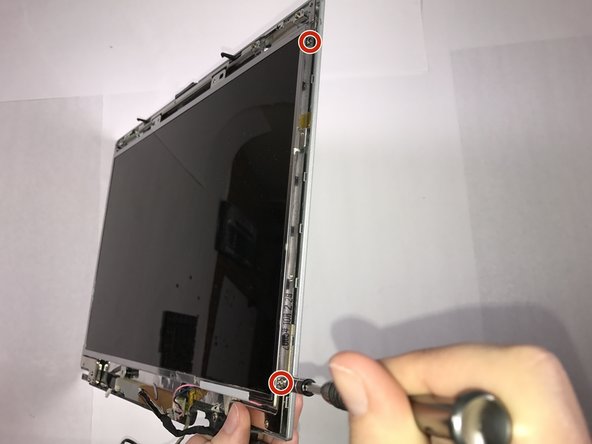
    • Undo the four 4.6mm screws located above and below the screen.

    Vraag FixBot
  26. Acer Aspire 3000 Screen Replacement: stap 26, afbeelding 1 van 2 Acer Aspire 3000 Screen Replacement: stap 26, afbeelding 2 van 2
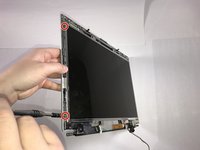
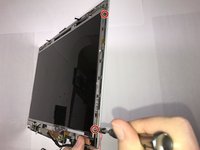
    • Remove the two lateral 4.6 mm screws on each side of the screen.

    • 'To avoid stripping out the screws, this step may require you to lift the screen away from the case to access the screws.

    Vraag FixBot
  27. Acer Aspire 3000 Screen Replacement: stap 27, afbeelding 1 van 1
    • Tilt the top of the screen out of the case towards you, and then separate the screen from the metal frame that secures it to the casing and remove the screen.

    Vraag FixBot
Conclusie

To reassemble your device, follow these instructions in reverse order.

Één andere persoon heeft deze handleiding voltooid.

Austin Perona

Lid sinds: 10/30/16

137 Reputatie

1 Handleiding geschreven

Team

Baylor, Team 4-2, Williams Fall 2016 Lid van Baylor, Team 4-2, Williams Fall 2016

BU-WILLIAMS-F16S4G2

4 Leden

7 handleidingen geschreven

0Gids Commentaar

Voeg opmerking toe

Weergavestatistieken:

Afgelopen 24 uren: 2

Afgelopen 7 dagen: 6

Afgelopen 30 dagen: 42

Altijd: 1,627