Ga door naar hoofdinhoud
Word lid van de reparatiegemeenschap - Account aanmaken

Acer AL1714 Video Display Board

Wat je nodig hebt

  1. Acer AL1714 Video Display Board, Video Display Board: stap 1, afbeelding 1 van 2 Acer AL1714 Video Display Board, Video Display Board: stap 1, afbeelding 2 van 2
    • Turn the monitor face-down.

    • Unscrew the 5 screws holding back cover on.

    • (This may require flipping the monitor over and shaking the screws loose once they're already unscrewed)

    Vraag FixBot

    Voeg opmerking toe

  2. Acer AL1714 Video Display Board: stap 2, afbeelding 1 van 3 Acer AL1714 Video Display Board: stap 2, afbeelding 2 van 3 Acer AL1714 Video Display Board: stap 2, afbeelding 3 van 3
    • Take the edge tool or a metal ruler and insert it into the bezel.

    • Apply pressure and push down.

    • Do the same to the right side.

    • Once the side of the bezel facing you is decoupled, take the back cover and pry it loose.

    Vraag FixBot

    Voeg opmerking toe

  3. Acer AL1714 Video Display Board: stap 3, afbeelding 1 van 3 Acer AL1714 Video Display Board: stap 3, afbeelding 2 van 3 Acer AL1714 Video Display Board: stap 3, afbeelding 3 van 3
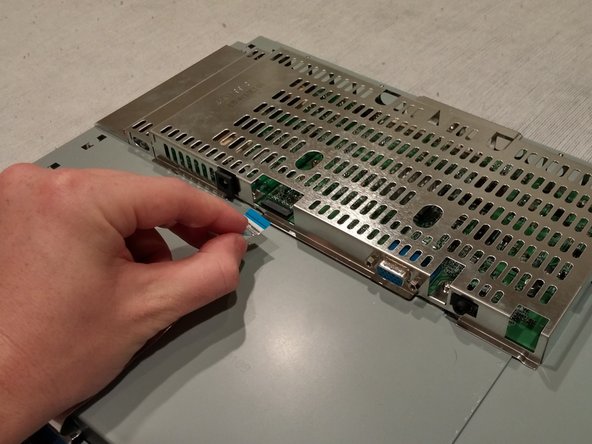
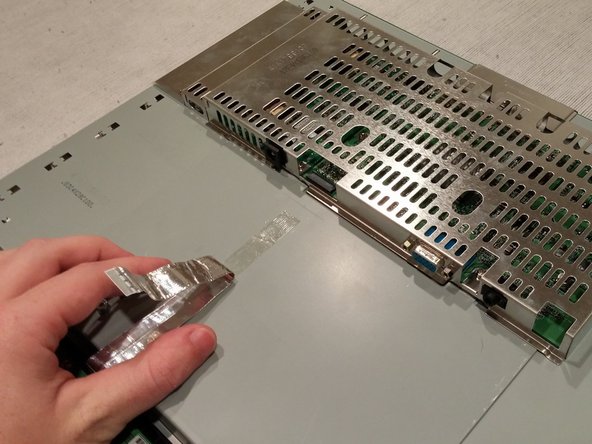
    • Remove the Flat Flex Cable from the Power Supply board located under the metal cage.

    • Pull the cord back and out of the way.

    • (It may be stuck down with adhesive)

    Vraag FixBot

    Voeg opmerking toe

  4. Acer AL1714 Video Display Board: stap 4, afbeelding 1 van 3 Acer AL1714 Video Display Board: stap 4, afbeelding 2 van 3 Acer AL1714 Video Display Board: stap 4, afbeelding 3 van 3
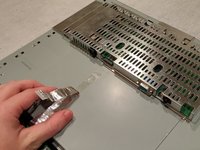
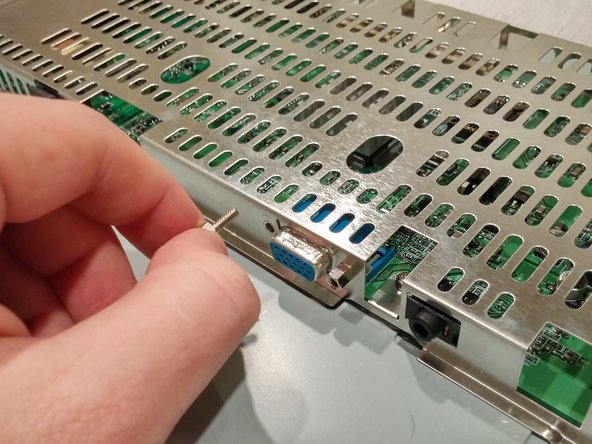
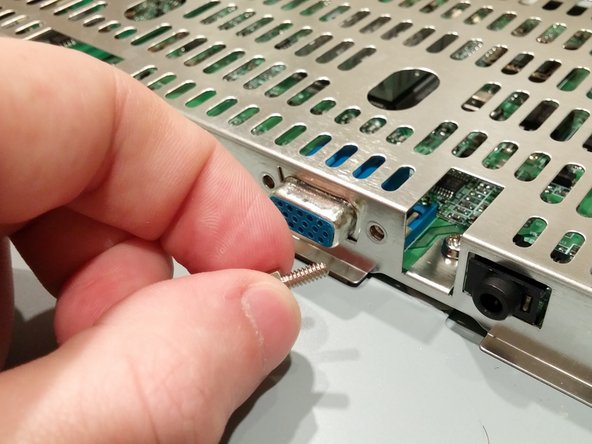
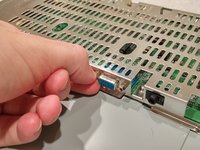
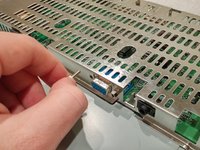
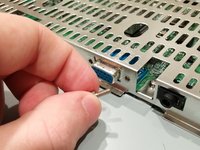
    • Unscrew the cord anchors for the VGA port.

    • (Use needle nose pliers if they're too tight for removal by hand)

    Vraag FixBot

    Voeg opmerking toe

  5. Acer AL1714 Video Display Board: stap 5, afbeelding 1 van 2 Acer AL1714 Video Display Board: stap 5, afbeelding 2 van 2
    • Turn the monitor around.

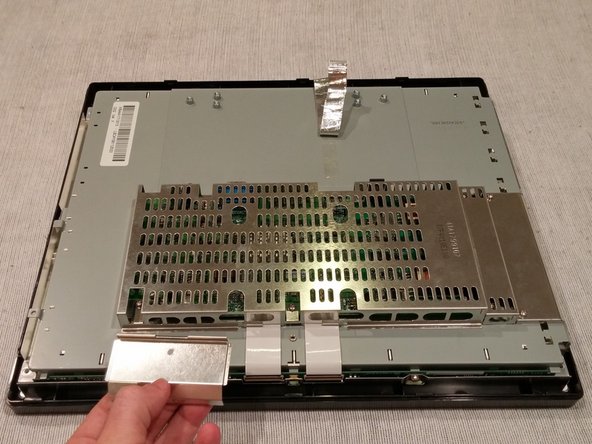
    • Unscrew the 1 screw holding the Flat power Cable cover on.

    • Lift up and remove the Flat Power Cable cover.

    • (Careful: this may be sharp)

    Vraag FixBot

    Voeg opmerking toe

  6. Acer AL1714 Video Display Board: stap 6, afbeelding 1 van 1
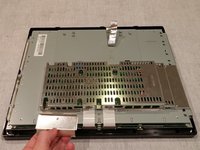
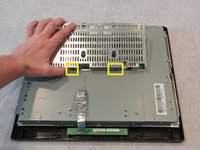
    • Unscrew the 5 screws holding the metal cage on.

    Vraag FixBot

    Voeg opmerking toe

  7. Acer AL1714 Video Display Board: stap 7, afbeelding 1 van 2 Acer AL1714 Video Display Board: stap 7, afbeelding 2 van 2
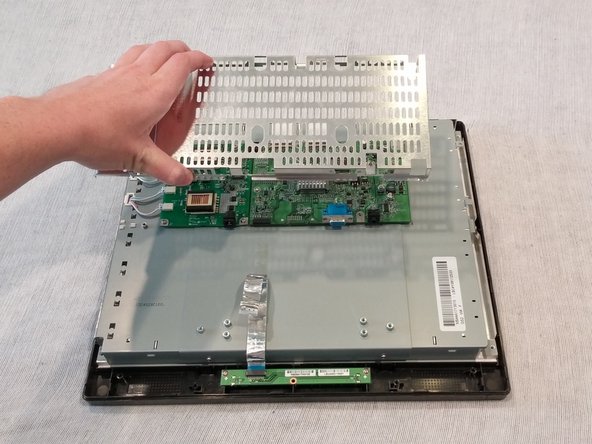
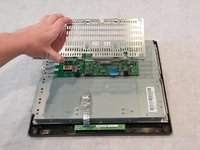
    • Turn the monitor around.

    • Lift the back of the metal cage slightly.

    • Pull the cage toward self.

    • (Must be careful to free the cover of the VGA port and the power supply input)

    Vraag FixBot

    Voeg opmerking toe

  8. Acer AL1714 Video Display Board: stap 8, afbeelding 1 van 3 Acer AL1714 Video Display Board: stap 8, afbeelding 2 van 3 Acer AL1714 Video Display Board: stap 8, afbeelding 3 van 3
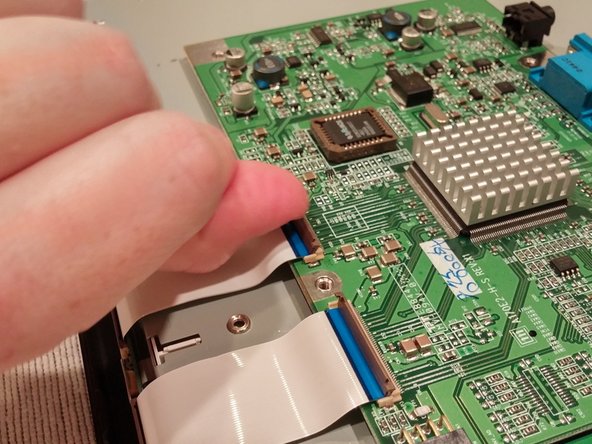
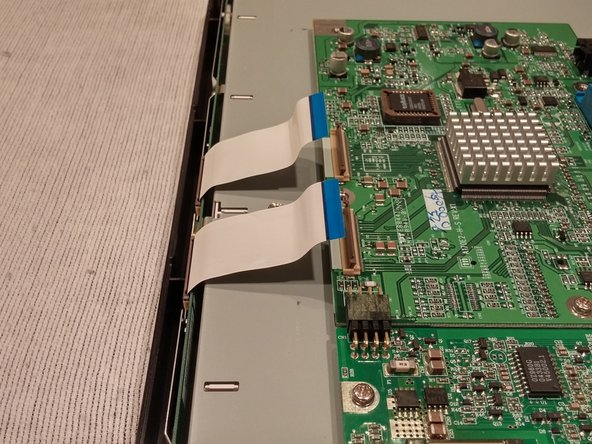
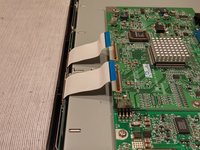
    • Lift the Flat Flex Cable holder tabs to release the cables.

    • Lift up on the Flat Flex Cables and bend them out of the working area.

    Vraag FixBot

    Voeg opmerking toe

  9. Acer AL1714 Video Display Board: stap 9, afbeelding 1 van 3 Acer AL1714 Video Display Board: stap 9, afbeelding 2 van 3 Acer AL1714 Video Display Board: stap 9, afbeelding 3 van 3
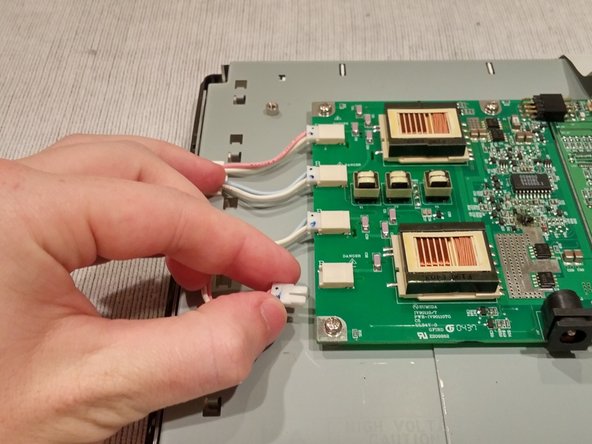
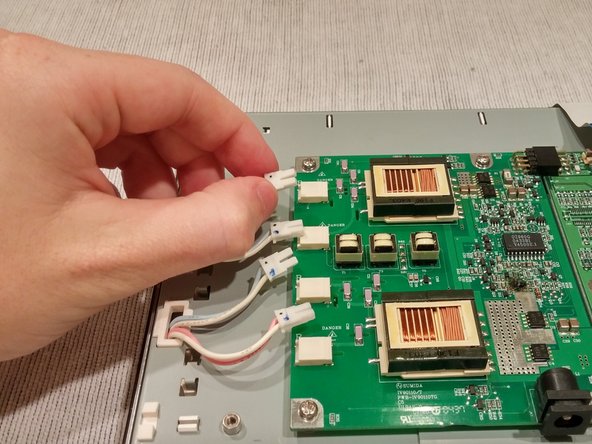
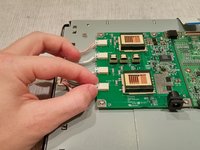
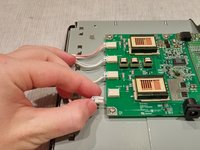
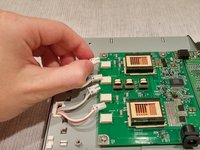
    • Unplug the 4 backlight wires from their ports on the Power Supply Board.

    • (Considering their size, the best way to unplug the backlight wires is by slowly jiggling the wires out of place)

    Vraag FixBot

    Voeg opmerking toe

  10. Acer AL1714 Video Display Board: stap 10, afbeelding 1 van 1
    • Unscrew the 5 screws holding the Power Supply and Video Display boards.

    Vraag FixBot

    Voeg opmerking toe

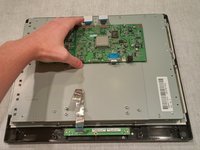
  11. Acer AL1714 Video Display Board: stap 11, afbeelding 1 van 2 Acer AL1714 Video Display Board: stap 11, afbeelding 2 van 2
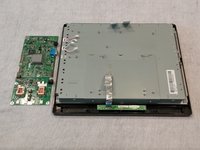
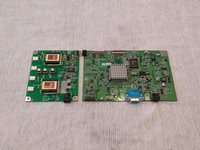
    • Lift and remove the joined boards.

    Vraag FixBot

    Voeg opmerking toe

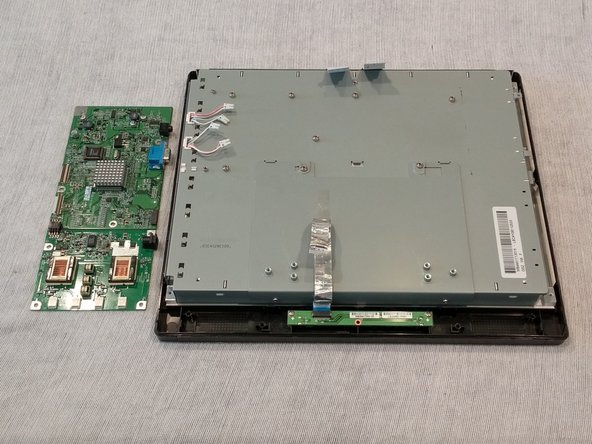
  12. Acer AL1714 Video Display Board: stap 12, afbeelding 1 van 3 Acer AL1714 Video Display Board: stap 12, afbeelding 2 van 3 Acer AL1714 Video Display Board: stap 12, afbeelding 3 van 3
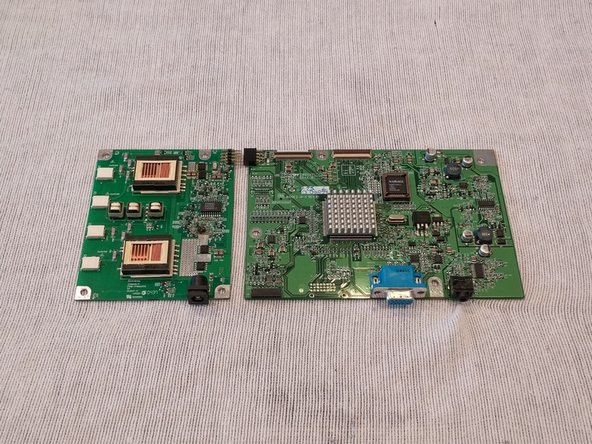
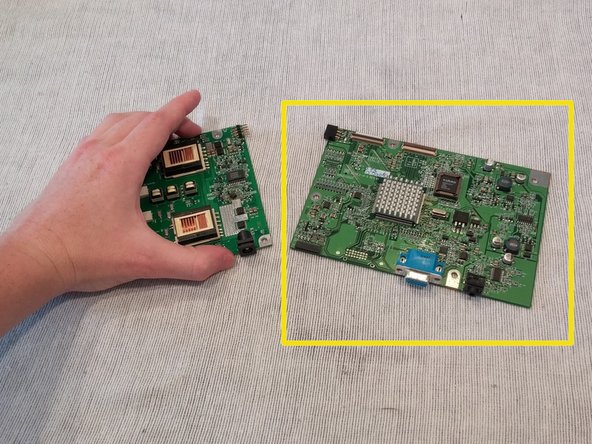
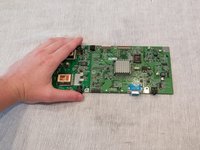
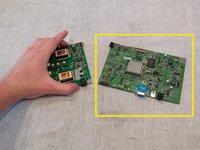
    • Carefully detach the two boards at their connector joint.

    • Replace outlined part.

    Vraag FixBot

    Voeg opmerking toe

Conclusie

To reassemble your device, follow these instructions in reverse order.

Annuleren: ik heb deze handleiding niet afgemaakt.

2 andere personen hebben deze handleiding voltooid.

Christopher Kelly

Lid sinds: 09/25/14

590 Reputatie

4 handleidingen geschreven

Team

USF Tampa, Team 1-3, Brown Fall 2014 Lid van USF Tampa, Team 1-3, Brown Fall 2014

USFT-BROWN-F14S1G3

3 Leden

5 handleidingen geschreven

0Gids Commentaar

Voeg opmerking toe

Weergavestatistieken:

Afgelopen 24 uren: 0

Afgelopen 7 dagen: 12

Afgelopen 30 dagen: 43

Altijd: 1,276