Ga door naar hoofdinhoud
Word lid van de reparatiegemeenschap - Account aanmaken

AT-LP120-USB Start/Stop Button Replacement

Wat je nodig hebt

    1. AT-LP120-USB Start/Stop Button Replacement, Preparation: stap 1, afbeelding 1 van 1
      • Disconnect your turntable from power and audio.

      • Move the turntable to a clear flat surface.

      Vraag FixBot

      Voeg opmerking toe

    2. AT-LP120-USB Start/Stop Button Replacement, Disassembly: Remove Necessary Accessories: stap 2, afbeelding 1 van 1
      • In this step, we are removing the necessary accessories to mitigate the possibility of damage in the upcoming steps.

      • Engage the tone arm clamp

      • Remove 45 adaptor.

      • Remove slipmat.

      • Remove platter by using the two circular holes and pulling vertically from the top of the turntable.

      • Remove the counterweight by unscrewing the rear clockwise.

      Vraag FixBot

      Voeg opmerking toe

    3. AT-LP120-USB Start/Stop Button Replacement, Disassembly: Tie Down Tone Arm: stap 3, afbeelding 1 van 1
      • This step is an extra precaution in case the tone arm clamp becomes loose during handling.

      • Tie down the tone arm using a twist tie/zip tie.

      • The next step involves flipping the turntable onto the the dust cover. At this time it would be best to find a soft surface (ie. cloth, foam, etc.) to place it on to mitigate damage to the dust cover.

      Vraag FixBot

      Voeg opmerking toe

    4. AT-LP120-USB Start/Stop Button Replacement, Disassembly: Remove Screws: stap 4, afbeelding 1 van 1
      • Place on soft surface (ie. cloth, foam, etc) to mitigate risk of damaging the dust cover.

      • Carefully flip the turntable onto the dust cover.

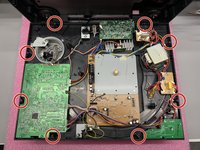
      • Remove 8 screws.

      • Each screw is accompanied by one brass bushing. These bushings might come out still attached to the screws, or will stay inside the turntable.

      Vraag FixBot

      Voeg opmerking toe

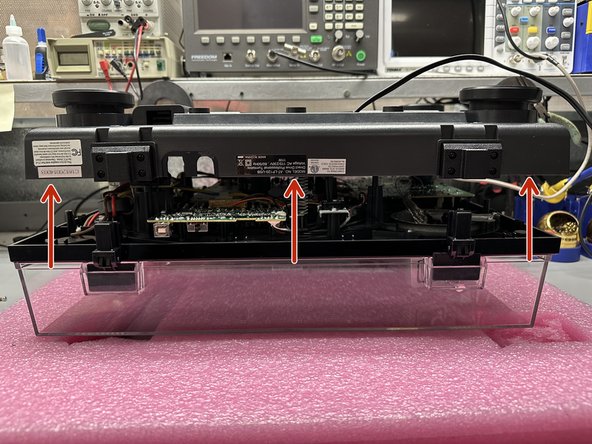
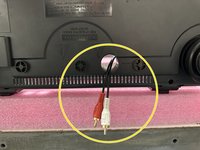
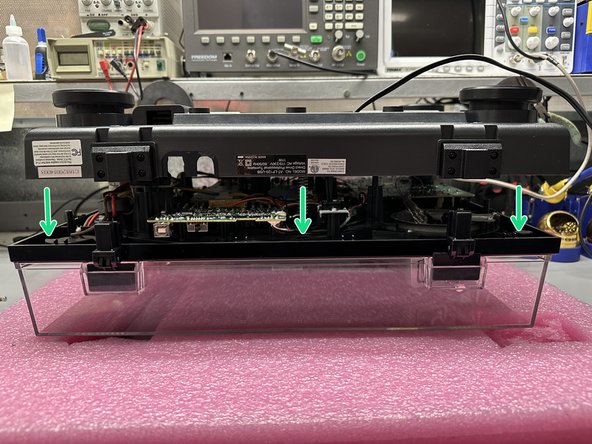
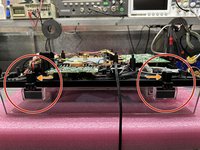
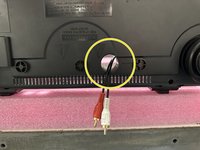
    5. AT-LP120-USB Start/Stop Button Replacement, Disassembly: Remove Bottom Cover: stap 5, afbeelding 1 van 3 AT-LP120-USB Start/Stop Button Replacement, Disassembly: Remove Bottom Cover: stap 5, afbeelding 2 van 3 AT-LP120-USB Start/Stop Button Replacement, Disassembly: Remove Bottom Cover: stap 5, afbeelding 3 van 3
      • Spin the turntable so that the rear is facing you.

      • Lift off the bottom cover.

      • Depending on manufacturer date, you may need to tilt the bottom cover to pull it away from the ports/switches.

      • Remove the hinges if they do not come out of the dust cover when lifting.

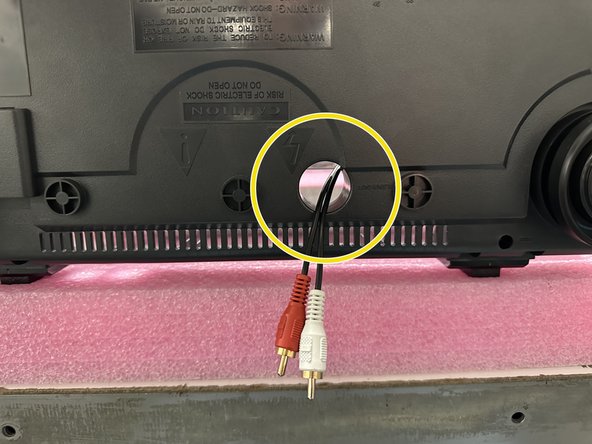
      • As you pull the bottom cover off, the RCA cables will be removed through this hole.

      Vraag FixBot

      Voeg opmerking toe

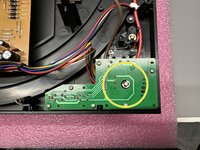
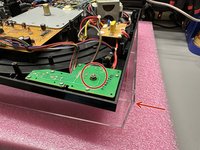
    6. AT-LP120-USB Start/Stop Button Replacement, Disassembly: Locate The Button: stap 6, afbeelding 1 van 3 AT-LP120-USB Start/Stop Button Replacement, Disassembly: Locate The Button: stap 6, afbeelding 2 van 3 AT-LP120-USB Start/Stop Button Replacement, Disassembly: Locate The Button: stap 6, afbeelding 3 van 3
      • Spin the turntable back around such that the front is closest to you.

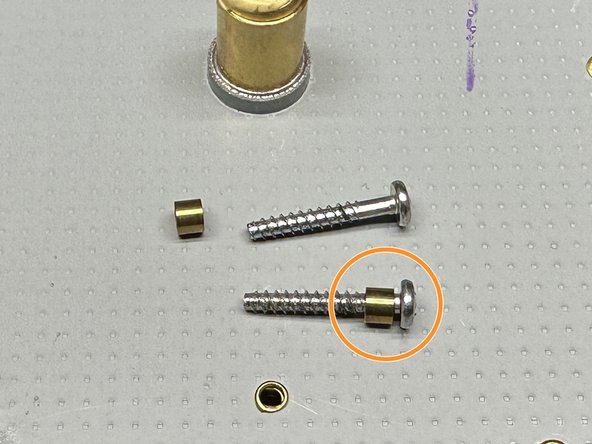
      • Locate and collect the 8 brass bushings if they did not come out with the screws.

      • Slide the bushings to the head of each screw and set aside for later.

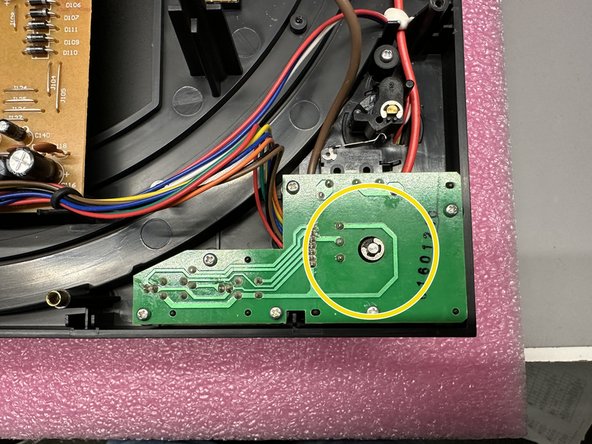
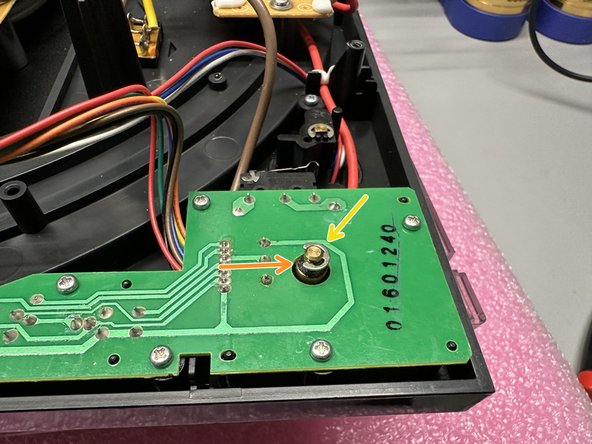
      • The button that is being removed can be located here.

      Vraag FixBot

      Voeg opmerking toe

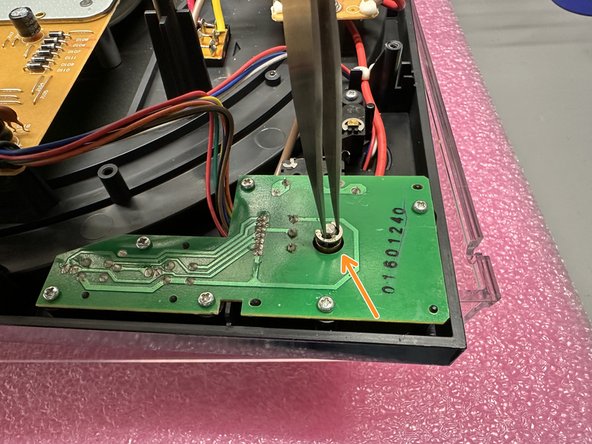
    7. AT-LP120-USB Start/Stop Button Replacement, Replacement: Removing Clamp and Washer: stap 7, afbeelding 1 van 3 AT-LP120-USB Start/Stop Button Replacement, Replacement: Removing Clamp and Washer: stap 7, afbeelding 2 van 3 AT-LP120-USB Start/Stop Button Replacement, Replacement: Removing Clamp and Washer: stap 7, afbeelding 3 van 3
      Gereedschap gebruikt in deze stap:
      Tweezers
      $4.99
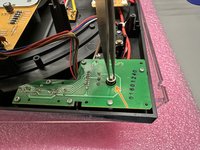
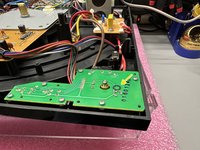
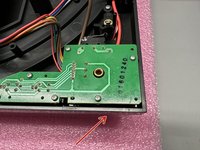
      • Adjust the turntable on top of the dust cover such that the button is protruding from the PCB.

      • Use a pair of tweezers or needle-nose pliers to remove the silver clamp.

      • The clamp requires a bit of force to be pulled off from the post.

      • Remove the black felt washer from the post.

      • Do not dispose of any pieces that come off of the button as these will be used on the replacement button.

      Vraag FixBot

      Voeg opmerking toe

    8. AT-LP120-USB Start/Stop Button Replacement, Replacement: Removing The Button: stap 8, afbeelding 1 van 3 AT-LP120-USB Start/Stop Button Replacement, Replacement: Removing The Button: stap 8, afbeelding 2 van 3 AT-LP120-USB Start/Stop Button Replacement, Replacement: Removing The Button: stap 8, afbeelding 3 van 3
      • The button is now loose and is able to be removed.

      • Adjust the turntable so the dust cover is no longer holding the button up.

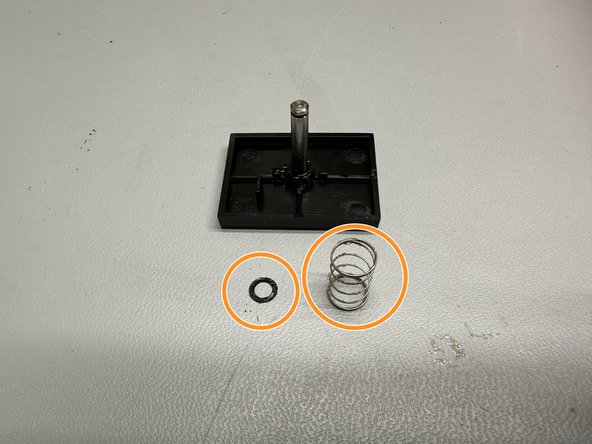
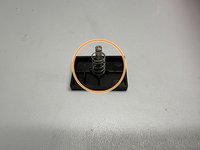
      • Remove the button and spring if it did not fall from adjusting the turntable.

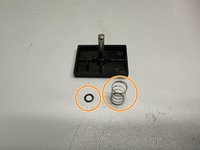
      • Remove the spring and black felt washer from the button shaft.

      • If the spring and/or black felt washer are not attached to the button upon removal they are likely stuck near where the button was removed from.

      • Do not dispose of any pieces that come off of the button as these will be used on the replacement button.

      Vraag FixBot

      Voeg opmerking toe

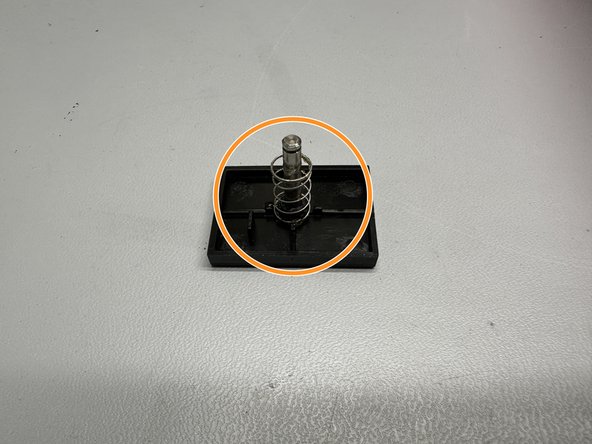
    9. AT-LP120-USB Start/Stop Button Replacement, Replacement: Configuring The New Button: stap 9, afbeelding 1 van 1
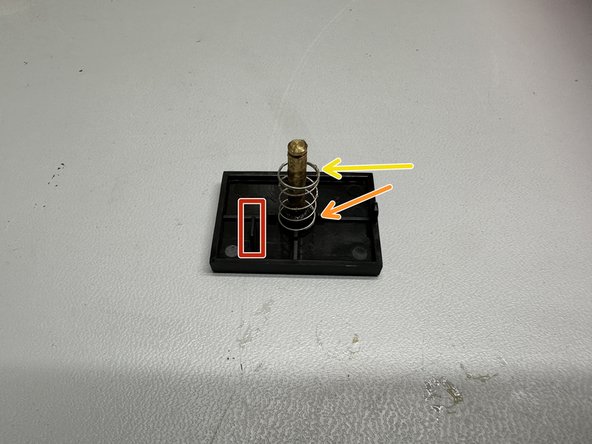
      • Locate your replacement button and place it such that the black plastic post is closest to you.

      • Keeping the button in this orientation for the remainder of the repair will ensure the correct orientation upon completion.

      • Slide the black felt washer down to the base of the shaft.

      • Position the spring around the shaft in-between the small plastic posts.

      Vraag FixBot

      Voeg opmerking toe

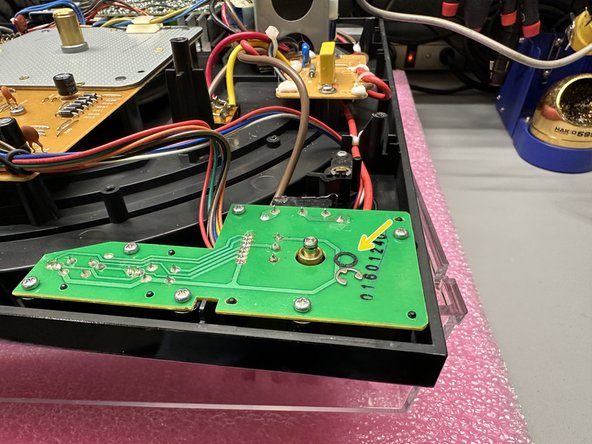
    10. AT-LP120-USB Start/Stop Button Replacement, Replacement: Inserting And Securing The Button: stap 10, afbeelding 1 van 2 AT-LP120-USB Start/Stop Button Replacement, Replacement: Inserting And Securing The Button: stap 10, afbeelding 2 van 2
      • Insert the button back into the base of the turntable with the small highlighted post from Step 9 closest to you.

      • Adjust the turntable on top of the dust cover such that the button is protruding from the PCB.

      • Slide the black felt washer onto the shaft of the new button.

      • Press the clamp back into the grooved portion of the shaft.

      • Attaching the clamp will require some force. The technicians normally use the flat handle side of their tweezers to push the clamp into place.

      Vraag FixBot

      Voeg opmerking toe

    11. AT-LP120-USB Start/Stop Button Replacement, Reassembly: Placing Bottom Cover: stap 11, afbeelding 1 van 3 AT-LP120-USB Start/Stop Button Replacement, Reassembly: Placing Bottom Cover: stap 11, afbeelding 2 van 3 AT-LP120-USB Start/Stop Button Replacement, Reassembly: Placing Bottom Cover: stap 11, afbeelding 3 van 3
      • Spin the turntable back around such that the rear is facing you.

      • Place the hinges back into the dust cover.

      • Press this part of the hinge so the hinge is in a vertical position.

      • Locate the bottom cover, and route the RCA cables com from the turntable through this hole.

      • Place the bottom cover onto the turntable such that the dust cover hinges are inserted into their respective brackets, and all ports are visible.

      • Depending on manufacturer date, you may need to tilt the bottom cover and insert the ports/switches before re-attaching the hinges and dust cover.

      Vraag FixBot

      Voeg opmerking toe

    12. AT-LP120-USB Start/Stop Button Replacement, Reassembly: Securing Bottom Cover: stap 12, afbeelding 1 van 1
      • Insert the 8 screws with the brass bushings attached into the bottom cover.

      • Brass bushing placement on the screw is shown in Step 6

      • The turntable is now reassembled.

      Vraag FixBot

      Voeg opmerking toe

Conclusie

If the motor continues to have no reaction to pressing the start/stop button after reconnecting the turntable to power and reattaching the platter, the issue is likely caused by a faulty motor.

For further technical assistance, please contact service@atus.com or one of the technicians at (330)686-2600 ext.5004

~Monday-Friday 8:00am to 5:00pm~

Annuleren: ik heb deze handleiding niet afgemaakt.

Één andere persoon heeft deze handleiding voltooid.

Bijgevoegde documenten

Anthony @ ATUS

Lid sinds: 02/28/19

1.216 Reputatie

6 handleidingen geschreven

0Gids Commentaar

Voeg opmerking toe

Weergavestatistieken:

Afgelopen 24 uren: 1

Afgelopen 7 dagen: 21

Afgelopen 30 dagen: 80

Altijd: 1,749