Inleiding
Use this guide to help you replace a broken or damaged fan that may be causing overheating issues and other problems with your laptop. Don't forget to keep track of all your screws.
Wat je nodig hebt
-
-
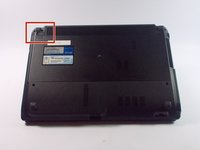
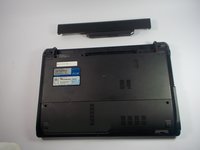
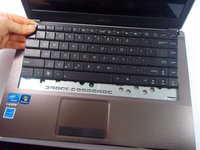
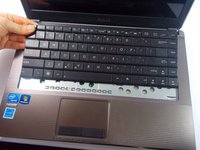
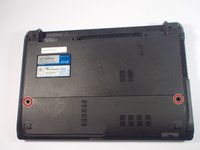
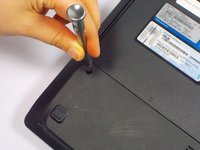
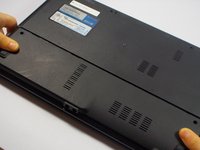
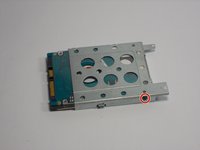
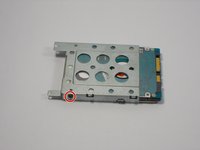
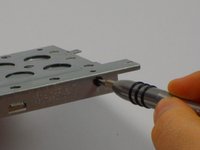
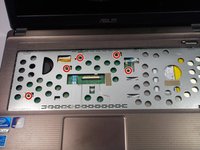
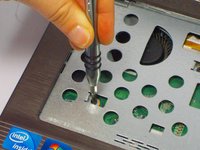
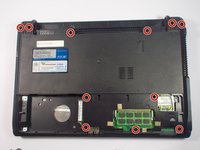
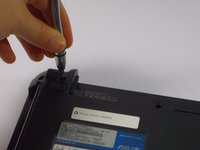
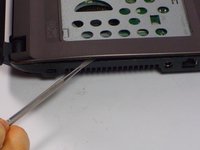
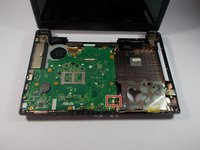
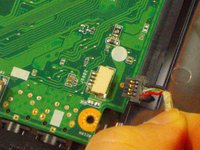
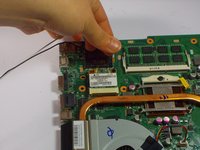
Remove the two 9 mm Phillips head screws with the PH0 bit indicated by the red circles in the picture.
-
-
-
-
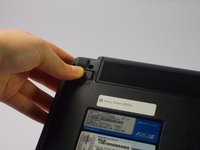
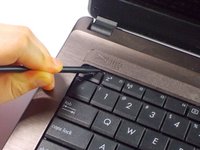
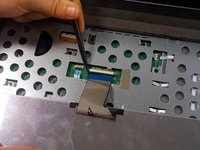
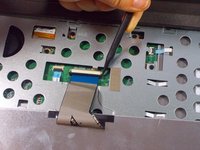
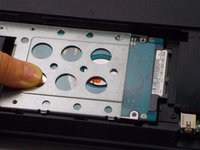
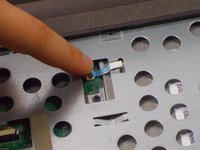
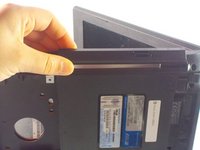
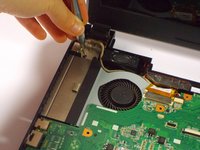
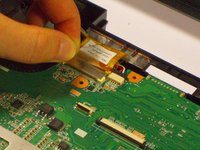
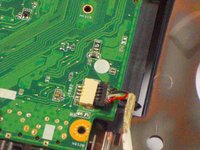
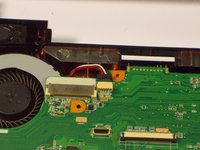
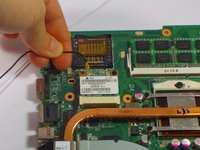
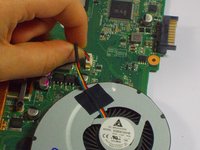
Lift up the black lock holding the ribbon.
-
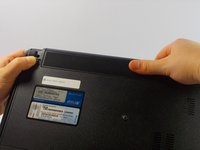
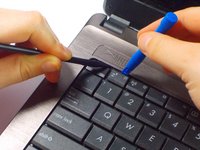
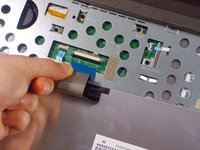
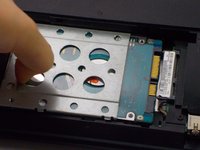
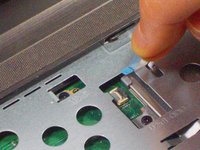
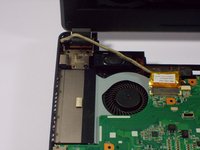
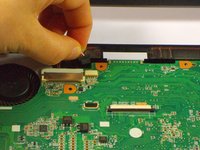
Using the blue tab, pull out the ribbon.
-
-
-
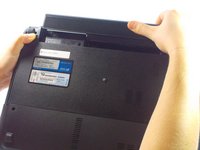
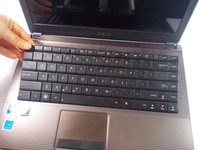
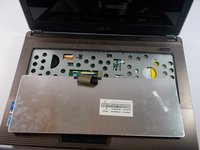
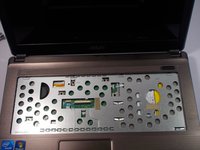
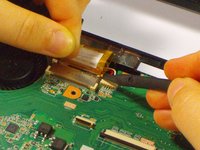
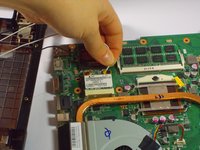
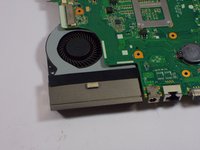
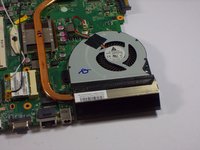
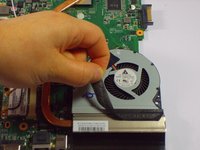
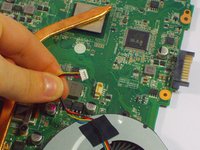
Remove the black piece of tape located on each side of the fan and vent, connecting the two components.
-


To reassemble your device, follow these instructions in reverse order.
Annuleren: ik heb deze handleiding niet afgemaakt.
Één andere persoon heeft deze handleiding voltooid.
Team

UMass Dartmouth, Team 4-3, Catania Fall 2015 Lid van UMass Dartmouth, Team 4-3, Catania Fall 2015
UMASSD-CATANIA-F15S4G3
4 Leden
8 handleidingen geschreven