Inleiding
This repair guide will walk you through the steps to removing and replacing the fan of your APS Tech 101629 CD-Drive. Fans are easily replaced and the process for removing this fan is fairly simple.
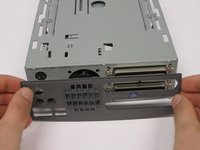
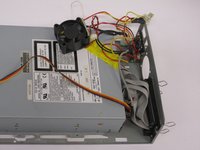
First the casing, channel switch, and power switch will need to be removed.
Wat je nodig hebt
-
-
Pry all four of the plastic feet off the bottom of the enclosure using the iPod opening tool.
 Vraag FixBot
-
-
-
Unscrew the four screws previously covered by the feet with a Phillips #1 screwdriver.
-
-
-
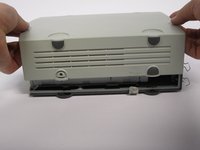
Flip the device right side up.
-
Gently slide the casing upwards and off the hard drive.
-
-
-
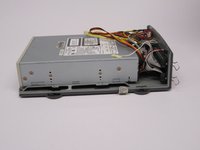
Flip device upside down again.
-
Gently pry the bottom gray casing away from the device.
-
-
-
-
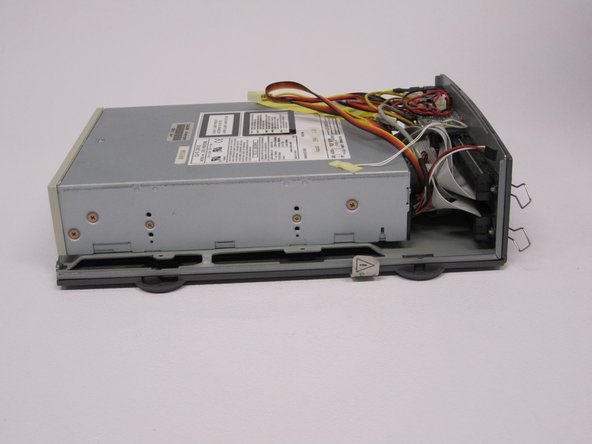
Rotate so the back of the device is facing you.
-
Gently pry the back casing away.
-
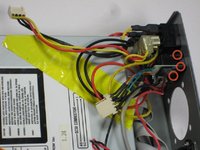
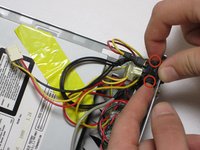
When the back casing is removed, the fan will become loose.
-
-
-
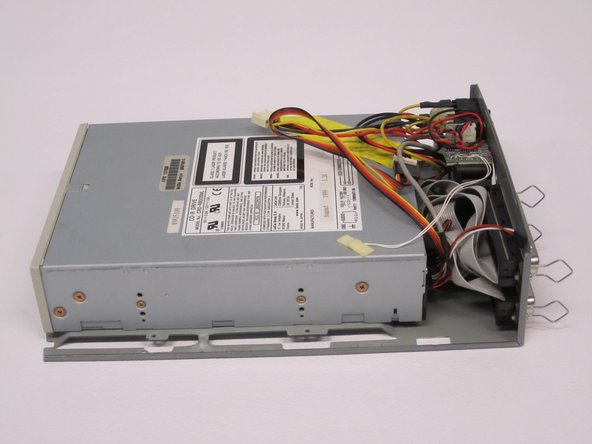
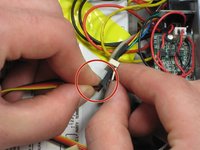
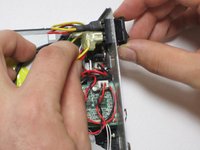
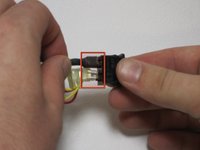
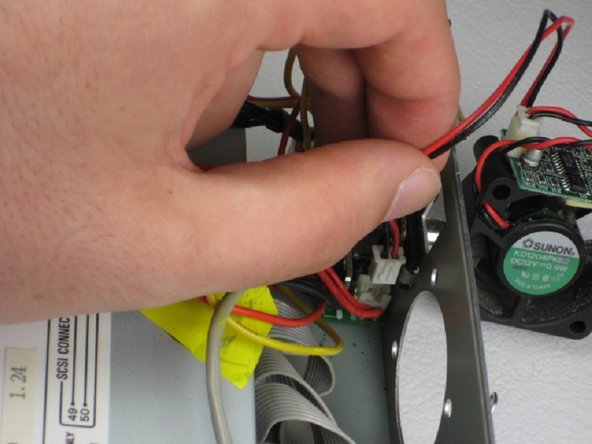
Find the conjoined ID cable wires that are colored black, orange, and yellow.
-
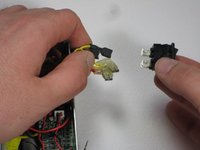
Lift white portion of cable wires to disconnect it.
-
-
-
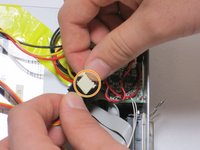
Using the spudger, depress the pressure holders at all four corners of the fan.
-
Take out the fan and its cords, by pulling it outward from its cavity within the device.
-
-
-
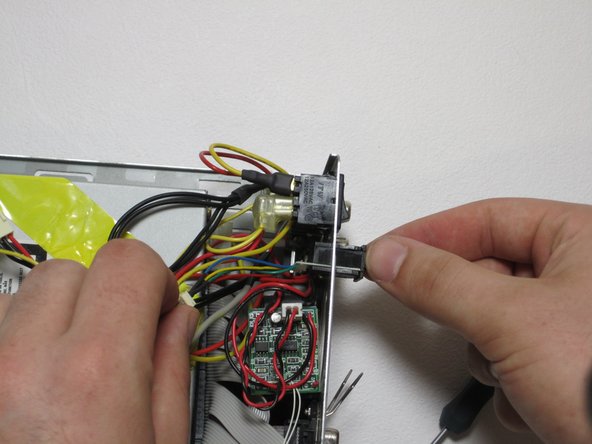
Depress 2 pressure holds on each side of the power switch.
-
Press out the back of the device.
-
-
-
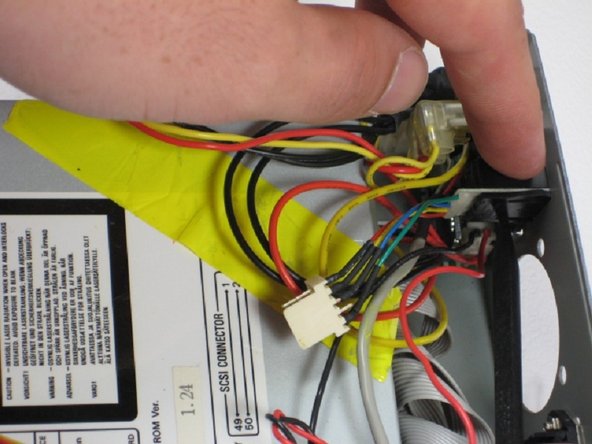
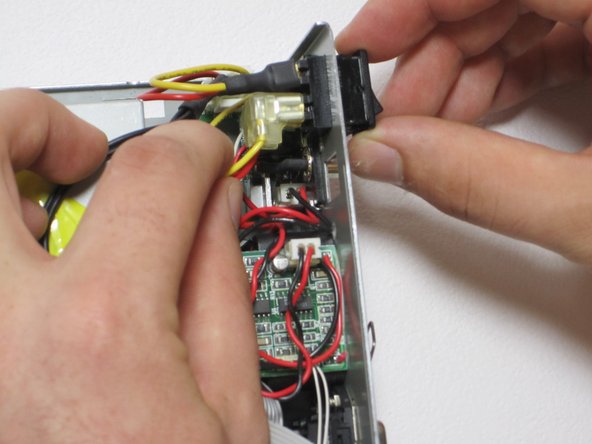
Remove all four 4 connections from the power switch.
-
Remember that the straight connections are on the far side, while the L-shaped connections are on the near side, and that both yellow connections are on top. This is helpful for reassembly.
-
-
-
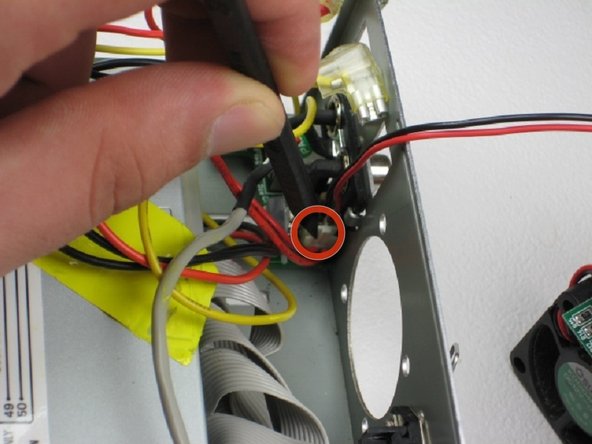
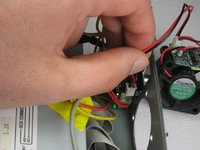
Move the exhaust fan out of the way so you can access its control cord.
-
Use the spudger to depress the hold on the fan cord.
-
Gently pull fan cord from connection and remove fan completely.
-


To reassemble your device, follow these instructions in reverse order.
Team

Cal Poly, Team 24-60, Amido Spring 2011 Lid van Cal Poly, Team 24-60, Amido Spring 2011
CPSU-AMIDO-S11S24G60
5 Leden
12 handleidingen geschreven