Ga door naar hoofdinhoud
Word lid van de reparatiegemeenschap - Account aanmaken

APEX AP-GS918 Battery Replacement

Wat je nodig hebt

    1. APEX AP-GS918 Battery Replacement, Power/Volume Button: stap 1, afbeelding 1 van 3 APEX AP-GS918 Battery Replacement, Power/Volume Button: stap 1, afbeelding 2 van 3 APEX AP-GS918 Battery Replacement, Power/Volume Button: stap 1, afbeelding 3 van 3
      • To begin, locate the two 4.9mm Phillips #00 screws at the top corners of the case and remove them.

      Vraag FixBot

      Voeg opmerking toe

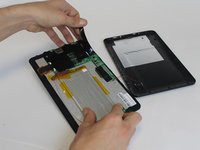
    2. APEX AP-GS918 Battery Replacement: stap 2, afbeelding 1 van 3 APEX AP-GS918 Battery Replacement: stap 2, afbeelding 2 van 3 APEX AP-GS918 Battery Replacement: stap 2, afbeelding 3 van 3
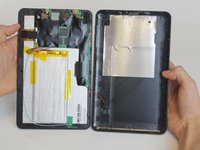
      • Squeeze the plastic opening tool in between the seam where the screen joins the plastic case.

      • Begin separating the bottom of the case from the screen by carefully going around the whole edge of the case and slowly prying it apart.

      • Be careful when separating the lids because the wires holding the speaker to the motherboard are very short.

      Vraag FixBot

      Voeg opmerking toe

    3. APEX AP-GS918 Battery Replacement: stap 3, afbeelding 1 van 2 APEX AP-GS918 Battery Replacement: stap 3, afbeelding 2 van 2
      Gereedschap gebruikt in deze stap:
      Tweezers
      $4.99
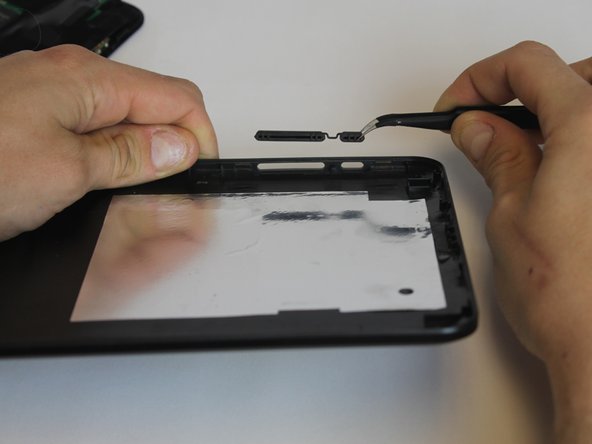
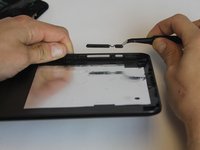
      • Carefully place the bottom lid next to the screen case. The power/speaker buttons should be visible at the corner of the lid. Remove the buttons with the tweezers.

      Vraag FixBot

      Voeg opmerking toe

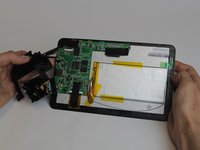
    1. APEX AP-GS918 Battery Replacement, Battery: stap 4, afbeelding 1 van 2 APEX AP-GS918 Battery Replacement, Battery: stap 4, afbeelding 2 van 2
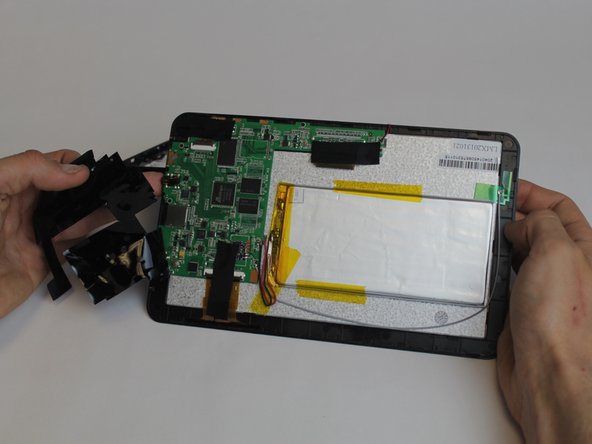
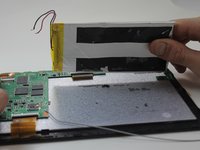
      • Begin removing the black tape covering the motherboard inside the tablet.

      Vraag FixBot

      Voeg opmerking toe

    2. APEX AP-GS918 Battery Replacement: stap 5, afbeelding 1 van 1
      • You will need to desolder the two contact points that connect the battery to the mother board.

      • Make sure to allow ample time (at least 5-8 minutes or more) for the soldering iron to heat up. Otherwise, the solder won't melt.

      • Touch the hot iron to the contact points and gently pull on the wires to loosen them from the solder. They should release easily.

      • Make sure not to touch the contact points after desoldering them because they will remain very hot for a short while afterwards.

      Vraag FixBot

      Voeg opmerking toe

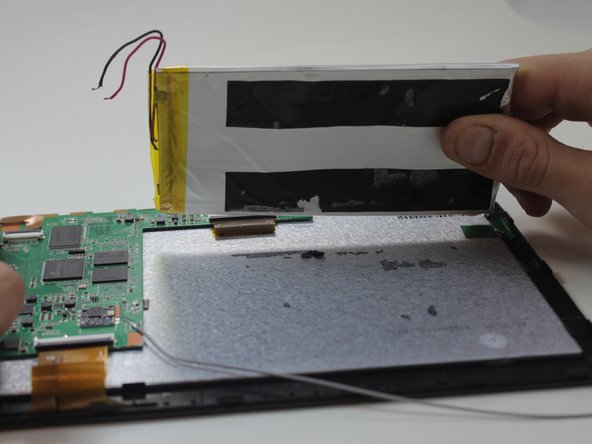
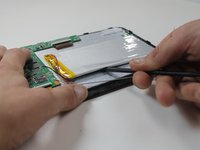
    3. APEX AP-GS918 Battery Replacement: stap 6, afbeelding 1 van 2 APEX AP-GS918 Battery Replacement: stap 6, afbeelding 2 van 2
      • Using the black nylon spudger, get underneath the battery and begin prying it loose from the rest of the tablet.

      • The tape holding the battery to the tablet has a very strong hold so be prepared for resistance.

      Vraag FixBot

      Voeg opmerking toe

Conclusie

To reassemble your device, follow these instructions in reverse order.

Annuleren: ik heb deze handleiding niet afgemaakt.

3 andere personen hebben deze handleiding voltooid.

Megan Lozicki

Lid sinds: 02/19/15

416 Reputatie

4 handleidingen geschreven

Team

USF Tampa, Team 9-1, Leahy Winter 2015 Lid van USF Tampa, Team 9-1, Leahy Winter 2015

USFT-LEAHY-W15S9G1

3 Leden

9 handleidingen geschreven

1Gids Commentaar

bien consejo, creo que es sencillo por todos para seguin estos pasos

harkhoscole - Antwoord Deel

Voeg opmerking toe

Weergavestatistieken:

Afgelopen 24 uren: 2

Afgelopen 7 dagen: 11

Afgelopen 30 dagen: 32

Altijd: 965