Ga door naar hoofdinhoud

Where is a decoder for diagnostic LED pattern?

iMac G5 20 22 Model A1145

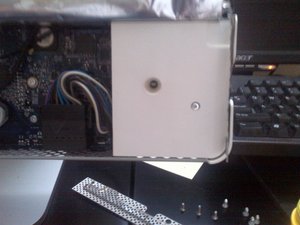
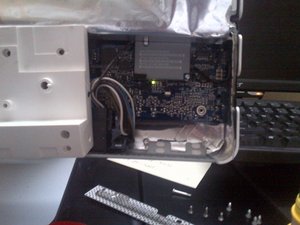
I am going to start working on my dead iMac G5 with isight, but with all the mentions in these threads of the diagnostic LED functions. I've yet to find a link or list of what they mean.

After a brief power outage, my old iMac probably was fried in the surge when power came back, so I suspect all I need to know is the one for a dead power supply. But still.

Update

This is a follow up question to the information you kindly provided above: The 1st LED stays lit when I plug it in, but when I push the power button, LED 2 flickers on for less than a second and then goes off again. The iMac stays black.

I have tried to reset the SMU by plugging it in while holding the power button, but nothing has changed.

The computer became bricked after a brief power outage (and was the only machine in the house not on a power strip).

Any ideas?

Beantwoord! Bekijk het antwoord Dit probleem heb ik ook

Is dit een goede vraag?

Score 1
Voeg een opmerking toe

2 Antwoorden

Gekozen oplossing

LED 1 indicates that trickle voltage from the power supply has been detected. This LED will be ON when the computer is turned off and your power supply is working correctly.

LED 2 indicates that the main logic board has detected proper power from the power supply when the computer is turned on. This LED will be ON when the computer is turned on and the power supply is working correctly.

LED 3 indicates that the computer and the LCD display are communicating. This LED will be ON when the computer is turned on and video signal is being generated.

LED 4 lights only if the computer detects an over-temperature condition. This LED will be OFF when the computer is turned on and running at the correct temperature.

Was dit antwoord nuttig?

Score 5

2 opmerkingen:

Thank you for your quick reply!

door

very useful, thank you!

door

Voeg een opmerking toe

For People trying to locate diagnostic LEDs on Imac 20" EMC:2082. They are located under the right speaker box.It's a large white plastic box in lower right corner behind the front panel and black plastic wrapping. You must remove the single screw holding it in and then wiggle it out of its surroundings.

Block Image

Block Image

I came accross this thread searching for how to do this, so I thought this would be a good place to put the information.

Was dit antwoord nuttig?

Score 3

1 Opmerking:

useful info. thank you!

door

Voeg een opmerking toe

Voeg je antwoord toe

philaro zal eeuwig dankbaar zijn.
Weergavestatistieken:

Afgelopen 24 uren: 0

Afgelopen 7 dagen: 1

Afgelopen 30 dagen: 2

Altijd: 2,965