Ga door naar hoofdinhoud

Wat je nodig hebt

Deze demontage is geen reparatiehandleiding. Om je iPod Nano 1st Generation te repareren, gebruik onze reparatiehandleidingen.

  1. iPod Nano 1st Generation Teardown, iPod Nano 1st Generation Teardown: stap 1, afbeelding 1 van 2 iPod Nano 1st Generation Teardown, iPod Nano 1st Generation Teardown: stap 1, afbeelding 2 van 2
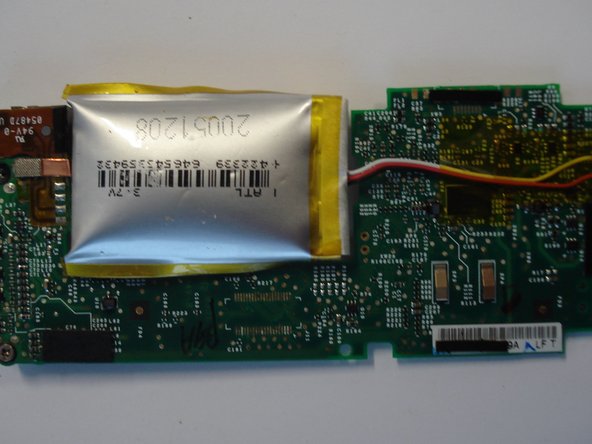
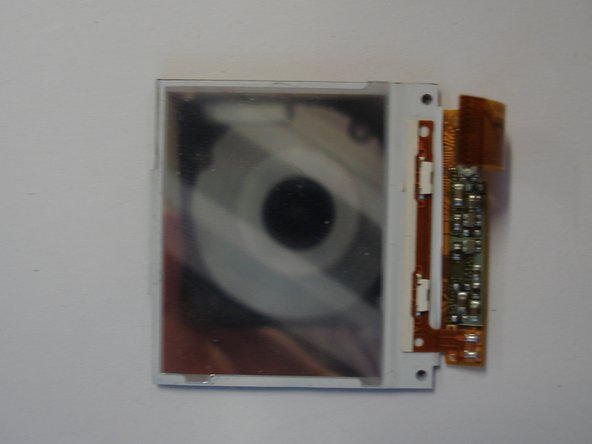
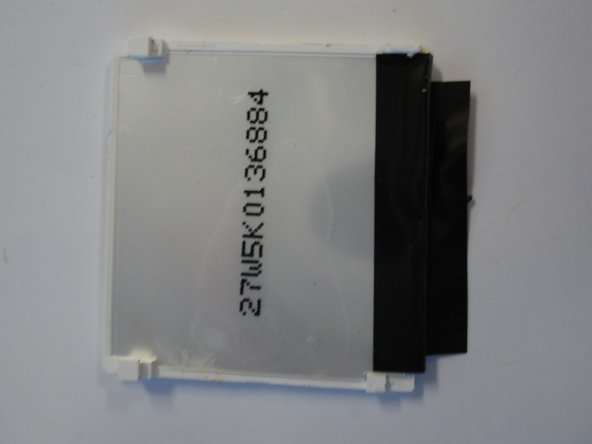
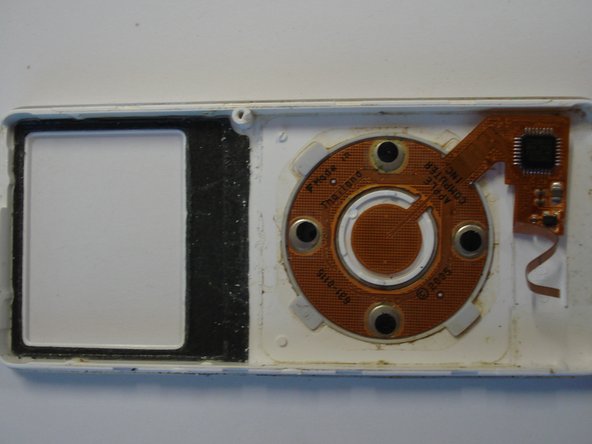
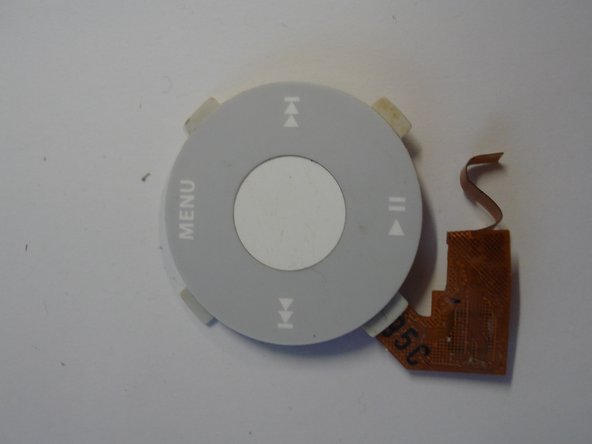
    • 1. Using an ipod unclipping tool (which could be a knife or similar to it), unclip the outer casing by putting the tool into the connection point. This should pop the case off. Note that force will need to be used.

  2. iPod Nano 1st Generation Teardown: stap 2, afbeelding 1 van 1
    • 2. Remove the circuit board by unscrewing the 3 screws that hold it down. Note that specialised screwdrivers may need to be used.

  3. iPod Nano 1st Generation Teardown: stap 3, afbeelding 1 van 2 iPod Nano 1st Generation Teardown: stap 3, afbeelding 2 van 2
    • 3. Remove battery by carefully detaching the connect wire that’s connected to the circuit board. Note that tweezers may need to be used to help pull the tab out.

  4. iPod Nano 1st Generation Teardown: stap 4, afbeelding 1 van 3 iPod Nano 1st Generation Teardown: stap 4, afbeelding 2 van 3 iPod Nano 1st Generation Teardown: stap 4, afbeelding 3 van 3
    • 4. The screen has 3 different sections, each held down by glue so necessary force is needed. First remove the acrylic backing that supports the screen and then the main part of the screen. The last thing to remove is the paper-thin cover.

  5. iPod Nano 1st Generation Teardown: stap 5, afbeelding 1 van 3 iPod Nano 1st Generation Teardown: stap 5, afbeelding 2 van 3 iPod Nano 1st Generation Teardown: stap 5, afbeelding 3 van 3
    • 5. Removing the touchpad is easy and simple as there are layered parts on top of each other, just simply pull them off.

  6. iPod Nano 1st Generation Teardown: stap 6, afbeelding 1 van 1
    • 6. Finally you should have the ipod dismantelled and you should be able to put the ipod back together.

Craig Lawrence

Lid sinds: 03/11/10

444 Reputatie

1 Handleiding geschreven

6 opmerkingen

when i put the rear cover back on, the charging station doesn't line up correctly and the charging station sticks out a bit. any advice?

krnchang - Antwoord

is the batter swollen

Derek King - Antwoord

Yes, happened to a Zune 80 I have

CTCL -

Thank you for this - took the fear factor out of changing battery on my much loved Nano!

jimbradshaw - Antwoord

It’s extremely hard to connect LCD and Button cables. I screwed it up while reconnecting the cables. IF, you want to disassemble this machine by fun, don’t ever try it.

Sizun Cho - Antwoord

Voeg opmerking toe

Weergavestatistieken:

Afgelopen 24 uren: 4

Afgelopen 7 dagen: 35

Afgelopen 30 dagen: 148

Altijd: 28,549