Stap 10 vertalen


-
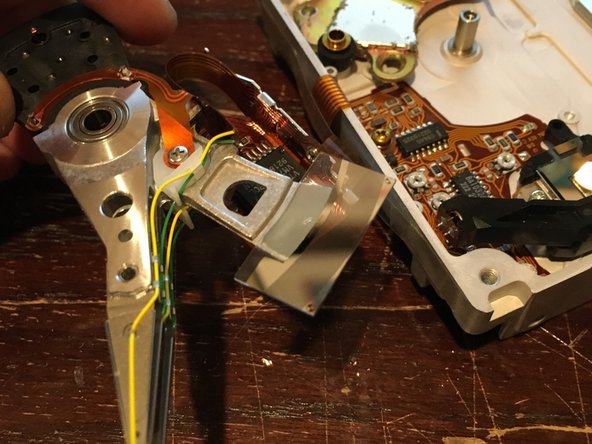
Now, you can pull on the metal tab (circled in red), and pull off both the read/write head and some of the ribbon cables. Lift straight up to detach the read/write head ("circled" in orange - follow the orange arrows). Now, you can remove the bottom neodymium magnet. Pull it straight up, and don't put it near the other magnet!
-
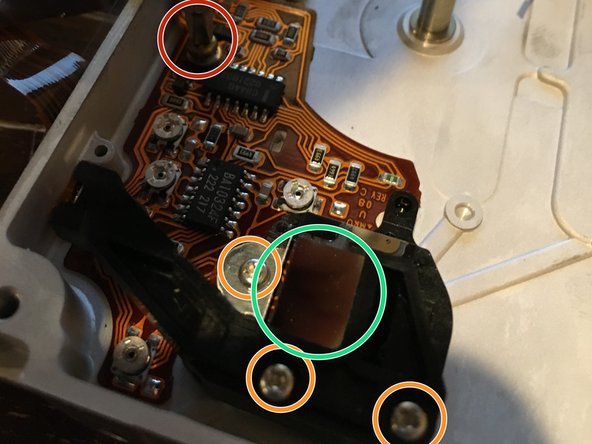
Now, remove the remaining Phillips PH1 screw (3rd picture circled in red) on the inner PCB and the three Phillips PH0 screws (3rd picture circled in orange) on the assembly right next to the inner PCB.
-
Pull the whole thing out (you have to remove the sticker strap on the outside of the drive. Pull off to remove the ribbon cables and detach the inner PCB assembly from the drive.).
-
Make sure to be careful at this step. I pulled too hard and shattered the mirror assembly, which is made of very sharp and very thin glass (The mirror is circled in green in the third picture.).
Je bijdragen zijn gelicentieerd onder de open source Creative Commons-licentie.