Stap 14 vertalen
Stap 14


-
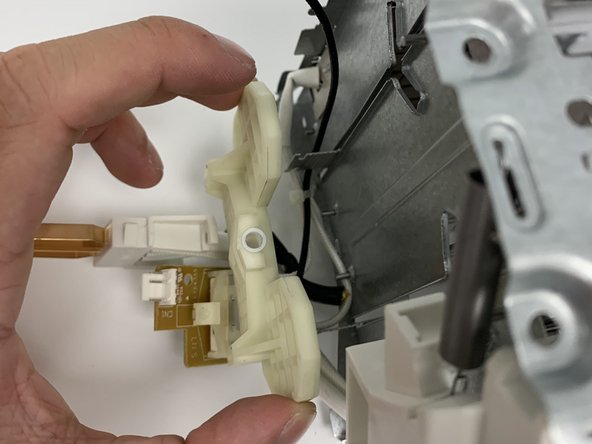
The plastic parts should easily come off, however they are still attached to wires and are soldered on. They lead into the main chassis.
-
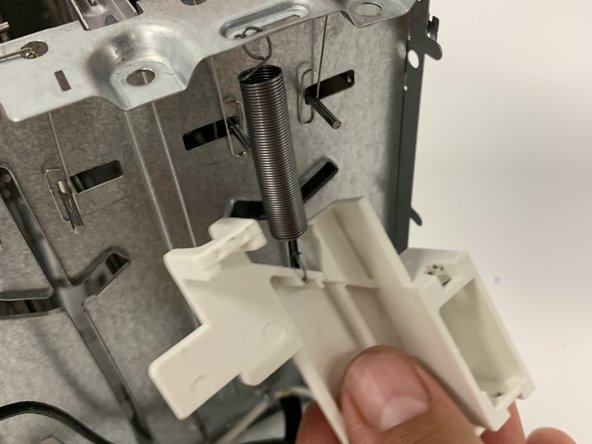
The next step is to remove any wiring leading into the chassis.
-
Be careful not to pull too hard on the pieces as there may be wires on the inside attached.
Je bijdragen zijn gelicentieerd onder de open source Creative Commons-licentie.