Ga door naar hoofdinhoud

Deze demontage is geen reparatiehandleiding. Om je BMANI-VEAT00L te repareren, gebruik onze reparatiehandleidingen.

  1. Wireless Earbuds BMANI-VEAT00L Teardown, Introduction: stap 1, afbeelding 1 van 3 Wireless Earbuds BMANI-VEAT00L Teardown, Introduction: stap 1, afbeelding 2 van 3 Wireless Earbuds BMANI-VEAT00L Teardown, Introduction: stap 1, afbeelding 3 van 3
    • Carrying case and two earbuds

  2. Wireless Earbuds BMANI-VEAT00L Teardown, Case Disassembly: stap 2, afbeelding 1 van 3 Wireless Earbuds BMANI-VEAT00L Teardown, Case Disassembly: stap 2, afbeelding 2 van 3 Wireless Earbuds BMANI-VEAT00L Teardown, Case Disassembly: stap 2, afbeelding 3 van 3
    • Case shell is mounted to earbud holder with plastic clips

    • 4 plastic clips need to be released

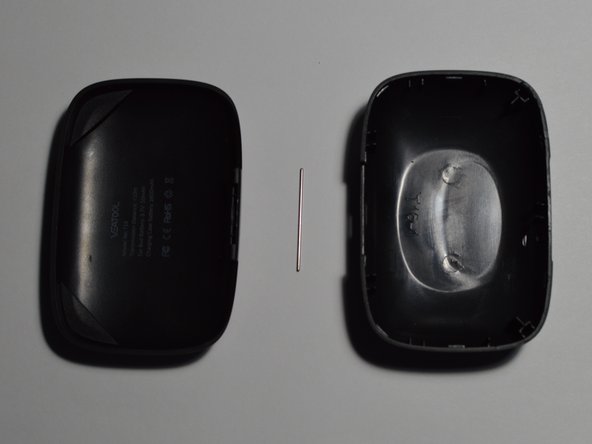
  3. Wireless Earbuds BMANI-VEAT00L Teardown, Hinge mechanism: stap 3, afbeelding 1 van 2 Wireless Earbuds BMANI-VEAT00L Teardown, Hinge mechanism: stap 3, afbeelding 2 van 2
    • A pin through the lid attaches the top to the bottom of the case. It is held in place by the interior when it is latched in place.

  4. Wireless Earbuds BMANI-VEAT00L Teardown, Case Electronics Removal: stap 4, afbeelding 1 van 3 Wireless Earbuds BMANI-VEAT00L Teardown, Case Electronics Removal: stap 4, afbeelding 2 van 3 Wireless Earbuds BMANI-VEAT00L Teardown, Case Electronics Removal: stap 4, afbeelding 3 van 3
    • Battery is secured with double sided tape.

    • 3 #0 Phillips screws hold PCB to ear bud holder.

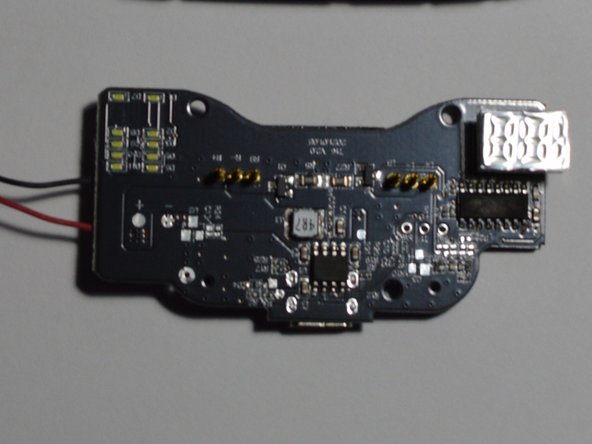
  5. Wireless Earbuds BMANI-VEAT00L Teardown, Case Dissembled: stap 5, afbeelding 1 van 2 Wireless Earbuds BMANI-VEAT00L Teardown, Case Dissembled: stap 5, afbeelding 2 van 2
    • All parts of case disassembled and detailed view of PCB.

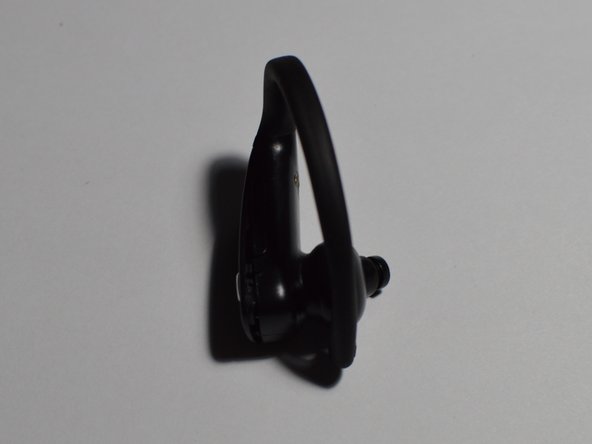
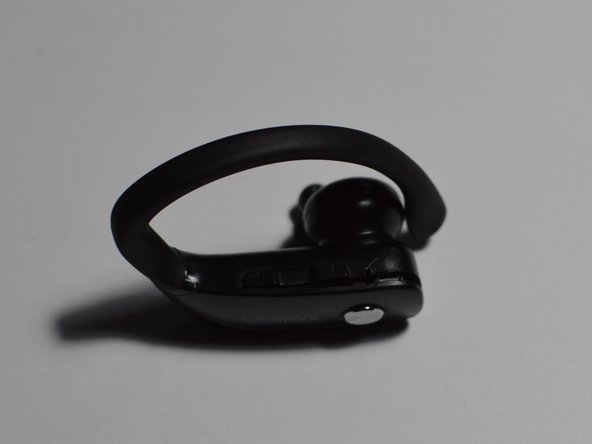
  6. Wireless Earbuds BMANI-VEAT00L Teardown, Earbud Overview: stap 6, afbeelding 1 van 3 Wireless Earbuds BMANI-VEAT00L Teardown, Earbud Overview: stap 6, afbeelding 2 van 3 Wireless Earbuds BMANI-VEAT00L Teardown, Earbud Overview: stap 6, afbeelding 3 van 3
    • Assembled ear bud

  7. Wireless Earbuds BMANI-VEAT00L Teardown: stap 7, afbeelding 1 van 2 Wireless Earbuds BMANI-VEAT00L Teardown: stap 7, afbeelding 2 van 2
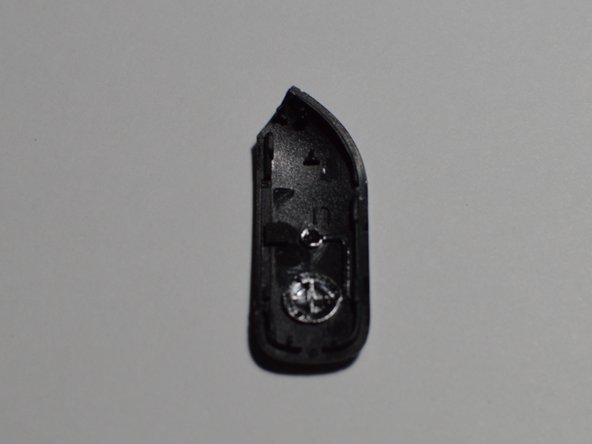
    • Told lid is held in place with plastic clips.

    • Top has one button welded to it, two buttons for volume are on the side and can be removed, these have a pin in the middle to form a rotation point.

  8. Wireless Earbuds BMANI-VEAT00L Teardown, Electronics of Earbud: stap 8, afbeelding 1 van 1
    • PCB can be lifted out of earbud. The speaker section is sealed in the end of the earbud.

  9. Wireless Earbuds BMANI-VEAT00L Teardown, Ear Bud Disassembled: stap 9, afbeelding 1 van 1
    • All parts removed.

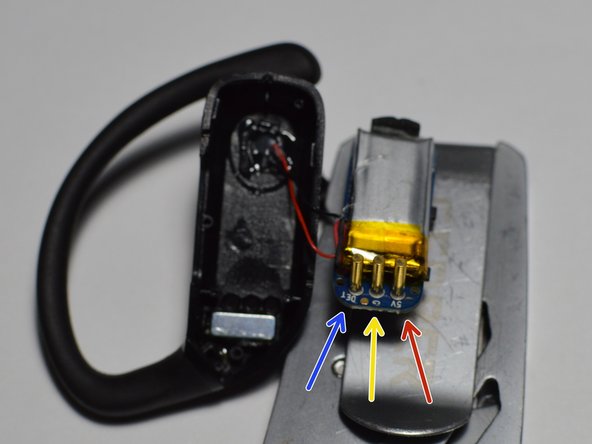
  10. Wireless Earbuds BMANI-VEAT00L Teardown, Connections: stap 10, afbeelding 1 van 3 Wireless Earbuds BMANI-VEAT00L Teardown, Connections: stap 10, afbeelding 2 van 3 Wireless Earbuds BMANI-VEAT00L Teardown, Connections: stap 10, afbeelding 3 van 3
    • How the earbuds connect to the case to charge.

    • 5V

    • GND

    • DET

    • Case PCB has spring load pins on it

  11. Wireless Earbuds BMANI-VEAT00L Teardown, Earbud magnets: stap 11, afbeelding 1 van 2 Wireless Earbuds BMANI-VEAT00L Teardown, Earbud magnets: stap 11, afbeelding 2 van 2
    • Magnets hold earbuds securely in case.

  12. Wireless Earbuds BMANI-VEAT00L Teardown, Case Magnets: stap 12, afbeelding 1 van 2 Wireless Earbuds BMANI-VEAT00L Teardown, Case Magnets: stap 12, afbeelding 2 van 2
    • Lid is held shut by two magnets in the interior and two magnets hidden in the lid.

Wieli

Lid sinds: 01/08/23

1.707 Reputatie

10 handleidingen geschreven

0 opmerkingen

Voeg opmerking toe

Weergavestatistieken:

Afgelopen 24 uren: 0

Afgelopen 7 dagen: 4

Afgelopen 30 dagen: 24

Altijd: 205