Inleiding
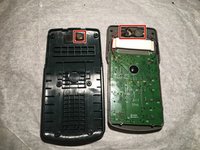
This poor TI-30Xa was covered in trash juice (bleh!) so I rinsed it off, because a functional calculator that smells awful and is greasy is just as bad as a nonfunctional one! If the calculator got wet, the keys are a major ingress point, so you have to pry out the motherboard to dry it off. I wouldn't try this for fun because all you can do yourself is pry off the battery connectors. You can pry the motherboard out, but it rips some plastic pegs and might damage it. This teardown was shot with an iPhone 6S, in case you were wondering. Lighting can make or break! I just used a desk lamp.
Wat je nodig hebt
-
-
You'll need to take out the 6 Philips 00 screws on the back to pop this puppy open. So, do just that!.
-
-
-
See those notches? We'll have to pry on those to get the calc open. Use a plastic spudger to avoid cosmetic damage.
-
-
-
-
Pop goes the weasel! The back cover is off! Now, you'll have to remove those batteries and connectors. The batteries are easy to get out, while for the connectors, you might have to do some prying with a flathead to get them out.
-
-
-
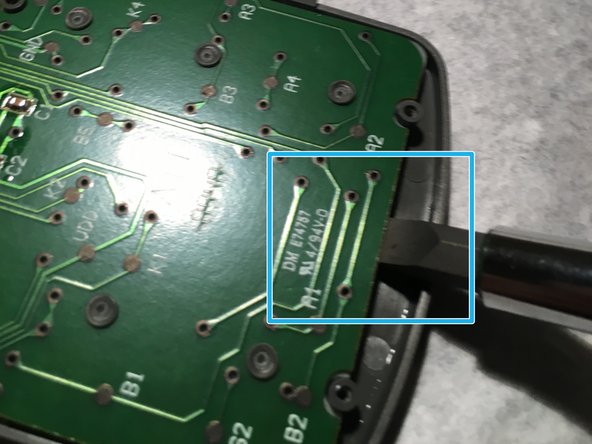
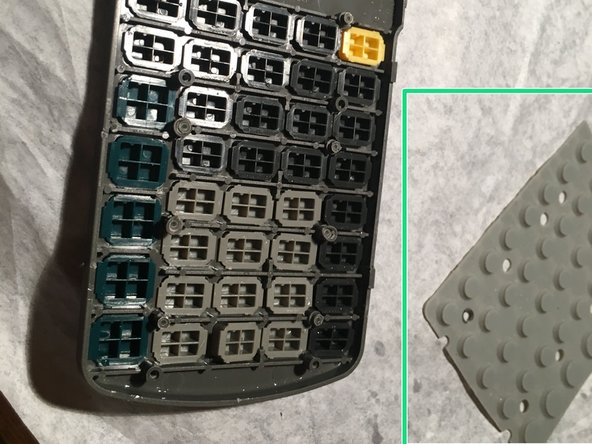
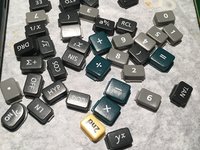
See those little plastic pegs? Those prevent the logic board from being freed! (I think it's to maintain key rigidity and proper function. My keys worked fine after this, but they were pretty mushy.)
-
You're not going to like this step, as it involves prying with a screwdriver and breaking these awful pegs off! So pry until the pegs in that area break, then move down the board!
-
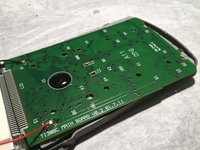
The board is free!
-
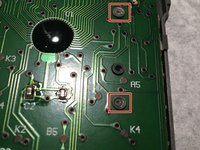
Also, this little epoxy blob appears to be the processor. I could probably melt it off if I desperately wanted to, but the calculator works fine. If someone does, send me pics! I'm assuming the processor is ancient Texas secret. Or just some propietary chip.
-
-
-
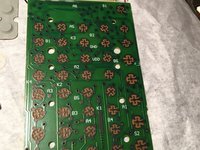
Here we have it. A free board. Clean off those connectors if they're dirty or wet!
-
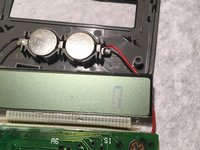
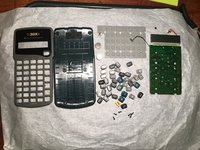
See that little gray layer? It's what transfers the button push from the plastic to the board. You can remove it to clean it. You're pretty much done! Look at step 6 for an exploded view.
-


9 opmerkingen
how easy was this from 0 to 10 remember 10 is easiest
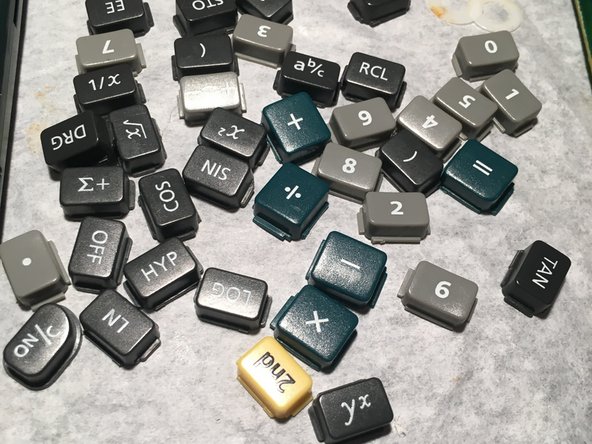
Any tips on how to best get the key caps back in the right spot? Also, could you use super glue to fix the board back on its mounting pins?
You’re going to have to realign them all manually. Also, I’m pretty sure you could, but use it sparingly.
Any idea how to get a spare LCD display?
Hey, the display is somehow soldered to a flexible PCB which is soldered to the motherboard. They’re permanently adhered together. You should just buy a new calculator since these are so cheap.
Does anyone know where to order the screws for this?
I’d honestly just buy a new calculator or a broken one that you can get the screws from. This teardown was just for fun.