Ga door naar hoofdinhoud

Wat je nodig hebt

Video overzicht

Deze demontage is geen reparatiehandleiding. Om je Sony Xperia Z5 te repareren, gebruik onze reparatiehandleidingen.

  1. Sony Xperia Z5 Teardown, Sony Xperia Z5 Teardown: stap 1, afbeelding 1 van 2 Sony Xperia Z5 Teardown, Sony Xperia Z5 Teardown: stap 1, afbeelding 2 van 2
    • Remove SIM card tray.

  2. Sony Xperia Z5 Teardown: stap 2, afbeelding 1 van 2 Sony Xperia Z5 Teardown: stap 2, afbeelding 2 van 2
    • Heat the back cover to soften the adhesive.

    • Place the suction cup and insert metal opening tool to open a gap from top side.

  3. Sony Xperia Z5 Teardown: stap 3, afbeelding 1 van 3 Sony Xperia Z5 Teardown: stap 3, afbeelding 2 van 3 Sony Xperia Z5 Teardown: stap 3, afbeelding 3 van 3
    • Insert the guitar picks and slide it to cut the adhesive underneath.

    • Remove back cover. The back cover is glass, so only use a sucker if you're experienced. otherwise use a small blade to lift off the back while the glue is soft.

  4. Sony Xperia Z5 Teardown: stap 4, afbeelding 1 van 3 Sony Xperia Z5 Teardown: stap 4, afbeelding 2 van 3 Sony Xperia Z5 Teardown: stap 4, afbeelding 3 van 3
    • Release battery connector and pull off the adhesive tape underneath.

    • Pry up battery.

  5. Sony Xperia Z5 Teardown: stap 5, afbeelding 1 van 3 Sony Xperia Z5 Teardown: stap 5, afbeelding 2 van 3 Sony Xperia Z5 Teardown: stap 5, afbeelding 3 van 3
    • Release rear camera connector, front camera connector, audio jack flex connector and main flex connector on the motherboard and remove the screws there.

    • Take away the plastic bracket.

  6. Sony Xperia Z5 Teardown: stap 6, afbeelding 1 van 3 Sony Xperia Z5 Teardown: stap 6, afbeelding 2 van 3 Sony Xperia Z5 Teardown: stap 6, afbeelding 3 van 3
    • Remove metal cover securing loudspeaker and twist off screws.

    • Pry up and loosen the bottom side of main flex assembly.

  7. Sony Xperia Z5 Teardown: stap 7, afbeelding 1 van 2 Sony Xperia Z5 Teardown: stap 7, afbeelding 2 van 2
    • Remove main flex. ( Attention: the fingerprint sensor connector is here, be careful to loosen it)

  8. Sony Xperia Z5 Teardown: stap 8, afbeelding 1 van 2 Sony Xperia Z5 Teardown: stap 8, afbeelding 2 van 2
    • This is main flex assembly. (It comes with loudspeaker and vibration motor )

  9. Sony Xperia Z5 Teardown: stap 9, afbeelding 1 van 2 Sony Xperia Z5 Teardown: stap 9, afbeelding 2 van 2
    • Remove rear camera.

  10. Sony Xperia Z5 Teardown: stap 10, afbeelding 1 van 3 Sony Xperia Z5 Teardown: stap 10, afbeelding 2 van 3 Sony Xperia Z5 Teardown: stap 10, afbeelding 3 van 3
    • Remove that securing bracket, then remove front camera.

  11. Sony Xperia Z5 Teardown: stap 11, afbeelding 1 van 3 Sony Xperia Z5 Teardown: stap 11, afbeelding 2 van 3 Sony Xperia Z5 Teardown: stap 11, afbeelding 3 van 3
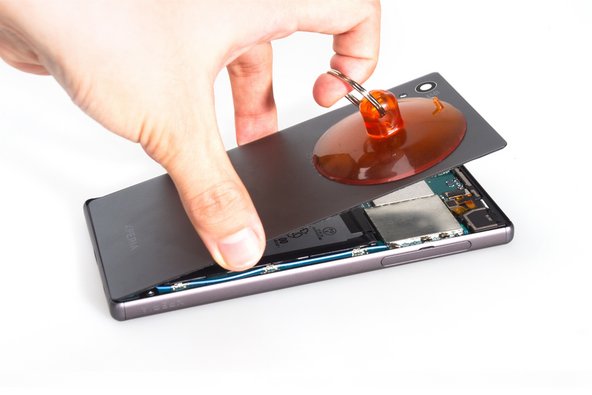
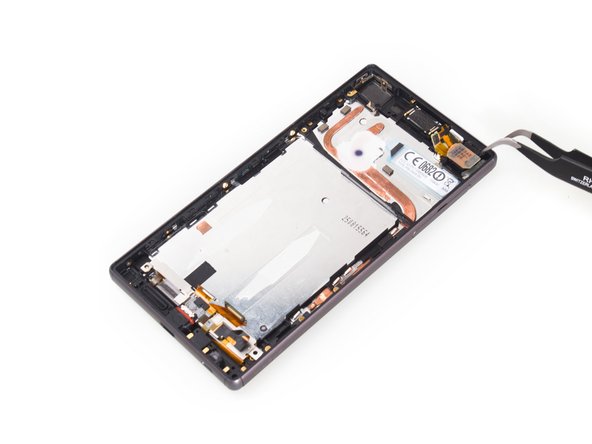
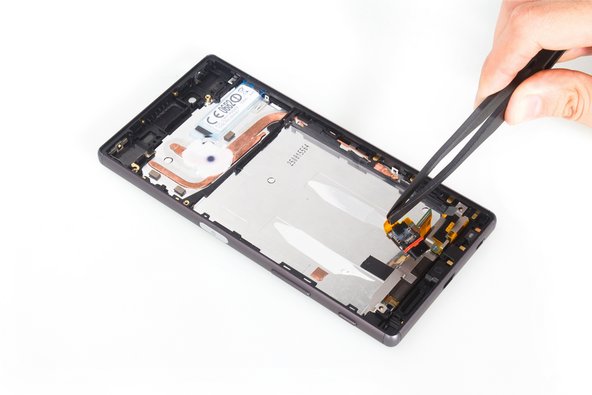
    • Release connectors on the motherboard.
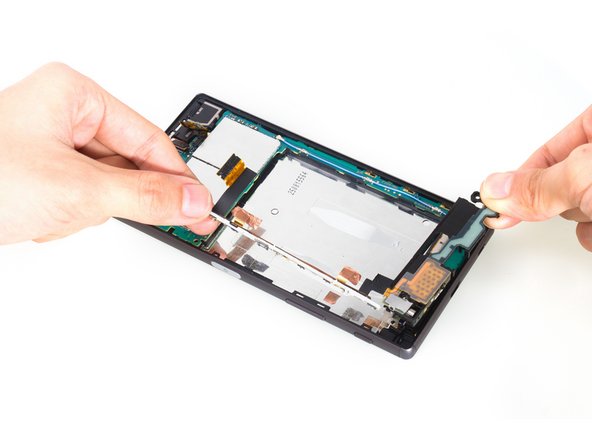
    • Remove motherboard.

    Motherboard may be stuck around near battery connection on opasite side of the board ( helps with cooling )

    Applecake “Applecake” - Antwoord

    Can I buy a motherboard

    Rajae Hasbou - Antwoord

  12. Sony Xperia Z5 Teardown: stap 12, afbeelding 1 van 3 Sony Xperia Z5 Teardown: stap 12, afbeelding 2 van 3 Sony Xperia Z5 Teardown: stap 12, afbeelding 3 van 3
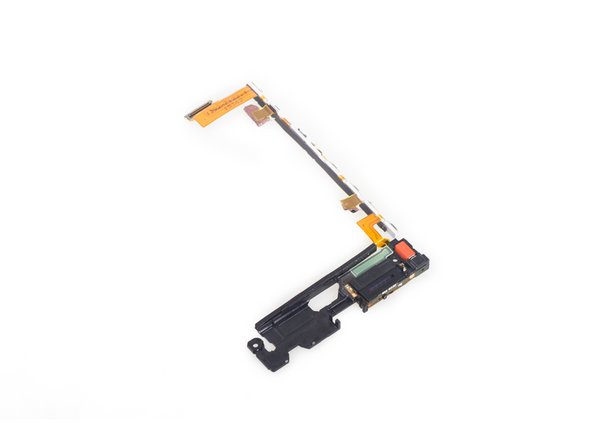
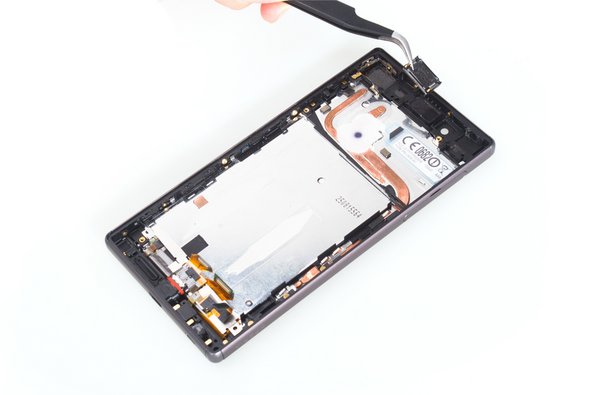
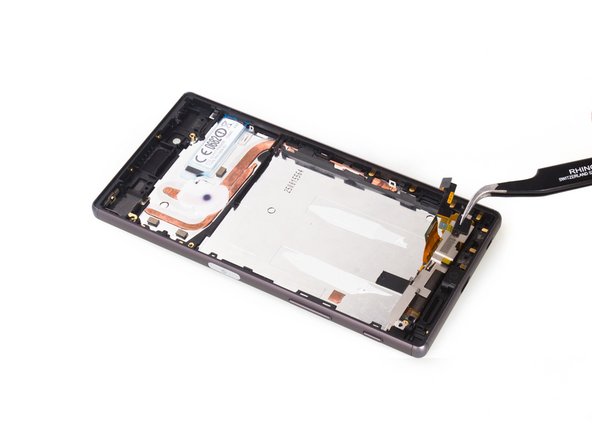
    • Remover cover bracket on the audio jack.

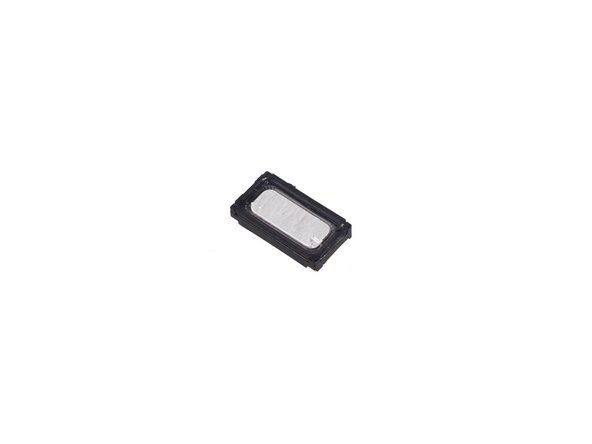
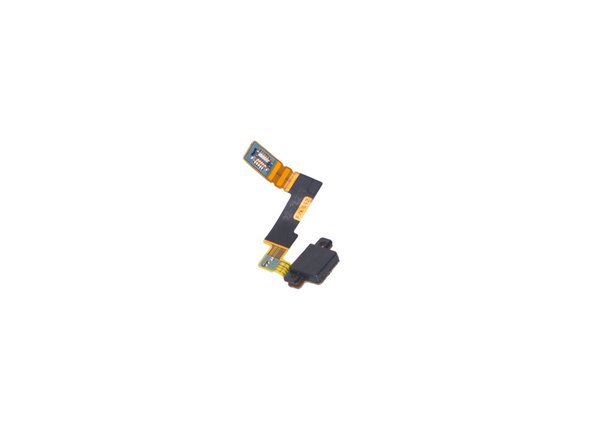
    • Cut adhesive at the top of the audio jack and noise canceling mic, then remove it.

    If my noise cancelling mic is broken, do I need to do all the steps before or can I cut straight to this point?

    Dany Chamoun - Antwoord

  13. Sony Xperia Z5 Teardown: stap 13, afbeelding 1 van 1
    • This is audio jack flex coming with noise canceling mic.

  14. Sony Xperia Z5 Teardown: stap 14, afbeelding 1 van 3 Sony Xperia Z5 Teardown: stap 14, afbeelding 2 van 3 Sony Xperia Z5 Teardown: stap 14, afbeelding 3 van 3
    • Cut the adhesive underneath the earpiece and remove the earpiece.

  15. Sony Xperia Z5 Teardown: stap 15, afbeelding 1 van 3 Sony Xperia Z5 Teardown: stap 15, afbeelding 2 van 3 Sony Xperia Z5 Teardown: stap 15, afbeelding 3 van 3
    • Push the charging port flex out of the slot and remove it.

  16. Sony Xperia Z5 Teardown: stap 16, afbeelding 1 van 3 Sony Xperia Z5 Teardown: stap 16, afbeelding 2 van 3 Sony Xperia Z5 Teardown: stap 16, afbeelding 3 van 3
    • Remove the microphone.

  17. Sony Xperia Z5 Teardown: stap 17, afbeelding 1 van 1
    • Done.

Lenka

Lid sinds: 11/06/15

2.376 Reputatie

6 handleidingen geschreven

23 opmerkingen

No Service after a tear down. What is the problem?

Yuhao Min - Antwoord

it is hard to define which part causes such problem. Make sure the signal antenna connects with logic board perfectly.

Witrigs -

Would the water proof go out because of the removal/teardown ?

Tam Alden - Antwoord

Most likely. The back is glued on so unless you can make that seal perfect again, the phone wont be water proof.

Discalimer: I don't own a z5 and have never taken one apart but I have dissasembled my z3 to replace the screen and they look very similar.

Kip K -

Hi Lenka,

short question was that a normal xperia z5 or the dual SIM Version because it looks like the SIM reader is long enough to Support two SIM cards. It would be nice if you could check if there are two SIM ports here.

Tobias K - Antwoord

Here we teardown Xperia Z5 dual.

Witrigs -

Is the glass on the rear cover removable? Or is the glass and metal fused together in such a way that you can't separate the two?

Jordan Cooper - Antwoord

Phone got exposed to rain. Won't turn on now. Red LED confirms it's not entirely dead. Not sure which part I should replace. Any recommendations?

[deleted] - Antwoord

I got my Z5 Premium a little wet when taking pictures in the pool and now the touch screen is extremely unresponsive. I guess I need a new screen and digitizer. It has had over a week to dry out completely

Michael B - Antwoord

Hey wanted to ask bout sim card/ sd reader on the premium Z5, my phone I bought 2Nd hand, not reading sim, yet it'll preloaded settings with each different sim card brand. How can I fix the sim reader to read them again? Some1 told me to difficult cause solded to motherboard? Or is there something I can do b4 I take to shop, maybe please... Also flash not working either... Everything else seems ok.

Thanks

Dim - Antwoord

if anyone has this problem it is the antenna board at the bottom of the phone 100%

Marc Cowen - Antwoord

se me cayó y no quieren dar los botones de encendido , volumen y de cámara laterales, que puede estar mal?

FREDDY JAIME - Antwoord

Does this procedure reset the device to factory default settings?

Lee Fishlock - Antwoord

Mine had corrosion on some of board. I've cleaned the corrosive part but it makes some part component disconnected. I'd like to try to reconnect them again but I don't have schematic diagram of it. Do you have schematic diagram of the board?

My handheld is xperia z5 premium.

Thanks a lot.

Hilman Hannan - Antwoord

Hi, during the strip down of my z5 a part came off that I'm unsure of where it is supposed to go back. Trouble is, the new screen Iv fitted now doesn't respond. Do you know what this piece is for and where it goes back? It's a 1cm by 1cm sq metal clip that came off at the very end of taking all the parts off (where all the parts above had already been removed and the new screen was being replaced)

Cheers.

Henry Cunningham - Antwoord

HI, helping a friend with their z5, they got a sim stuck right at the bottom of the tray slot as they didn't put it in the tray when inserting. Any suggestions on how to get it out?

P Rayol - Antwoord

where I can buy Xperia z5 dual E6683 motherboard cause it's very difficult to find it out at store so can I buy it online.

Pratibha Patil - Antwoord

How does water get in when it's supposed to be waterproof? Is there meant to be something that goes into the headphone jack?

Seadoo Cruiser - Antwoord

mainly due to water vapor, i own mostly samsung mostly is excited when they have the waterproof features but it always die out due to water damage even it is waterproof, then change to sony and after reading their manual only find out that even it is waterproof, operating the phone in water or when the phone is hot then come into contact with water, water vapor will still damage the phone.

Bryan Lee -

Hi i have a problem. My Phone has problem with signal. Its generally no signal. Wifi is no problem. But Phone signal dosent Work. I torn down but ı dont know signal cable where it is. Can anybody help me please?

sims.merve - Antwoord

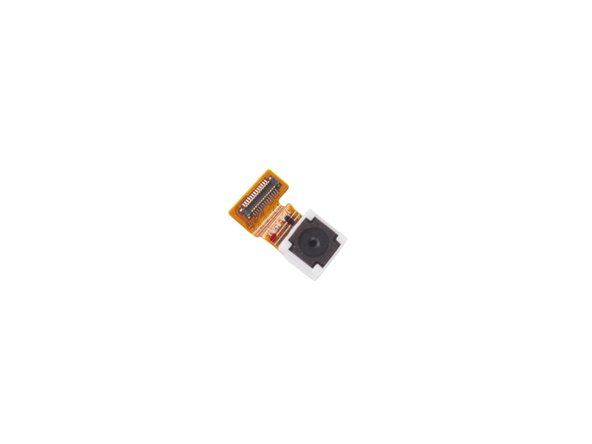
the flash light is not working? how can i change it? is it found separately? it is on the mother board?

is there a way to check it other than the software apps?

Sameh Samir - Antwoord

change the whole motherboard, there are a lot in taobao chinese website selling secondhand part for 40-50 USD. i manage to fix my mom broken front display and put a tiny drop of non conductive thermal paste at front and back shield of the motherboard and the phone run cooler then ever.

Bryan Lee -

Kinda wish they labeled the chips

su.chilliam - Antwoord

Voeg opmerking toe

Weergavestatistieken:

Afgelopen 24 uren: 2

Afgelopen 7 dagen: 31

Afgelopen 30 dagen: 161

Altijd: 139,824