Inleiding
Every so often, our Earth-bound teardown team gazes skyward. Today, we look to take the Samsung Galaxy S5 to pieces. Will this device be immortalized among the stars of repairability—or will it plummet to the ground like a blazing meteorite?
Join us as we use our best scientific instruments to find out—iFixit Style.
Concerned that the sky is falling? Be the first bird to Tweet about it, contact your fixer friends on Facebook, and watch the sky for photos on Instagram.
Wat je nodig hebt
Video overzicht
-
-
It's good to have a galaxy to play with, 'cause we're gonna need a lotta space for all this hardware:
-
5.1” Super AMOLED display (1920 x 1080, 432 ppi)
-
16 MP rear-facing camera with 4K video at 30 fps; 2 MP front-facing camera with 1080p video and wide-angle lens
-
Sensors for fingerprint, heart rate, gestures
-
2.5 GHz quad-core Snapdragon 801 processor, 2 GB LPDDR3 RAM
-
16/32 GB internal memory, plus microSD up to 128 GB
-
LTE, NFC, Bluetooth 4.0 BLE, Micro-USB 3.0, 802.11/ac MIMO Wi-Fi
-
-
-
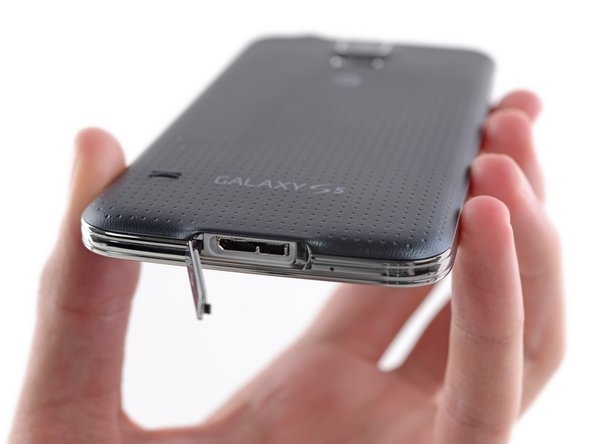
Port ho! This silver bay is a Micro-B USB 3.0.
-
And it's open. Down to the battery at least. Tears of joy fall silently around the teardown table.
-
Peeling the back off this phone is easier than peeling a banana; the only tool required is an opposable thumb.
-
Despite negative reviews of the case design, the ease of removal is a big plus for us.
-
What's that, no battery?
-
-
-
No need to hitchhike to the edge of this galaxy to find the back case; it's free and clear.
-
We're guessing that this strange shape in the case is not a remnant of space creatures, but a rubber gasket. Samsung chose the minimalist's approach to water and dust resistance over more problematic methods.
-
-
-
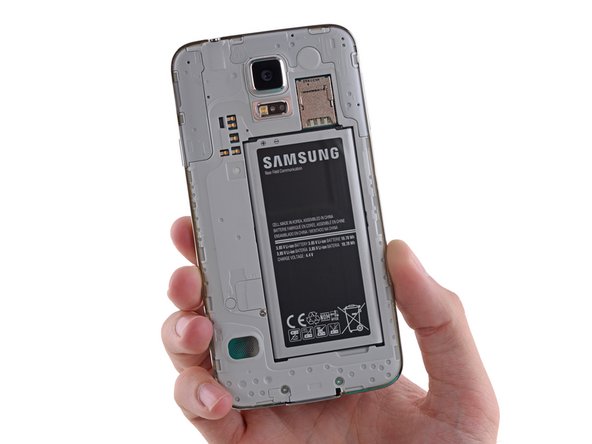
We briefly glance at the warnings as we pull the battery out of its fancy packaging.
-
This is a 3.85 V, 10.78 Wh battery. Samsung touted a better battery-saving mode, but failed to specify the life of this guy in its advertising—listing the battery spec as 2800 mAh.
-
This is a slight upgrade from the S4's 3.8 V and 2600 mAh (9.88 Wh) battery. Advertised at 7 hours of talk time, and up to 12.5 days of standby.
-
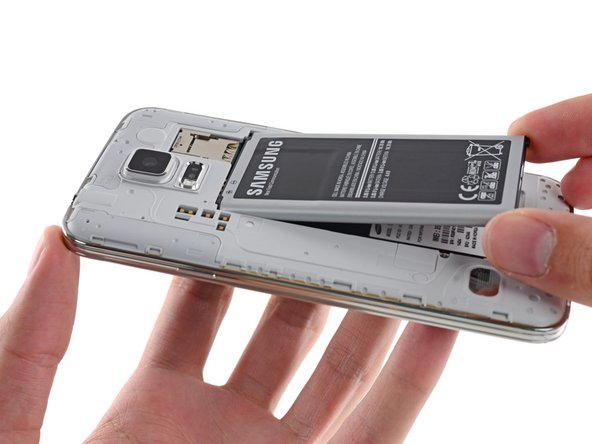
We install the new battery. Then, we take it back out. This teardown has places to be and they're under that battery pack.
-
For those keeping track at home, that took a grand total of 10 seconds. Beat that, HTC.
-
-
-
Samsung has stacked the deck in our favor—the deck of microSD + SIM cards, that is.
-
"Galaxy S5" may be catchier, but for those who prefer a more formal designation, SM-G900A is the model number you seek.
-
What's behind door number R1?
-
So far as we can tell now, just random connectors, and certainly not the screws we were hoping for. Stay tuned, because we've got a feeling this will be important...
-
-
-
-
Suddenly, things are looking grim. The S5's forefather, the S4, took to the teardown table like a protocol droid to an oil bath.
-
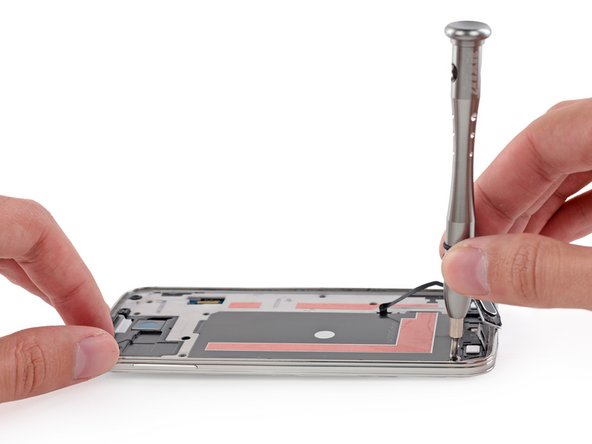
This time though, it seems the entire display assembly stands in the way of any further tinkering.
-
With no other recourse, we call in our fixer muscle, iOpener and Opening Pick—perhaps better known by their street names, Heat and Force.
-
This is looking dire. What happened, Samsung? I thought we were friends.
-
Have you been hanging out with the Kindle Fire HDX?
-
-
-
With the display thusly removed, we just have to convince it to part with its home button. We let our plastic opening tool do the talking.
-
Say goodbye to the sticky adhesive tape holding the screen down. Reinstalling your display will most likely require a fresh set of adhesive.
-
This little display assembly cable has a lot of bits to ferry. It's helped out by a Synaptics S5100A touchscreen controller.
-
-
-
Oh Samsung, we were hoping we might be going about this all wrong. But alas, here are the screws we needed—on the other side of the phone. Sigh.
-
We've reached a point of debate on Galaxy nomenclature. The consensus says we're removing the midframe from the um, midframe.
-
Confused? Yeah. We were, too.
-
Here's the deal: after peeling off the rear case, you encounter a midframe. And between that (first) midframe and the display assembly, there's this second midframe. So there you have it: double the midframe.
-
-
-
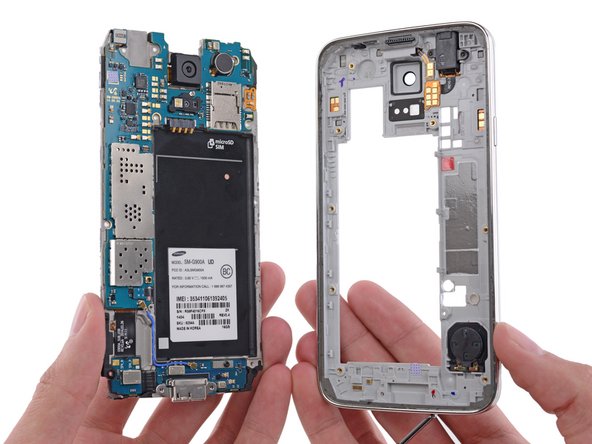
So, to recap:
-
On the left we've got the interior midframe, with the motherboard and daughterboard
-
On the right we've got the exterior midframe, with a plethora of spring-contacted components
-
We're already on a first-name basis with the other bits in here: headphone jack, speaker, buttons, etc.
-
Identity crisis averted. Repairability crisis, TBD...
-
-
-
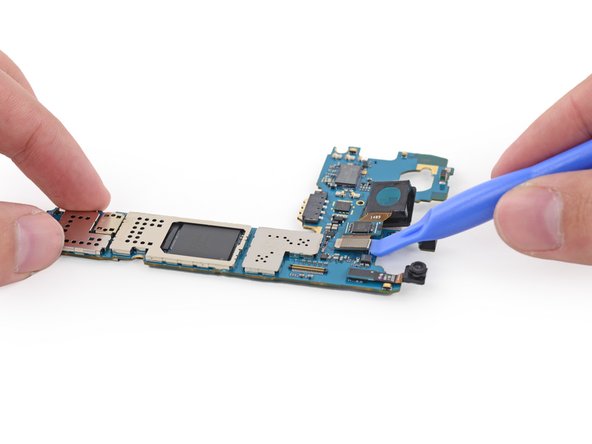
Near the center of the Galaxy we find
a black holethe motherboard. With the hard work done, we pop it out and start scouring for evidence of intelligence. -
Our first sign comes via the camera.
-
Anxious for a staring contest, we use our trusty plastic opening tool to pry it out for a better look.
-
-
-
On the left, we have Samsung's 16MP 1/2.6” rear-facing camera.
-
Safe and sound in the main cam's backpack is a control chip: QDA41 L1010 R412.
-
Standing next to the main camera is the Hobbit selfie stunt-double, a 2.0 MP front-facing camera.
-
This little
wide-eyedwide-angle lens shoots with a resolution of 1920 x 1080.
-
-
-
Some galaxies have stars. Others have chips:
-
Elpida FA164A2PM - The same 2 GB RAM package we found in the HTC One (M8), and different from the 2 GB Samsung chip found in Chipworks' analysis. Quad-core 2.5 GHz CPU likely layered beneath
-
Samsung KLMAG2GEAC-B0 16 GB on-board memory
-
Avago ACPM-7617 multi-mode, multi-band RF front end
-
Murata KM4220004 (likely Wi-Fi module)
-
1412 (C1N75R UMR3) (C1N78B YMP4)
-
Maxim Integrated MAX77804K (System PSoC) and MAX77826
-
STMicroelectronics 32A M410
-
-
-
SWEP GRG28 antenna switch module (thanks Chipworks)
-
Qualcomm WTR1625L RF transceiver (another encore from the HTC One M8) and...
-
Qualcomm WFR1620 receive-only companion chip
-
Qualcomm PMC8974 power management IC
-
Lattice iCE40 LP1K low-power FPGA
-
Invensense MP65M (MPU-6500M) gyroscope/accelerometer
-
Qualcomm WCD9320 audio codec
-
SIMG 8240B0 mobile HD-link transmitter and NXP 47803 NFC controller
-
-
-
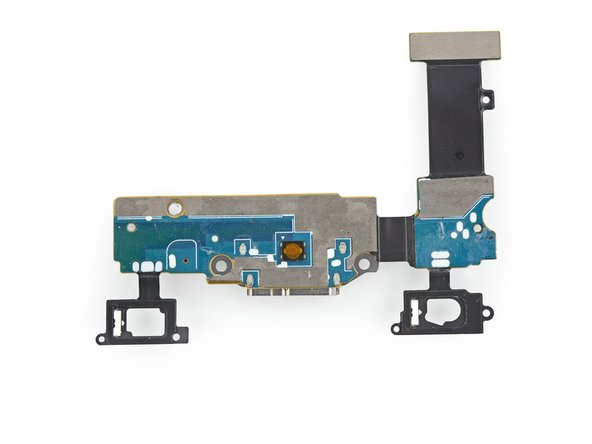
With the motherboard out of the way, we find ourselves short of parts. All we have left is a lonely little daughter board.
-
Home to the charging port, a closer examination of this daughter board reveals cables for the bottom buttons, as well as a smattering of ICs:
-
Cypress CY8C20075-24LKXI CapSense capacitive touch-sensing controller
-
RFMD RF1119 antenna controller
-
S1221 primary microphone
-
-
-
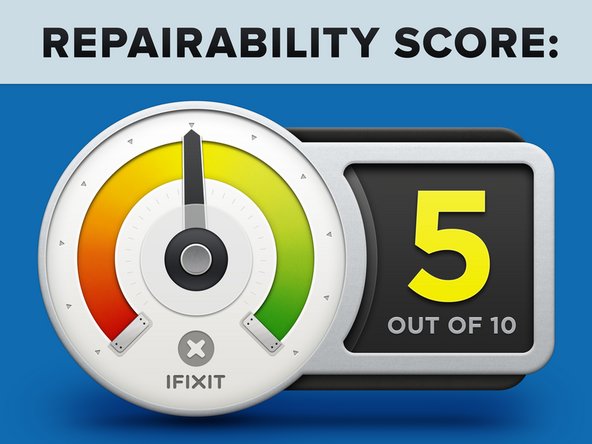
Samsung Galaxy S5 Repairability Score: 5 out of 10 (10 is easiest to repair).
-
The battery is incredibly easy to remove and replace.
-
The display is now one of the first components out, making replacements a little faster. However, it is held in with a significant amount of adhesive and requires very careful and persistent prying and a considerable amount of heat to remove without cracking the glass or cutting cables.
-
Once you get the device open, several components are modular and fairly easy to replace, such as the cameras, headphone jack, vibrator motor, and speakers.
-
Replacing anything other than the battery requires first removing the display, risking extra damage on the way to a repair.
-


27 opmerkingen
was the lcd glued to the frame? i mean that reddish foil, did it come
off easily without heating it up? thanks
LCD and touchscreen is fused together. Which reddish foil are you referring to?
I think he means the copper-coloured backside of the display assembly. And I have the same question, was the backside of the display assembly glued to the midframe, or was it just the sides that were glued to the frame?
Audun -