Ga door naar hoofdinhoud

Wat je nodig hebt

Deze demontage is geen reparatiehandleiding. Om je Pantech Crux te repareren, gebruik onze reparatiehandleidingen.

  1. Pantech Crux Teardown, Pantech Crux Teardown: stap 1, afbeelding 1 van 3 Pantech Crux Teardown, Pantech Crux Teardown: stap 1, afbeelding 2 van 3 Pantech Crux Teardown, Pantech Crux Teardown: stap 1, afbeelding 3 van 3
    • Let's see what's inside!

    • Turn your Pantech Crux so that the back cover is facing upwards.

    • Press the indented area at the top of the back cover with one thumb and slide down the cover with your other thumb.

    • Remove back cover and set it to the side.

  2. Pantech Crux Teardown: stap 2, afbeelding 1 van 2 Pantech Crux Teardown: stap 2, afbeelding 2 van 2
    • Place your thumbnail in the groove at the bottom of the battery.

    • Lift your thumbnail up to remove the battery from the battery casing.

  3. Pantech Crux Teardown: stap 3, afbeelding 1 van 3 Pantech Crux Teardown: stap 3, afbeelding 2 van 3 Pantech Crux Teardown: stap 3, afbeelding 3 van 3
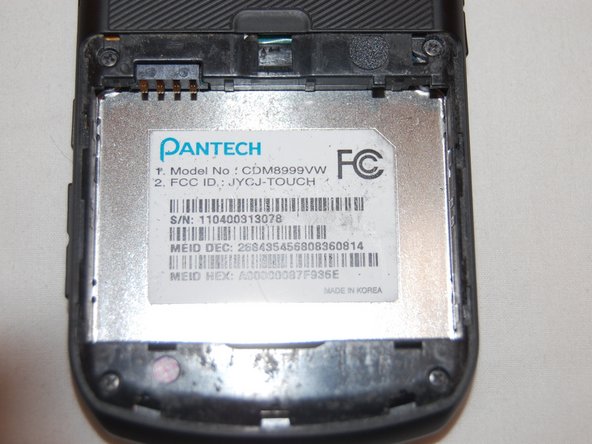
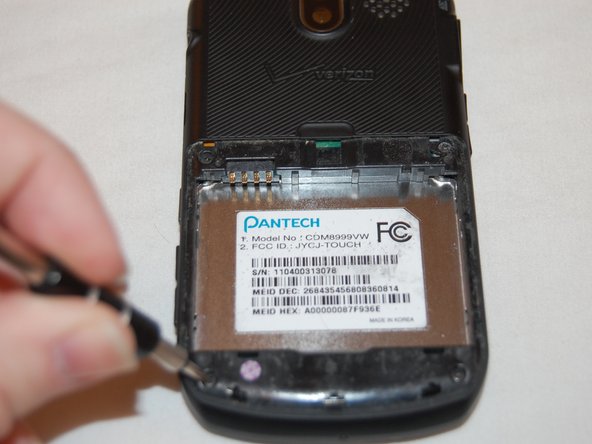
    • Grab something with a Phillips #000 Screwdriver head.

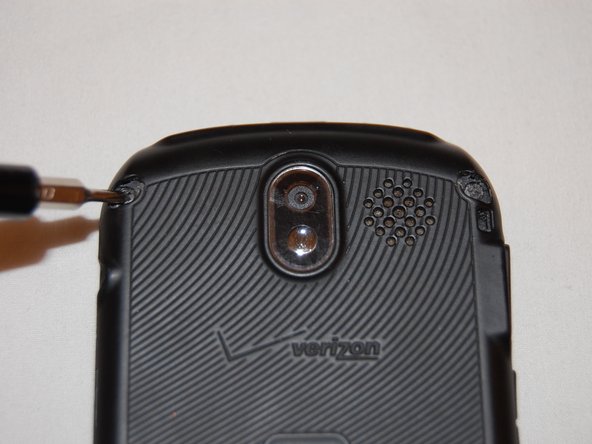
    • Locate the four screws on the corners of where the back cover was.

    • Use the Phillips #000 Screwdriver to remove these screws.

  4. Pantech Crux Teardown: stap 4, afbeelding 1 van 2 Pantech Crux Teardown: stap 4, afbeelding 2 van 2
    • Locate the two screw covers at the top of the phone.

    • Grab a 0.8 SIM Eject bit.

    • Use this bit to get underneath the cover and lift up.

    • Remove both covers.

    • Use the Phillips #000 Screwdriver to remove both screws.

  5. Pantech Crux Teardown: stap 5, afbeelding 1 van 3 Pantech Crux Teardown: stap 5, afbeelding 2 van 3 Pantech Crux Teardown: stap 5, afbeelding 3 van 3
    • Flip your Pantech Crux so the screen is facing upwards.

    • Locate the sticker above your screen (it has a lock on it).

    • Use the 0.8 SIM Eject bit to get underneath the sticker.

    • Peel up the sticker.

    • Use a Phillips #000 Screwdriver to remove the screw that was beneath the sticker.

  6. Pantech Crux Teardown: stap 6, afbeelding 1 van 3 Pantech Crux Teardown: stap 6, afbeelding 2 van 3 Pantech Crux Teardown: stap 6, afbeelding 3 van 3
    • Locate the area where the back case meets the silver outlining.

    • Use your thumb or the 0.8 SIM Eject bit to lift the back case up.

    • Slide either your thumb or the 0.8 SIM Eject bit between the back case and the silver outlining until the back case comes free.

    • Lift and remove the back case from the phone.

    • Place phone with the screen facing downwards.

  7. Pantech Crux Teardown: stap 7, afbeelding 1 van 3 Pantech Crux Teardown: stap 7, afbeelding 2 van 3 Pantech Crux Teardown: stap 7, afbeelding 3 van 3
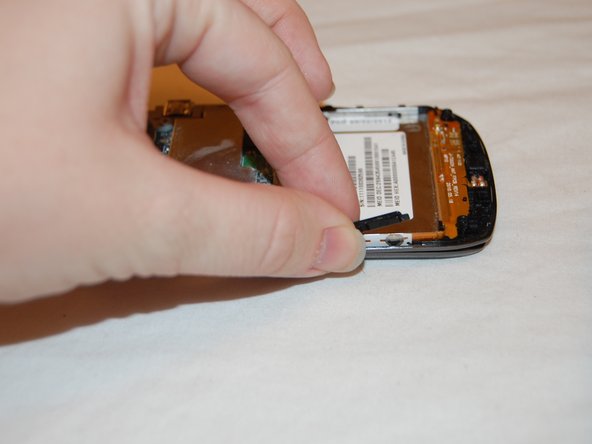
    • Locate the buttons on the side of the phone that are now loose.

    • Remove these buttons by pulling on them with your thumb and pointer finger.

  8. Pantech Crux Teardown: stap 8, afbeelding 1 van 2 Pantech Crux Teardown: stap 8, afbeelding 2 van 2
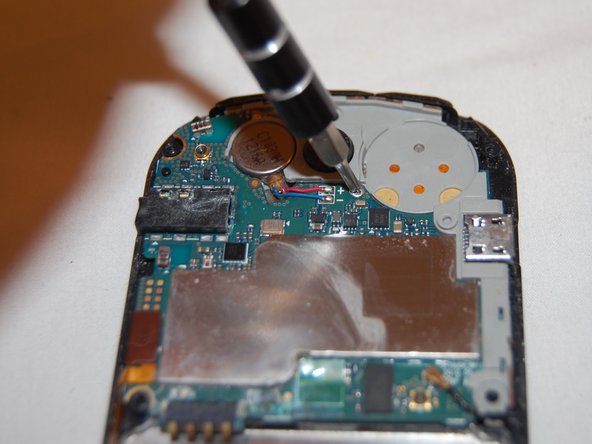
    • Locate the screw that is in the middle of the motherboard.

    • Use the Phillips #000 Screwdriver to remove this screw.

  9. Pantech Crux Teardown: stap 9, afbeelding 1 van 1
    • Loosen the motherboard from the front case.

  10. Pantech Crux Teardown: stap 10, afbeelding 1 van 1
    • Locate the small wire in the bottom right corner of the motherboard.

    • Release this wire by gently pulling up on it with your thumb and pointer finger.

  11. Pantech Crux Teardown: stap 11, afbeelding 1 van 3 Pantech Crux Teardown: stap 11, afbeelding 2 van 3 Pantech Crux Teardown: stap 11, afbeelding 3 van 3
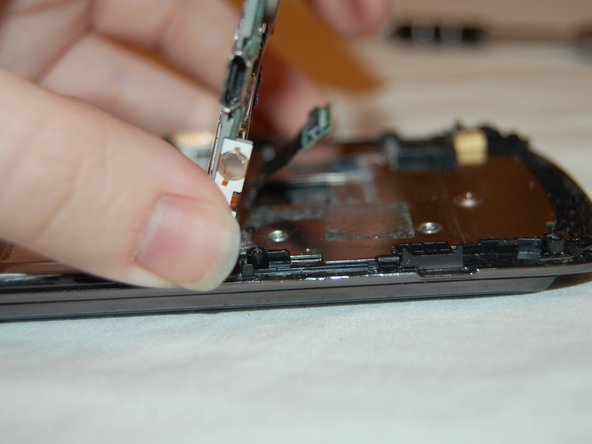
    • Lift the motherboard.

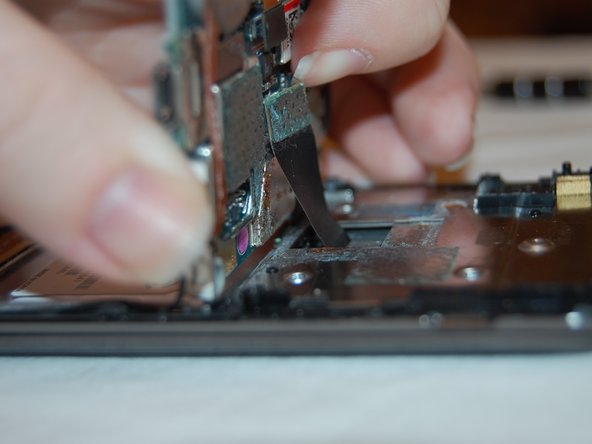
    • Locate the cable that attaches the motherboard to the front case.

    • Use the 0.8 SIM Eject bit or your nail to lift up and pop off the piece that attaches the cable to the motherboard.

  12. Pantech Crux Teardown: stap 12, afbeelding 1 van 2 Pantech Crux Teardown: stap 12, afbeelding 2 van 2
    • Flip the motherboard to the left of the front case.

    • Locate the four screws that were below the motherboard.

    • Use the Phillips #000 Screwdriver to remove all four screws.

  13. Pantech Crux Teardown: stap 13, afbeelding 1 van 2 Pantech Crux Teardown: stap 13, afbeelding 2 van 2
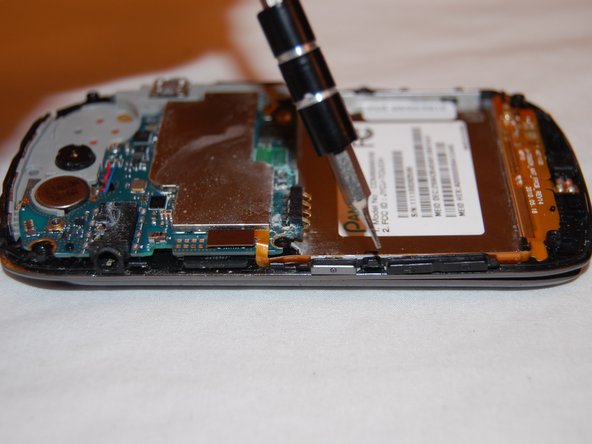
    • Use your thumb or the 0.8 SIM Eject bit to lift up the layer containing the motherboard from the front of the phone.

    • Run your thumb or the 0.8 SIM Eject bit along the edge of this layer to loosen it.

    • Remove the layer when it becomes loose enough.

  14. Pantech Crux Teardown: stap 14, afbeelding 1 van 3 Pantech Crux Teardown: stap 14, afbeelding 2 van 3 Pantech Crux Teardown: stap 14, afbeelding 3 van 3
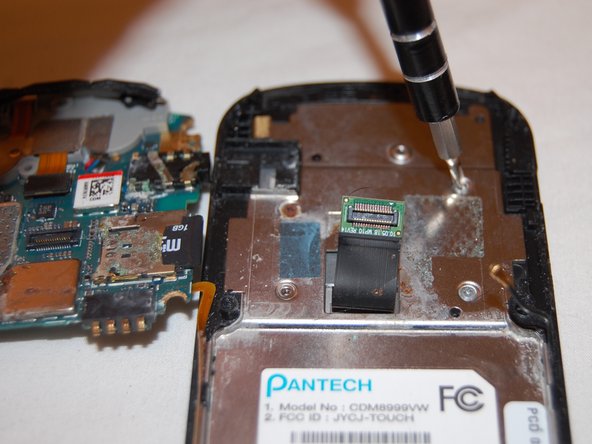
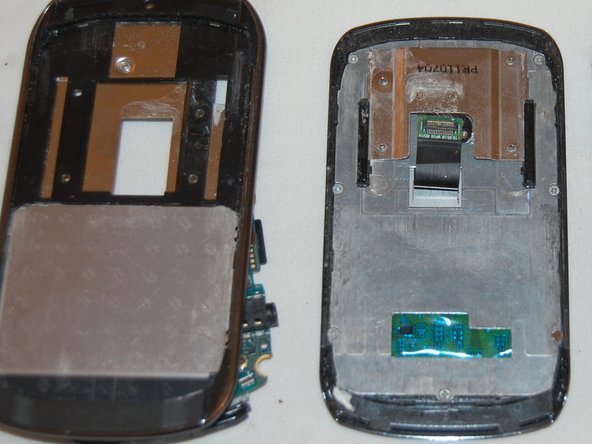
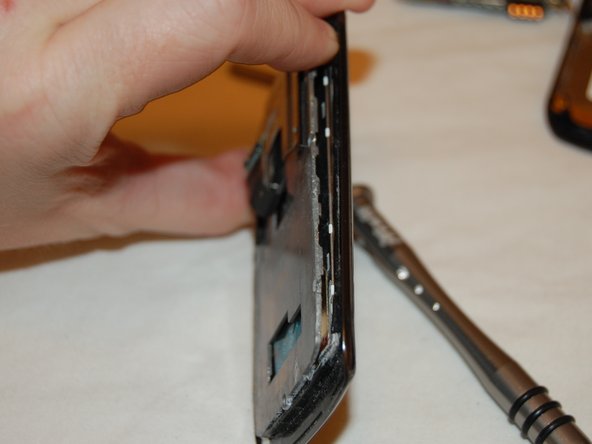
    • Underneath the layer you just removed is a piece of metal with seven screws on it.

    • Use a Phillips #000 Screwdriver to remove all seven screws.

    • Use your finger or the 0.8 SIM Eject bit to remove this metal piece from the front of the phone.

  15. Pantech Crux Teardown: stap 15, afbeelding 1 van 2 Pantech Crux Teardown: stap 15, afbeelding 2 van 2
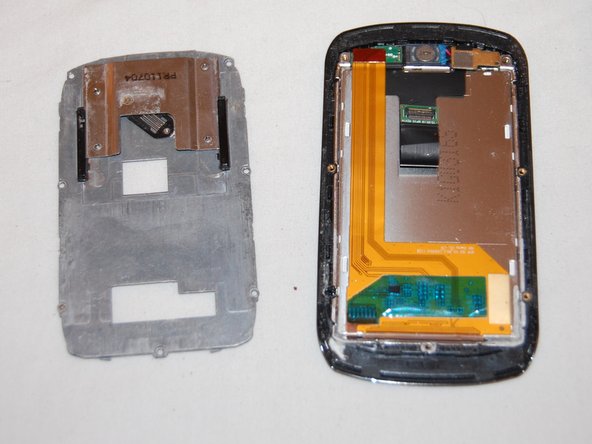
    • What you see is the back of the screen.

    • To remove the screen lift it up from the side.

  16. Pantech Crux Teardown: stap 16, afbeelding 1 van 1
    • Congratulations! You have completed a teardown of the Pantech Crux.

Megan Voss

Lid sinds: 09/17/13

79 Reputatie

1 Handleiding geschreven

Één opmerking

Thanks for the help. It was fun to take apart my phone and see if I could fix it before trading in for a new one.

The screen is black: it shows light, but it is just projecting a black screen. Since this is a touch screen, that means that I can't see anything that I am doing or even make a phone call. I have memorized where the "answer" button is, so I can receive...

Thanks again!

BustoJuice - Antwoord

Voeg opmerking toe

Weergavestatistieken:

Afgelopen 24 uren: 0

Afgelopen 7 dagen: 0

Afgelopen 30 dagen: 2

Altijd: 982