Needed to get this monitor open to do some tinkering.
Deze demontage is geen reparatiehandleiding. Om je Flatron E2742 Monitor te repareren, gebruik onze reparatiehandleidingen .
1 - Remove the three screws on the back
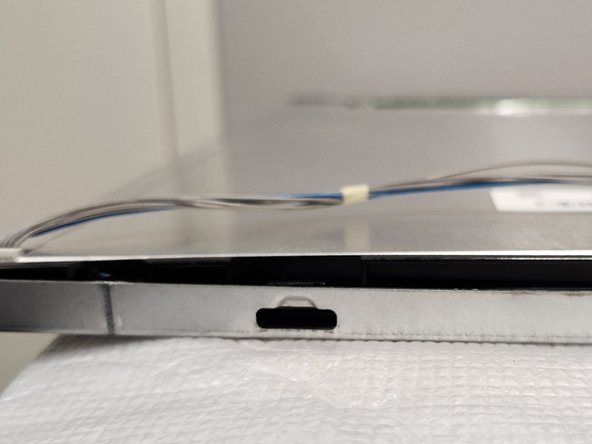
2 - Slip iFixit Opening Pick between the back and front.
3 - use an iFixit Opening Tool to pry the halves apart. Work your way slowly around moving the pick until it stops and then prying with the Opening Tool.
There are 3 connections and 6 screws that need to be removed.
The top connection needs to removed before you can pull off the white tape. Squeeze the tabs in and pull down.
Pry up the clip locks up before pulling out.
Deze handleiding insluiten
Kies een formaat en kopieer de code hieronder om deze handleiding als een kleine widget op je website of forum in te sluiten.
Enkele stap
Volledige handleiding
Klein - 600px
Middelgroot - 800px
Groot - 1200px
Voorbeeld