Ga door naar hoofdinhoud

Wat je nodig hebt

Deze demontage is geen reparatiehandleiding. Om je Acer Liquid E1 te repareren, gebruik onze reparatiehandleidingen.

  1. Acer Liquid E1 Teardown, Acer Liquid E1 Teardown: stap 1, afbeelding 1 van 1
    • Remove the plastic back and the exposed battery.

    • Do not forget to remove sim- and SD-cards

    • Use a torx t5 to unscrew all screws. This will be the first and last time you'll use a screwdriver with this device.

  2. Acer Liquid E1 Teardown: stap 2, afbeelding 1 van 2 Acer Liquid E1 Teardown: stap 2, afbeelding 2 van 2
    • Use a plastic opening tool or spudger

    • Pry around the side to release the backframe from the middleframe

    • Be careful as the frame is quite fragile

  3. Acer Liquid E1 Teardown: stap 3, afbeelding 1 van 3 Acer Liquid E1 Teardown: stap 3, afbeelding 2 van 3 Acer Liquid E1 Teardown: stap 3, afbeelding 3 van 3
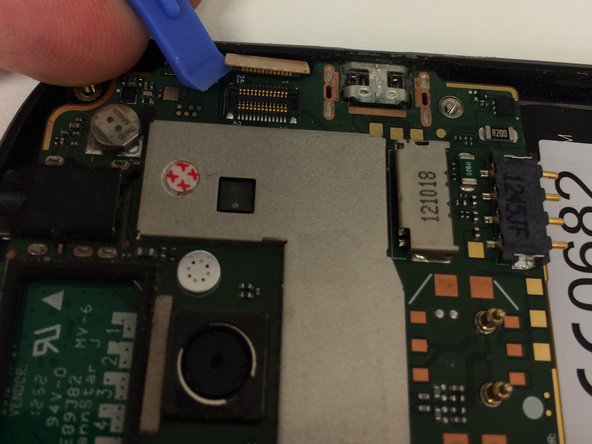
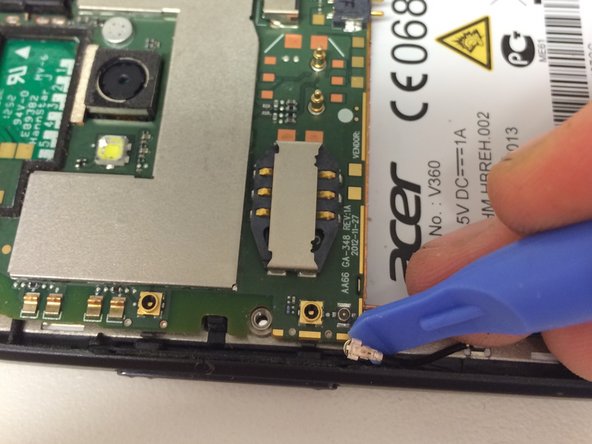
    • To free the main board, remove the connector and antenna-cable

    • Use a plastic spudger

    • Be careful not to chip components

  4. Acer Liquid E1 Teardown: stap 4, afbeelding 1 van 3 Acer Liquid E1 Teardown: stap 4, afbeelding 2 van 3 Acer Liquid E1 Teardown: stap 4, afbeelding 3 van 3
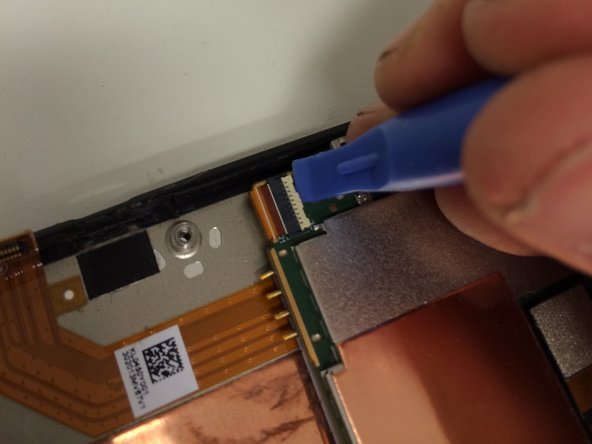
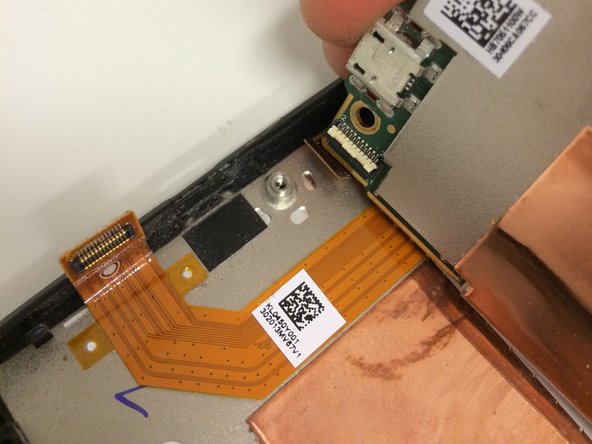
    • Tilting the main board will reveal this connection

    • Use a plastic spudger to open the lock

    • Carefully pull the flex cable out of it

    • Don't put alot of stress on it

  5. Acer Liquid E1 Teardown: stap 5, afbeelding 1 van 3 Acer Liquid E1 Teardown: stap 5, afbeelding 2 van 3 Acer Liquid E1 Teardown: stap 5, afbeelding 3 van 3
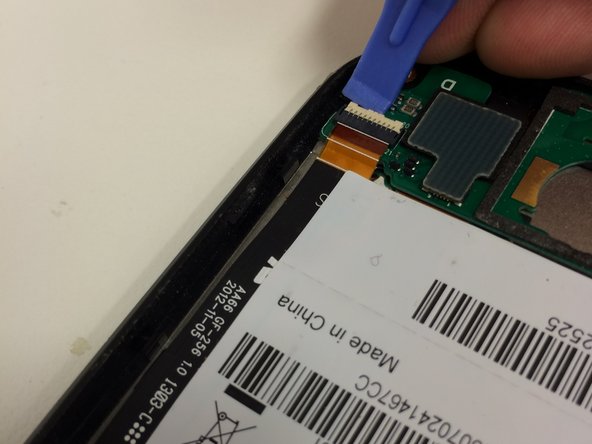
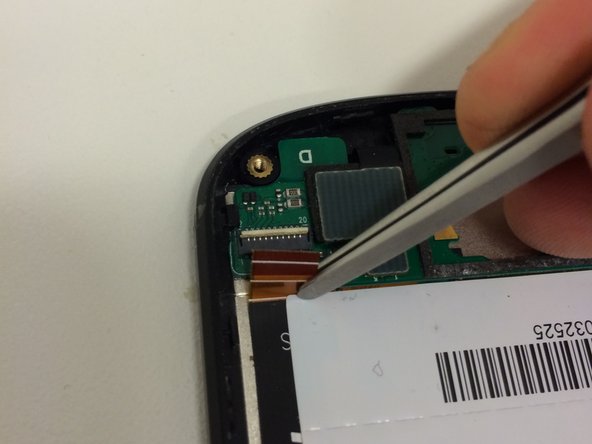
    • At the bottom, use a pair of tweezers to remove the yellow tape from the connector

    • Use a plastic spudger to unlock

    • Pull the flexcable out carefully

  6. Acer Liquid E1 Teardown: stap 6, afbeelding 1 van 2 Acer Liquid E1 Teardown: stap 6, afbeelding 2 van 2
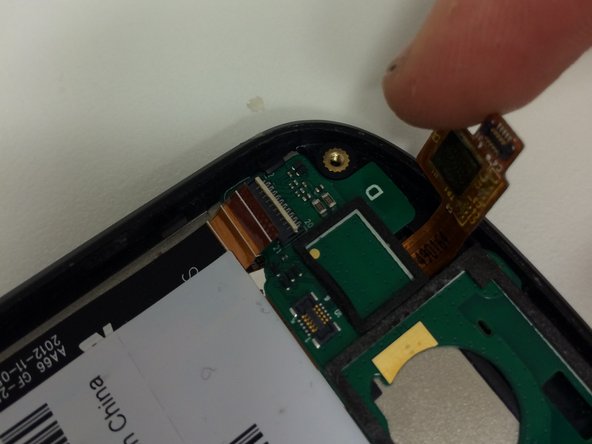
    • Next, use a platic spudger to remove the flex cable from its connection

  7. Acer Liquid E1 Teardown: stap 7, afbeelding 1 van 3 Acer Liquid E1 Teardown: stap 7, afbeelding 2 van 3 Acer Liquid E1 Teardown: stap 7, afbeelding 3 van 3
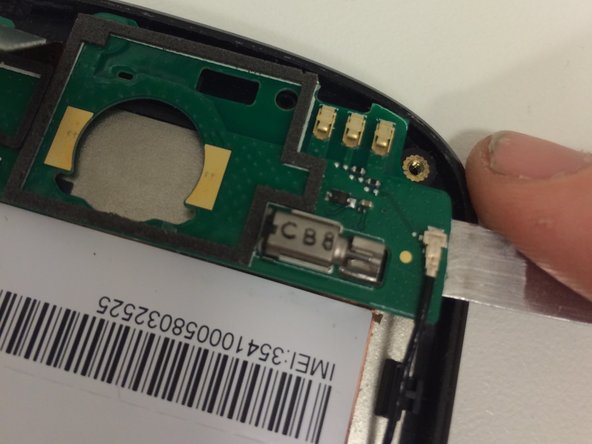
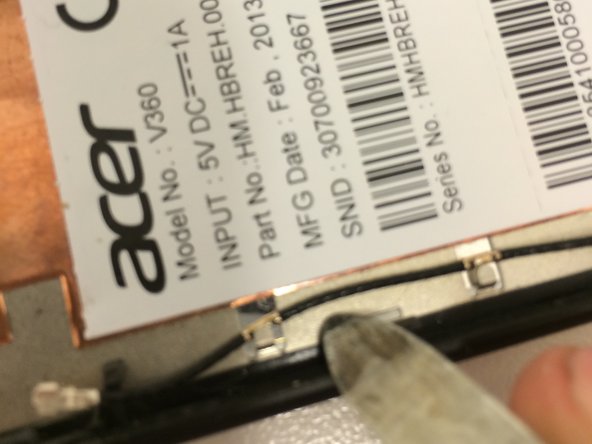
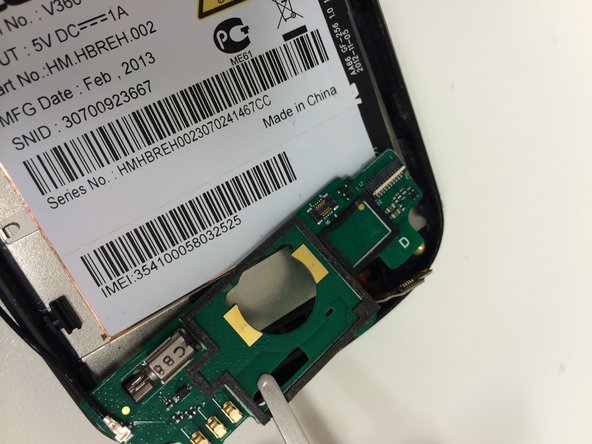
    • Use a spudger to remove the bottom-plate from the frame.

    • Be careful when using metal tools (like I did)

    • Make sure the antenna cable isn't attached to anything except it's socket

  8. Acer Liquid E1 Teardown: stap 8, afbeelding 1 van 3 Acer Liquid E1 Teardown: stap 8, afbeelding 2 van 3 Acer Liquid E1 Teardown: stap 8, afbeelding 3 van 3
    • Let the remaining heat at 95°C for about 3-5 minutes to soften the adhesive

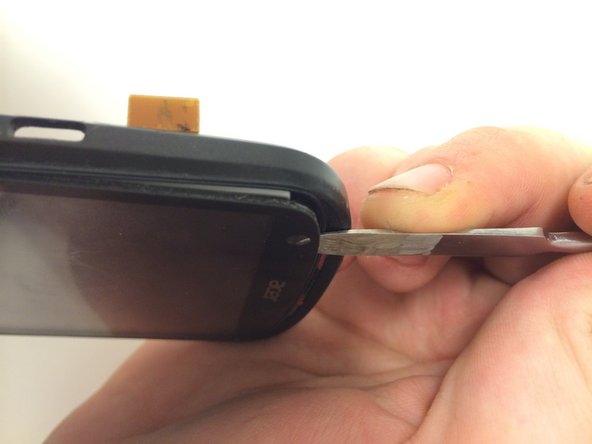
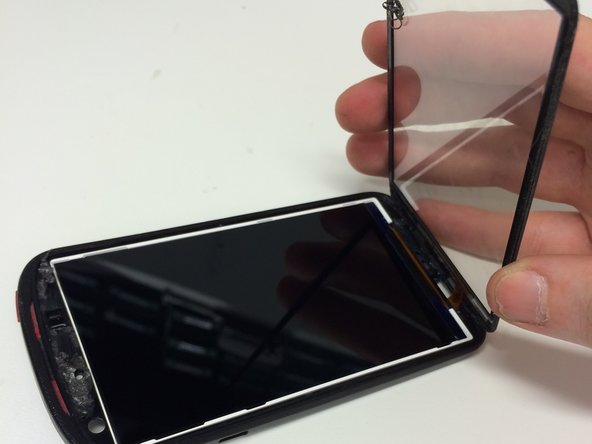
    • Use an opening tool to pry at the top, between your digitizer and the middleframe

    • Open it from the top, your digitizer-flex runs at the bottom

    • Be careful when using a heat-gun. Heat-guns don't distribute heat evenly and LCD-burns may occur

  9. Acer Liquid E1 Teardown: stap 9, afbeelding 1 van 3 Acer Liquid E1 Teardown: stap 9, afbeelding 2 van 3 Acer Liquid E1 Teardown: stap 9, afbeelding 3 van 3
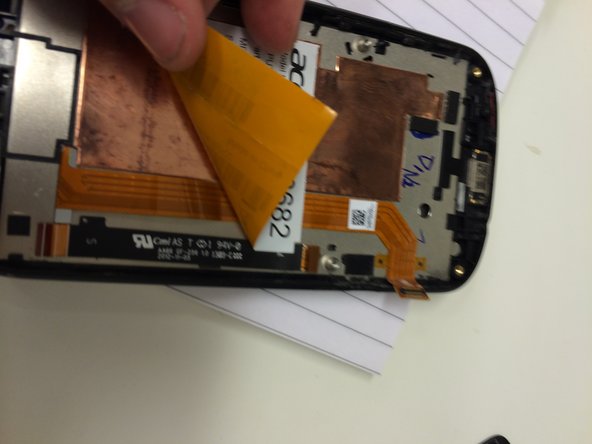
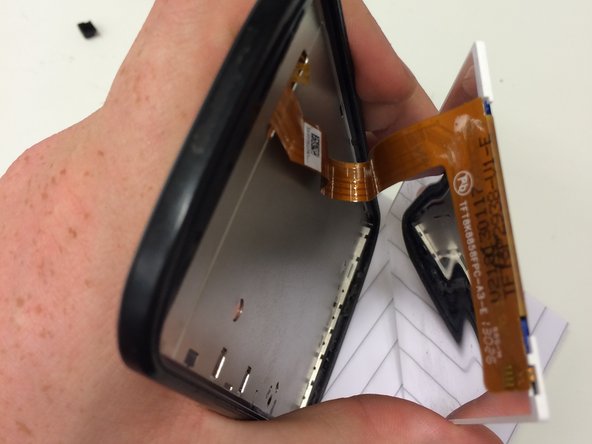
    • To remove the LCD, remove the sticker on the back of the midframe. It conseals the LCD-flex

    • Be careful when removing the sticker. It's glued tightly and too much stress will tear the LCD-flex

    • Remove the LCD by pulling the whole cable through the midframe.

  10. Acer Liquid E1 Teardown: stap 10, afbeelding 1 van 1
    • All done

    • I hope you enjoyed it as much as I did

Maxim

Lid sinds: 04/30/14

2.297 Reputatie

3 handleidingen geschreven

Team

iFixers Belgium Lid van iFixers Belgium

Business

1 Lid

5 handleidingen geschreven

Één opmerking

Great Manual.. it work fine! thanks,,

JoeTech - Antwoord

Voeg opmerking toe

Weergavestatistieken:

Afgelopen 24 uren: 4

Afgelopen 7 dagen: 14

Afgelopen 30 dagen: 20

Altijd: 6,765