Purchase, Theft, Return & Ressurection
trdoolan -

Mijn probleem
I originally purchased my 5.5th Generation iPod Video (Model A1136) around 2006 and over time accumulated software and accessories to get the most out of it. After the warranty expired, I took the plunge with Rockbox in an effort to ditch iTunes. At the time, the iPod Video 5.5gen was the most recent supported model for Rockbox.
In 2010 a thief broke into my apartment and stole a heap of small electronics... including my ipod. Because of the accessories I’d accumulated and because of the positive experience with Rockbox, I decided to try source another 5.5th Generation iPod Video. Ebay came to the rescue this time in the form of another A1136 but with an upgraded 120Gb drive. In talking with the seller, I realised just how easy it can be to do your own repair and/or upgrade of an iPod, and that given the chance, I would do just that.
Wind the clock forward 18 months and the local police contacted me advising that they had recovered my iPod after finally catching and charging the thief. The excitement at its return was quickly tempered when I saw the damage done to it. The casing near the headphone jack had been pulled away from the front of the unit and it refused to power up. After getting it home and charging it, I was relieved to find that all the content were still there... but to watch the battery counter drop and the iPod shutdown within 5mins was incredibly disappointing.
I decided that if I was going to go to the effort to repair the iPod with a replacement battery, I'd upgrade the hard drive at the same time.
The easy to follow disassembly guides on iFixit.com were part of the reason I purchased from here.
Mijn oplossing
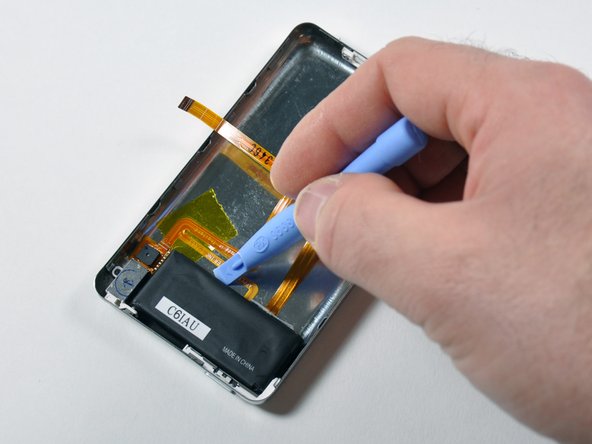
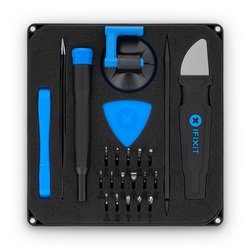
The instructions on the website are very detailed and well put together. Disassembly of the iPod requires patience, lest you damage the unit.. or worse, yourself. The plastic tools that came in both the home repair kit and with the replacement battery are well suited to the job. Having multiples of them also worked well as repeated movement along the gap in the chassis sliced pieces of plastic off a little too easily for my liking. If that is the price paid for ensuring safety and not puncturing fingers and palms, then it’s certainly a good thing and well worth the cost to replace tools when they wear out.
The repair took a few hours, primarily due to my exercising caution at every step. Disassembly was relatively straightforward due to the comprehensive instructions, however, installation and assembly was somewhat more difficult due to the difference in the LIF/ZIF connectors on the original and replacement hard drives. The original Hitachi drive uses a connector that is far easier to manipulate than the Toshiba model. Installing the battery was easy by comparison.
Once everything was back together, iTunes restored the original Apple firmware and Rockbox was reinstalled. 110Gb of music copied over readily and benchmarking commenced (one of the advantages of Rockbox). The iPod is now back in operation with all the accessories as before the theft.
Mijn advies
First up, if you ever plan to disassemble the entire iPod, get the toolkit with the gear needed. The plastic spreaders will save a finger or two when you think a screwdriver will do the job.
Secondly, source a supply of thin foam rubber, double sided tape and a set of replacement rubber bumpers for the sides of the drives. The plastic drive frame from the original Hitachi drive can be reused, but needs to be inverted in order to do so. I elected not to reuse it as the majority of the drive is thick enough once the foam is reattached.
The most difficult part was trying to determine how to install the Toshiba drive, as its connector was different to the Hitachi drive. Inserting the drive cable was very difficult and required removing it from the logic board in order to insert it. Once the cable is inserted into the drive and locked into place, reconnecting to the logic board is relatively straightforward. Providing an assembly guide for this particular drive/connector type would make the experience much better for anyone proceeding with this work.

0 opmerkingen