Replacing the Front Panel on my 2nd Generation iPod Touch
joseab10 -
My Problem
Some time ago, I found out that the glass on the front panel of my iPod Touch had a large crack. Probably got hit,out of my hyperactivity and clumsiness (awfully bad combination), in the edge of a steel cart used to store servers. After researching a bit and realizing the price for a brand new iPod, I decided it was best for me to fix it myself for a fraction of the price and return an old buddy to it's former glory.
My Fix
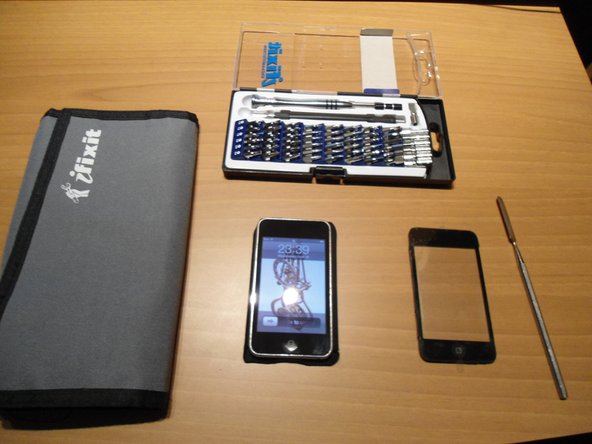
Using iFixit's ProTech Toolkit (and obviously a spare Front Panel), I replaced the old assembly.
In order to take the old panel out, I first tried with the plastic opening tools, but then realized that the stainless steel of the body was wearing them pretty quickly, so I decided to spare them and use them in a future for more delicate parts that would be easily scratched or damaged. I ended up using the sturdier and thinner metallic spudger.
After taking the glass out, I decided that it would be a good idea to clean the entire device (it had enough tobacco an lint to prepare a dozen linty cigarettes) and try to fix the lower volume button that was irresponsive sometimes. For that purpose, I disassembled and cleaned it thoroughly and resealed the buttons' circuit with some magic tape so that no more dust will get in there and to ensure a proper contact between the two parts of the buttons.
Reassembling the iPod was a very straightforward task. Just did the same steps in reverse order.
My Advice
In order to remove the front panel you'll need:
- Strength: Don't be deceived, M.J. is tougher than she looks on that video. Opening an iPod Touch is no easy task. If in your possession, use one of those vacuum cups to help you get a grip on the glass. Still, you'll need a lot of:
- Patience: Be careful when prying the cover off the iPod. To much strength can shatter the glass (in case you aren't replacing the glass or want to keep it as a spare part). Get the spudger in the proper places where the clips are and pry it over gently and slowly. Otherwise you'll bend and strain the glass until it yields or leave dents or marks on the steel.
Also, be mindful of the sensor's tiny ribbon cable, as it has a corner right in the place where it gets the most stress, so don't rip the panel off right away. As a piece of advise, use some office or electrical tape to reinforce the cable right at the connector so that you don't have to worry to much about it (still be careful though). Be careful as well with the plastic flanges where the clips get attached as those can easily peel off the glass. And do not scratch neither the glass nor the black paint on the rear side of the panel, as any scratch will look hideous on the outside because of the backlight.

0 Comments