


Mijn probleem
After serving me faithfully for years, the Xbox got the dreaded 3 Red Rings and there was much sadness.
Mijn oplossing
The repair went great! The Xbox 360 is very easy to open and there were far fewer screws than I was expecting.
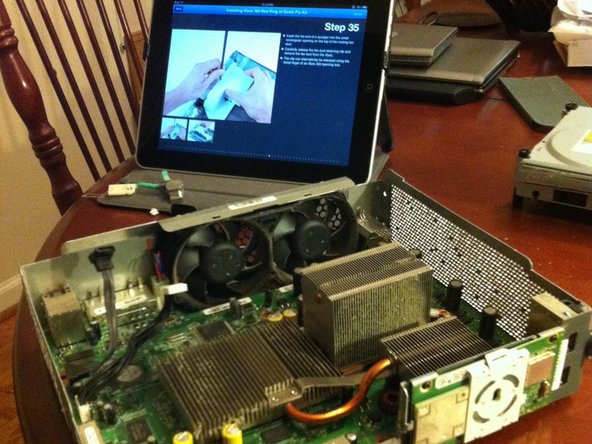
The Xbox 360 case opener tool was great when I misplaced my spudger. (Of course, I found it once I had finished!)
It was one of the easiest repairs I have ever attempted and the tools provided made it even easier.
Mijn advies
Use the T8 torx screwdriver whenever possible on the T10 screws. The included tool is fine but harder to grasp in my giant hands than the screw driver.
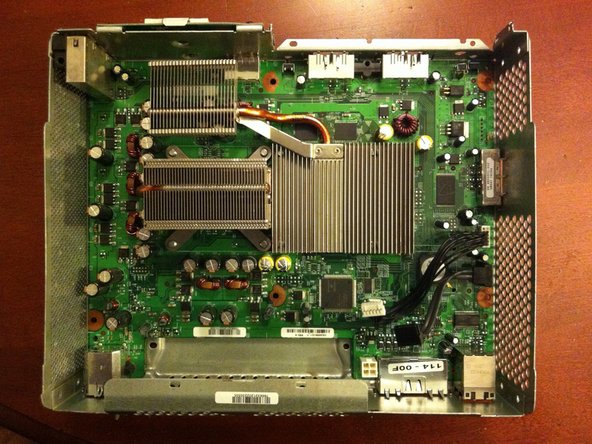
Get yourself some scotch tape. It will be invaluable when you get to reattaching the heat sinks and need to place the washers on the screws without them falling out. Place a small strip of tape on the screw head and insert it into the hole. Then tape it down to the board. That way when you put the washers on, you don't have to worry about the screws falling out when you set the heat sink on top of them. Then remove the tape one screw at a time and tighten.
Make sure you have some rubbing alcohol handy. It was the one part of the process I neglected to check for before I began!
Canned air! You need canned air. Your Xbox 360 will be filthy. The motherboard, the head sinks, the fans (Oh! The Fans!) will all be covered in dust. Blow all that dust out of the case while you have it open and blow out the board, fans, and other parts while you have them laid out. Be careful not to blow your screws away!
The X-clamps were a pain! I am so glad the repair kit doesn't require re-attaching those. Those. Things. SUCKED! I still can't tell you how I got them off. I was afraid I was going to bend a capacitor or break something off the board as I wrestled with them. Just be patient and eventually you'll get a leg off and it's must easier from there.

0 opmerkingen