Mijn probleem
I'd be at 35% battery after my "coffee reading" of the news, etc.
Mijn oplossing
Just as with my previous ifixit experiences, the guide is perfect. The only tricky bit is the adhesive under the battery, but isn't that the only tricky bit in most Apple repairs? I thought I was doing great and had the adhesive up by the battery connector on the side when it broke. The second strip came out intact, likely because of my experience with the first. Of course, my first inclination was just to jam a few spudgers under the battery, thinking that'd bust it free—but that adhesive is real! So, seeing the bit about the iOpener, I realized a had a hot/cold pad in the freezer, and i put that in the microwave for a about 4 minutes to get it good and warm, and then set the back on that, and before long that battery was out of there!
Mijn advies
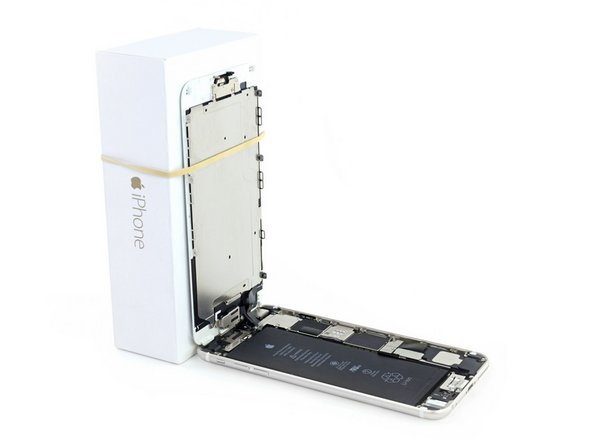
My tips: I think this may have been mentioned in the guide, and it seemed to make things easier: use a rubber band to secure the top (screen) to a support, such as a water glass, as soon as you open the phone. This was helpful. There is no force put on the cables from the top flopping around, and when you are reassembling the phone the screen and all the connectors are perfectly in position when you're ready to re-attach them. If this is your first time going in an iPhone, be careful when opening it with the suction cup. Obviously, you don't want to tear the ribbon cables by suddenly freeing the screen section, so apply upward force with the suction cup and carefully work the edges open with a spudger or something, being mindful of what the spudger is pushing against (the metal edge is fine, any of the boards inside NOT okay).
0 opmerkingen