Mijn probleem
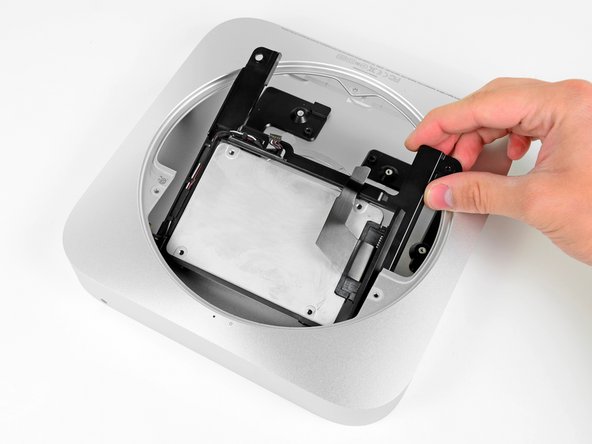
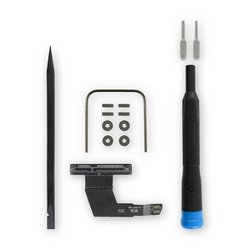
We decided to refresh our developer workstations from 27" iMacs to Mac Mini machines with 16GB RAM, 256 GB SSD, 500 GB of "Mechanical HD" and 27" Thunderbolt display. First we wanted to trial this configuration for a two months for 2 developers. Dual HD requirement meant we needed the 2nd SATA cable. Looking for it online brought us to ifixit dual HD kit for mac minis.
Mijn oplossing
First one took 30-45 minutes and we had a few issues. For example, the power socket was not as easy to remove as we thought initially. The biggest and costly (time-wise) mistake we made in first run was due to not formatting the original 500GB "Mechanical HD" before putting it in as the 2nd SATA drive. It turned out that Disk Utility fails to format the 2nd drive if it happens to be the original drive. We had to undo the entire setup and take the "Mechanical HD" out and use a USB 2 SATA cable to format it and then redo the entire process. It worked and the second mini upgrade took less than 30 minutes!
Mijn advies
If you are doing the same thing -- at least trying to upgrade a Mac Mini to Dual HD -- remember the following:
1. Use SuperDuper to create a disk image of your original drive onto another one and boot your system from the copy to make sure it works. Copy the image using SuperDuper to your new boot disk (in our case the SSD)
2. Make sure disk you wish to make the 2nd drive (on 2nd SATA bus) is already formatted. In our case this was the big issue. We were using the original "Mechanical HD" as the second drive and did not pre-format it before putting it inside the empty space for 2nd drive. So MAKE SURE YOU FORMAT YOUR 2ND DRIVE IF IT IS THE ORIGINAL HARD DISK. OF COURSE SAVE YOUR DATA FIRST TO SOMEWHERE ELSE!!
3. We had 1-2 left over screws as we did not keep track of them as we should have. So if you really want to be perfect, make sure you get a piece of paper and draw out screw locations and place the right screws on your paper to keep track of them
4. The power connector does not twist as easily as seen on videos so be aware of it
5. Last but not least, use a anti-static mat connected to a metal ground (we connected ours to Thunderbolt display's metal base to be safe from static electricity danger.
Hope you have a great success!
Cheers!
Kabir
0 opmerkingen