Why play one Blizzard game when you can play them all?
Mijn probleem
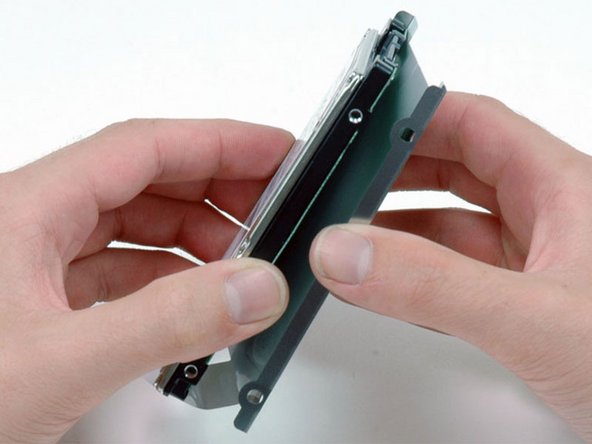
Note: This is for a mid-2012 Macbook pro 15" unibody, not a CoreDuo. The interface is wrong.
As a lifelong devotee of Blizzard games, I found myself stymied when I wanted to play all of them (and I do mean all, even emulated versions) on one 2012 Macbook Pro. Their combined space requirements are over 80GB, which on a 120GB SSD might as well be Over 9000!!! Add in a good sized music collection and I was left with all of 10GB of space unless I was constantly uninstalling and reinstalling the games.
Buying a new Macbook is silly when there have not been $3,000 worth of improvements from 2012 to 2016.
Mijn oplossing
The hardest part of the repair was getting the teeny tiny bits out of the iFixit tool box. They are really jammed in there. I eventually needed needle nose pliers to remove them for use. So be warned.
Preparation made things much easier. I cleaned an area to remove dirt and dust, as well as to make space for the laptop, components, tools, and another laptop. I used four 8oz glasses to hold screws, since they are heavy enough not to fall over and short enough that you can remove the screws easily. When I swapped from phillips head to torq, I put the bit in with the last screw set I removed.
I had the instructions up on another laptop and they were incredibly clear. The entire removal and replacement took maybe 20 minutes. It took me a few extra minutes to replace the last screws because the base was dented at the corner.
The longer part was cloning the external drive to the new drive using Carbon Copy Cloner. That took about an hour. However, the original drive stopped responding early in the process, maybe due to overheating in silicone hard drive adaptor.
So far, so good.
Mijn advies
Decide on your cloning software ahead of time and load it onto your drive before you remove it. Use a larger, heavy set of screw containers so you don't knock your screws on the floor. Don't use your teeth to try to remove the bits from the box; pliers work better.
0 opmerkingen