


Mijn probleem
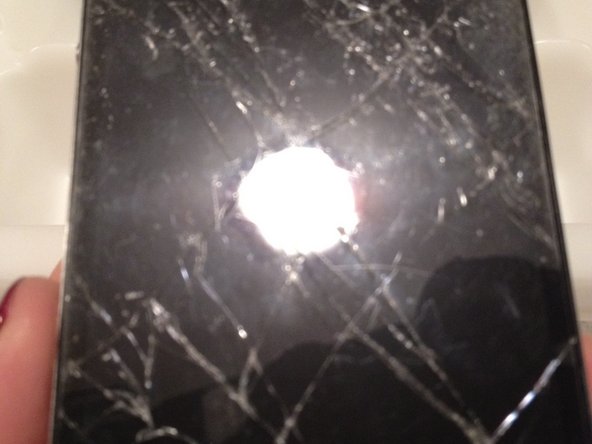
I dropped my iPhone4 while hailing a cab. It fell out of my pocket and onto the sidewalk. The entire front display was shattered.
Mijn oplossing
I watched the iphone4 display repair instruction video on Ifixit.com:
iPhone 4 Display Assembly Replacement
I then went to the Apple store and found out from a 'genius' that I would have to upgrade my phone and extend my contract to 2yrs. After hearing this, I decided to go ahead and order the display along with tools from Ifixit.com.
Mijn advies
If you are going to try this repair on your own, I highly suggest using something to keep track of all of the little screws and pieces. I used an ice tray (suggested by another person on the site). Use two ice trays or order the tray Ifixit sells. I would also recommend buying the Pro Tech Base Toolkit. I mostly used the 1.5 flathead screwdriver attachment when it was suggested to use the phillips head 1.5. It is useful to have different options found in the kit. The prying tool is necessary. In fact, I used both included in the kit. I also used the spudger, pointy tweezers, and a couple of other tools in the kit.
What they do not tell you in the step by step repair instructions and video, is that if you have shattered the glass, there will be lots of pieces to remove when you get to the step of removing the damaged front display. This is the last step before putting the new display in place. It took me a while to remove all of the little pieces and I would recommend wearing safety glasses!
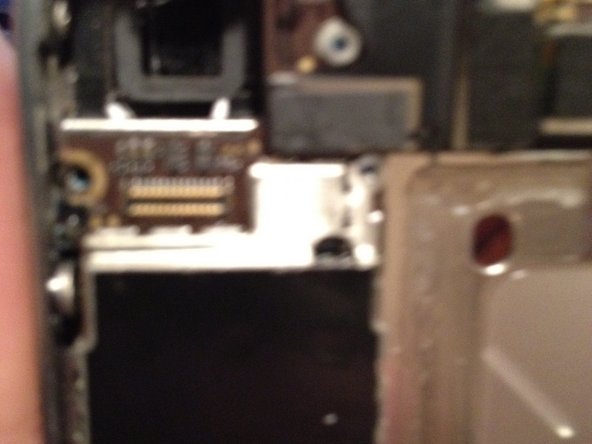
Putting the phone back together did not take very long, although the screw right by headphone jack took a while because it is at an odd angle. The flexible screwdriver in the tool kit really came in handy for this. I dropped the screw a couple of times and this increased my total repair time to 3hrs. That and removing the glass shards!
Be sure to keep track of the little rubber piece that lies under where the digitizer and LCD cables fold over the logic board. It will fall out when you remove the logic board. Also be careful when removing the battery. I tore a little piece of the outer covering close to the battery connector. It ended up to be fine, but Apple does add extra adhesive to make it difficult to remove! The pry tool really helps here.
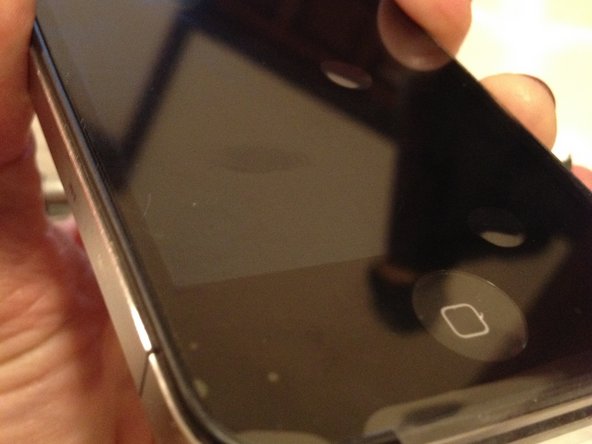
Overall, I found the repair to be straightforward when following the step by step process. With the right tools and patience, one should not have any issues.
0 opmerkingen