Ga door naar hoofdinhoud

why! W670SZQ1 Replacing the LCD screen

Wat je nodig hebt

  1. why! W670SZQ1 Replacing the LCD screen, The Batteries: stap 1, afbeelding 1 van 3 why! W670SZQ1 Replacing the LCD screen, The Batteries: stap 1, afbeelding 2 van 3 why! W670SZQ1 Replacing the LCD screen, The Batteries: stap 1, afbeelding 3 van 3
    • Unlock the lock latch on the left.

    • Unlock the lock latch on the right.

    • Remove the battery while holding the lock latch unlocked.

  2. why! W670SZQ1 Replacing the LCD screen, LCD screen: stap 2, afbeelding 1 van 3 why! W670SZQ1 Replacing the LCD screen, LCD screen: stap 2, afbeelding 2 van 3 why! W670SZQ1 Replacing the LCD screen, LCD screen: stap 2, afbeelding 3 van 3
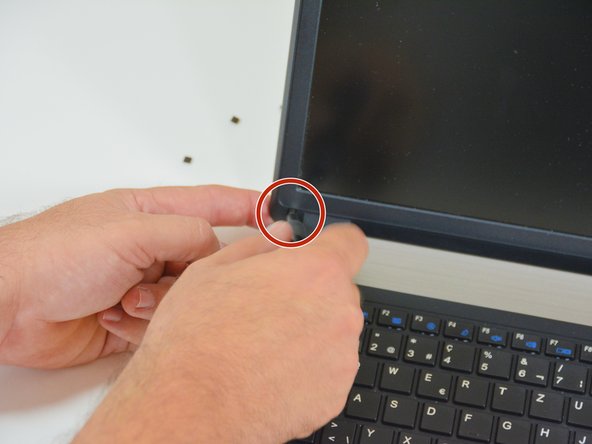
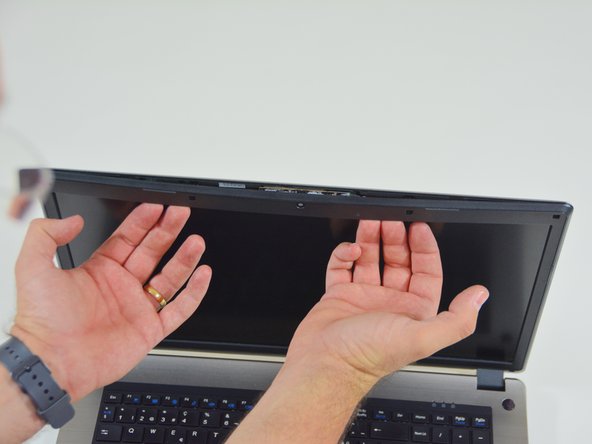
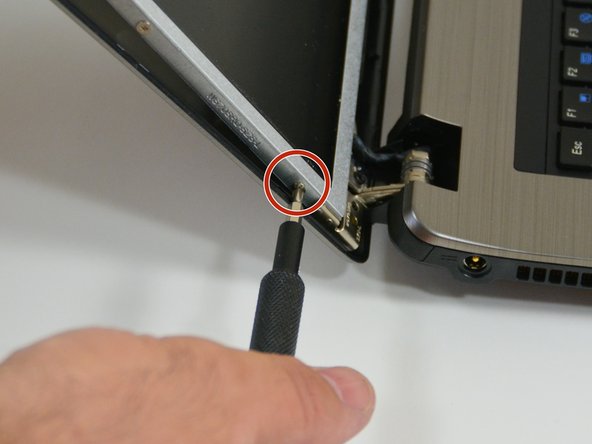
    • Start by locating the two screw caps on the left side of the screen.

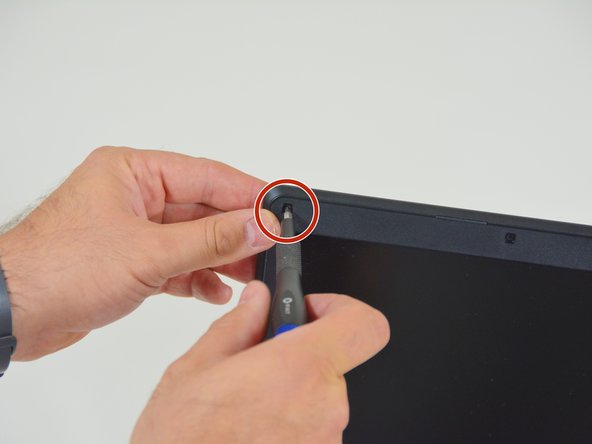
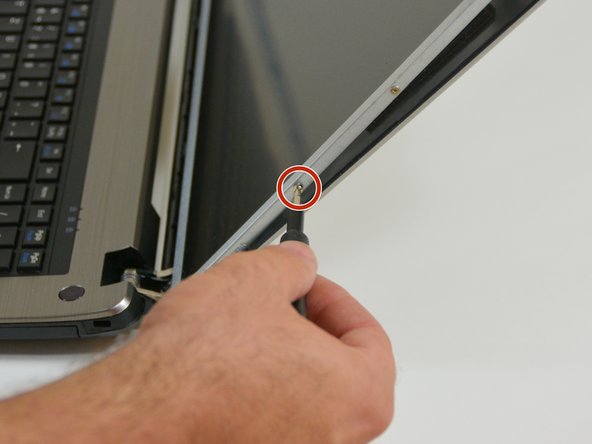
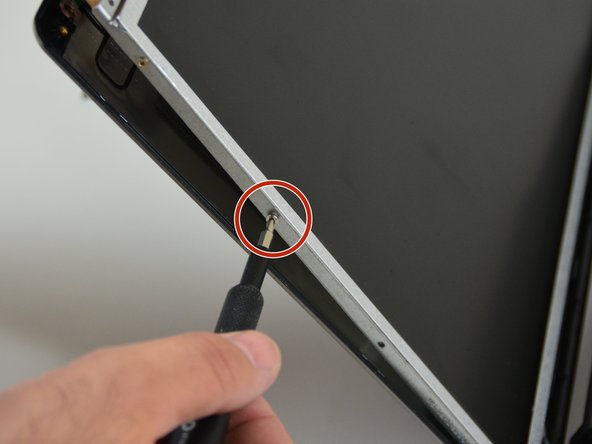
    • Remove the lower screw cover.

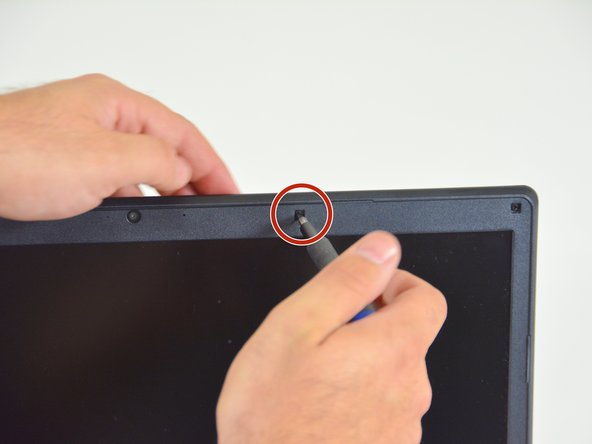
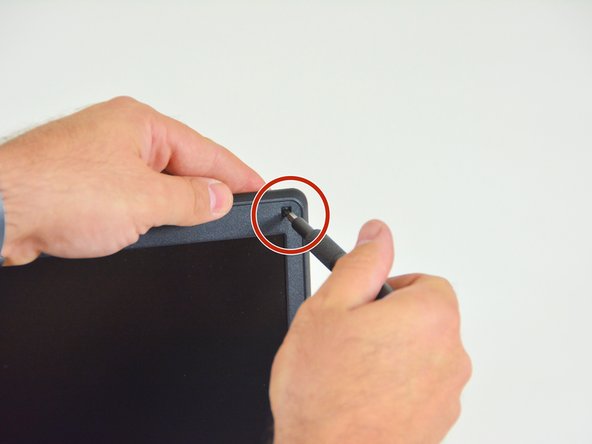
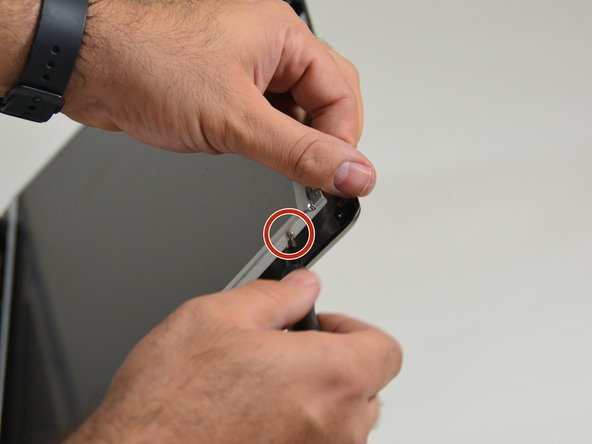
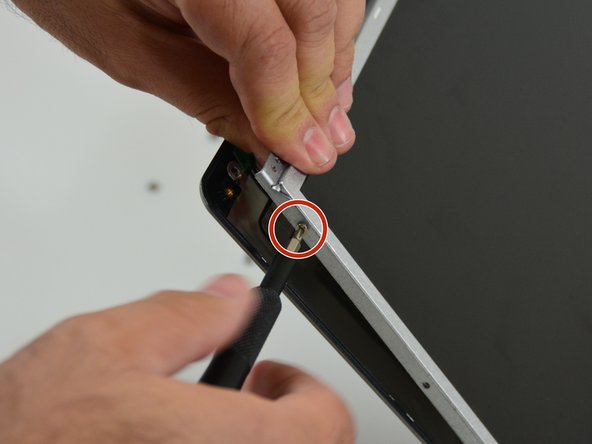
    • Then the top screw cover.

  3. why! W670SZQ1 Replacing the LCD screen: stap 3, afbeelding 1 van 3 why! W670SZQ1 Replacing the LCD screen: stap 3, afbeelding 2 van 3 why! W670SZQ1 Replacing the LCD screen: stap 3, afbeelding 3 van 3
    • Locate and then remove the first center screw on the top of the screen frame.

    • Then the second central cap on the top of the screen frame.

    • Then locate and remove the screw cap on the upper right side of the screen frame.

  4. why! W670SZQ1 Replacing the LCD screen: stap 4, afbeelding 1 van 3 why! W670SZQ1 Replacing the LCD screen: stap 4, afbeelding 2 van 3 why! W670SZQ1 Replacing the LCD screen: stap 4, afbeelding 3 van 3
    • Then finally the bottom right screw cap of the screen frame.

    • Then unscrew the screws behind the screw caps, starting with the one at the bottom left of the frame.

    • Then at the top left.

  5. why! W670SZQ1 Replacing the LCD screen: stap 5, afbeelding 1 van 3 why! W670SZQ1 Replacing the LCD screen: stap 5, afbeelding 2 van 3 why! W670SZQ1 Replacing the LCD screen: stap 5, afbeelding 3 van 3
    • Then the first central screw on the top edge of the frame.

    • Then the second central screw on the top edge of the frame.

    • Then the one in the upper right corner of the frame.

  6. why! W670SZQ1 Replacing the LCD screen: stap 6, afbeelding 1 van 3 why! W670SZQ1 Replacing the LCD screen: stap 6, afbeelding 2 van 3 why! W670SZQ1 Replacing the LCD screen: stap 6, afbeelding 3 van 3
    • And finally the one on the lower right side of the frame.

    • Then gently use your nails.

    • To remove the frame from the LCD screen.

  7. why! W670SZQ1 Replacing the LCD screen: stap 7, afbeelding 1 van 3 why! W670SZQ1 Replacing the LCD screen: stap 7, afbeelding 2 van 3 why! W670SZQ1 Replacing the LCD screen: stap 7, afbeelding 3 van 3
    • Unscrew the screws on the front of the LCD screen.

    • Next, unscrew the screws on the right side of the LCD screen, starting with the first one.

    • Then the second.

  8. why! W670SZQ1 Replacing the LCD screen: stap 8, afbeelding 1 van 3 why! W670SZQ1 Replacing the LCD screen: stap 8, afbeelding 2 van 3 why! W670SZQ1 Replacing the LCD screen: stap 8, afbeelding 3 van 3
    • Then the third.

    • And finally the fourth.

    • Repeat these operations then on the left side of the screen starting with the first screw.

  9. why! W670SZQ1 Replacing the LCD screen: stap 9, afbeelding 1 van 3 why! W670SZQ1 Replacing the LCD screen: stap 9, afbeelding 2 van 3 why! W670SZQ1 Replacing the LCD screen: stap 9, afbeelding 3 van 3
    • Then the second.

    • Then the third. .

    • And finally the fourth

  10. why! W670SZQ1 Replacing the LCD screen: stap 10, afbeelding 1 van 3 why! W670SZQ1 Replacing the LCD screen: stap 10, afbeelding 2 van 3 why! W670SZQ1 Replacing the LCD screen: stap 10, afbeelding 3 van 3
    • Then flip the LCD screen.

    • Then appears the connector to which is attached the connection cable of the LCD.

    • Then peel off the tape covering the connector.

  11. why! W670SZQ1 Replacing the LCD screen: stap 11, afbeelding 1 van 3 why! W670SZQ1 Replacing the LCD screen: stap 11, afbeelding 2 van 3 why! W670SZQ1 Replacing the LCD screen: stap 11, afbeelding 3 van 3
    • then remove the cable from its connector.

    • Once the cable is disconnected you can release the LCD screen.

Conclusie

to reassemble your device follow these instructions in reverse order.

Met dank aan deze vertalers:

fr en

100%

irlanda helpt ons de wereld te herstellen! Wil je bijdragen?
Begin met vertalen ›

Felice Suglia

Lid sinds: 06/15/13

31.100 Reputatie

264 handleidingen geschreven

0 opmerkingen

Voeg opmerking toe

Weergavestatistieken:

Afgelopen 24 uren: 3

Afgelopen 7 dagen: 3

Afgelopen 30 dagen: 10

Altijd: 154