Ga door naar hoofdinhoud

Desmontaje de iPhone 7

Stap 6
iPhone 7 Teardown: stap 0, afbeelding 1 van 3 iPhone 7 Teardown: stap 0, afbeelding 2 van 3 iPhone 7 Teardown: stap 0, afbeelding 3 van 3
  • After briefly fighting through some sticky adhesives to open the case, we're faced with another set of repair obstacles—teeny tiny tri-point screws securing the cable bracket, just like in the 7's big brother, the 7 Plus.

  • Worried about where to get such an obscure driver for your iPhone's eventual battery swap? We've got you covered, and have already included it in our 64-bit toolkit.

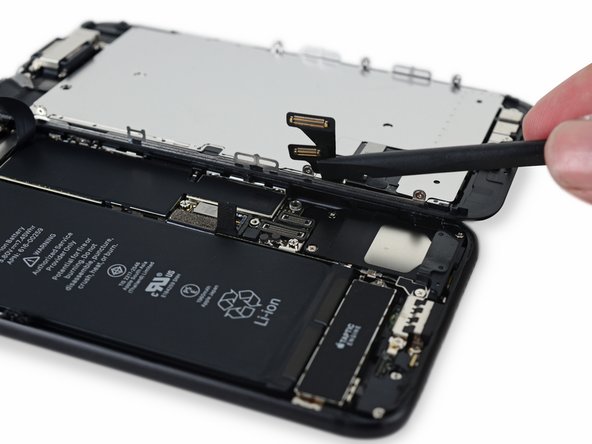
  • With the front panel and strings of sticky glue out of the way, we whip out our trusty spudger and disconnect the battery. Next, it's time to set our spudger to the task of popping off display connectors.

Después de luchar a través de un poco de adhesivos para abrir la carcasa, nos enfrentamos con otro tipo de obstáculos a la reparación — pequeños tornillos tri-punto que aseguran el conector del cable a la placa, justo como el hermano mayor del 7, el 7 Plus.

Preocupado buscando un destornillador tan obscuro para el cambio eventual de batería de tu iPhone? Te cubrimos las espaldas, y ya lo hemos incluido en nuestro juego de destornillador con 64 puntas.

Con el panel frontal y las tiras adhesivas fuera del camino, vamos a sacar nuestro confiable spudger y desconectar la batería. Luego, es hora de darnos la tarea de quitar los conectores de la pantalla usando nuestro spudger.

Je bijdragen zijn gelicentieerd onder de open source Creative Commons-licentie.