Ga door naar hoofdinhoud

iPhone 3G Front Panel Replacement

Waarschuwing: Je bewerkt een vooraf vereiste handleiding. Alle wijzigingen die je hierin maakt, beïnvloeden de handleiding die deze stap bevat.

Engels
Nederlands
Stap 2
iPhone 3G Front Panel Replacement: stap 0, afbeelding 1 van 3 iPhone 3G Front Panel Replacement: stap 0, afbeelding 2 van 3 iPhone 3G Front Panel Replacement: stap 0, afbeelding 3 van 3
  • Be careful when using a heat gun in the forthcoming steps. Use it at a very low heat setting, and make sure not to melt the touch screen plastics or Home button. The metal frame tends to conduct heat very well so try to avoid touching these hot areas.

  • If the glass has shattered at the top or bottom be especially patient and gentle when removing fragments. In extreme cases you may have to pick off any glass shards that remain glued to the plastics.

  • Using a heat gun or hairdryer, heat the top left area of the touch screen.

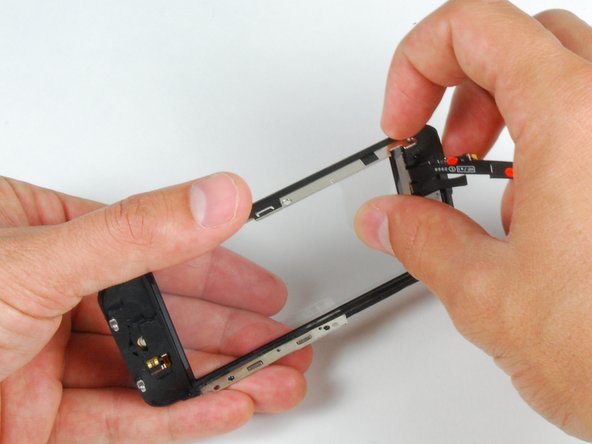
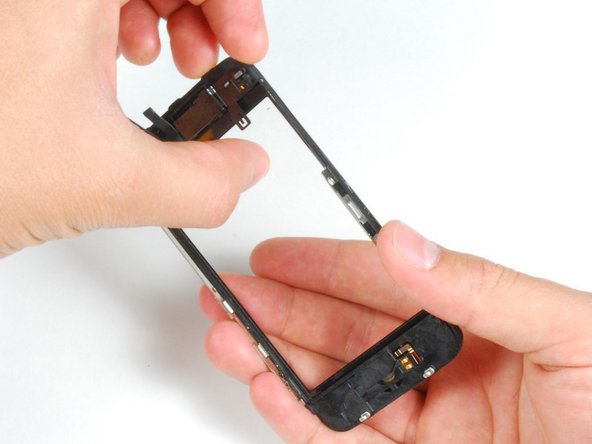
  • Use your fingernails to slowly lift up the left corner. The touch screen plastics are held to the touch screen with adhesive. It may take some work to free the corners.

  • If it seems like too much force is being applied to lift the touch screen plastics, try using the heat gun again.

  • Heat and repeat for the right side.

Vertaling hier toevoegen

Vertaling hier toevoegen

Vertaling hier toevoegen

Vertaling hier toevoegen

Vertaling hier toevoegen

Vertaling hier toevoegen

Je bijdragen zijn gelicentieerd onder de open source Creative Commons-licentie.