Stap 9 vertalen
Stap 9


-
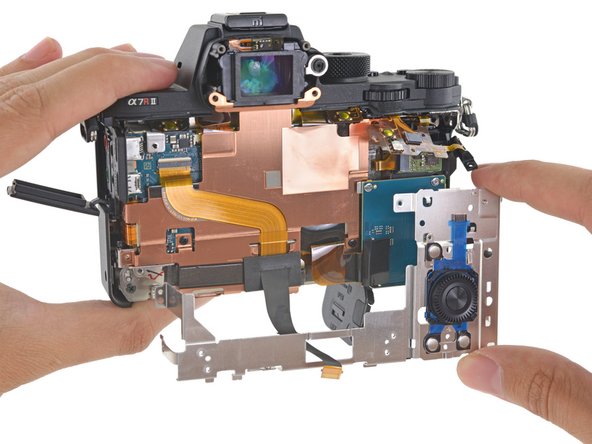
Now that the viewfinder frame and LCD panel have been removed, the rear housing pops right off.
-
All of the button's switches are mounted to internal components instead of the frame—so there aren't any delicate cables to worry about.
-
After disconnecting a single cable, we tease out that very mounting frame and the rear button assembly attached to it.
-
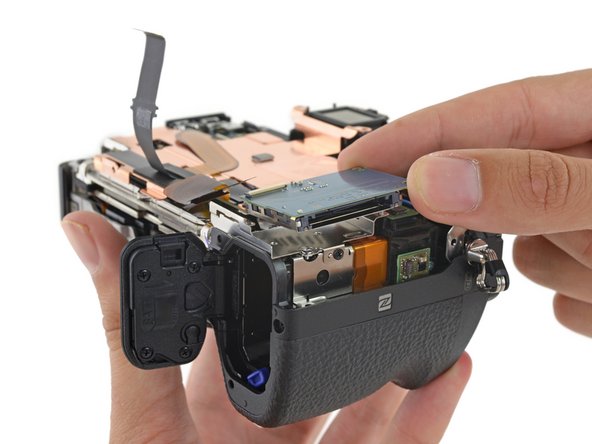
Next off is the multi-format card reader. It comes quietly.
-
We're secretly hoping this camera plays Nintendo DS games.
Je bijdragen zijn gelicentieerd onder de open source Creative Commons-licentie.