Waarschuwing: Je bewerkt nu een vooraf vereiste handleiding van de handleiding die je net bekeek. Alle wijzigingen die je hierin maakt, beïnvloeden alle 18 handleidingen die deze stap bevatten.
Stap 1 vertalen
Stap 1


-
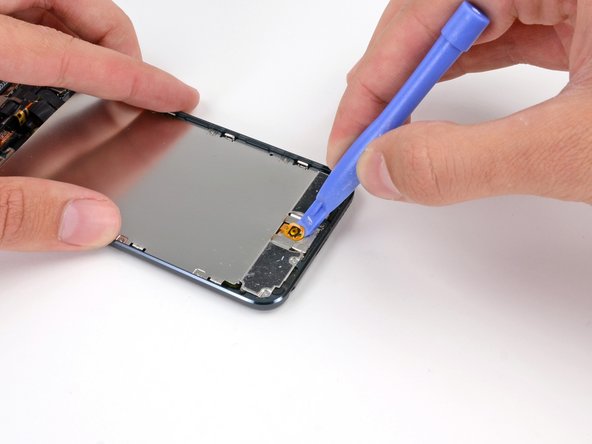
If your iPod has a black home button assembly rather than the orange one shown here, you can skip this step. The button is not attached to the LCD plate and does not need to be removed to complete the repair.
-
Use a plastic opening tool to pry the home button switch up from the LCD plate.
-
It may be necessary to use a heat gun or hair dryer to soften the adhesive on the back of the home button. Always use a low heat setting.
Je bijdragen zijn gelicentieerd onder de open source Creative Commons-licentie.