Ga door naar hoofdinhoud

MacBook Air 11" Late 2010 Display Assembly Replacement

Waarschuwing: Je bewerkt een vooraf vereiste handleiding. Alle wijzigingen die je hierin maakt, beïnvloeden alle 2 handleidingen die deze stap bevatten.

Engels
Nederlands

Stap 7 vertalen

Stap 7
MacBook Air 11" Late 2010 Display Assembly Replacement: stap 0, afbeelding 1 van 2 MacBook Air 11" Late 2010 Display Assembly Replacement: stap 0, afbeelding 2 van 2
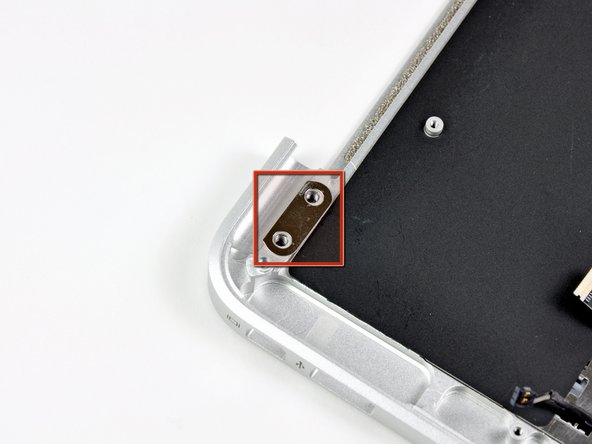
  • Push the upper case slightly toward the display assembly, then rotate it away from the front of the display assembly.

  • Once the two display hinges have cleared the upper case, remove the display and set it aside.

  • Keep track of the shims under each of the two display brackets. When installing the display, be sure a shim is installed under each display bracket (against the upper case) as shown in the third picture.

Vertaling hier toevoegen

Vertaling hier toevoegen

Vertaling hier toevoegen

Je bijdragen zijn gelicentieerd onder de open source Creative Commons-licentie.