Ga door naar hoofdinhoud

iPad Air Wi-Fi Logic Board Replacement

Waarschuwing: Je bewerkt een vooraf vereiste handleiding. Alle wijzigingen die je hierin maakt, beïnvloeden alle 8 handleidingen die deze stap bevatten.

Engels
Nederlands
Stap 22
iPad Air Wi-Fi Logic Board Replacement: stap 0, afbeelding 1 van 3 iPad Air Wi-Fi Logic Board Replacement: stap 0, afbeelding 2 van 3 iPad Air Wi-Fi Logic Board Replacement: stap 0, afbeelding 3 van 3
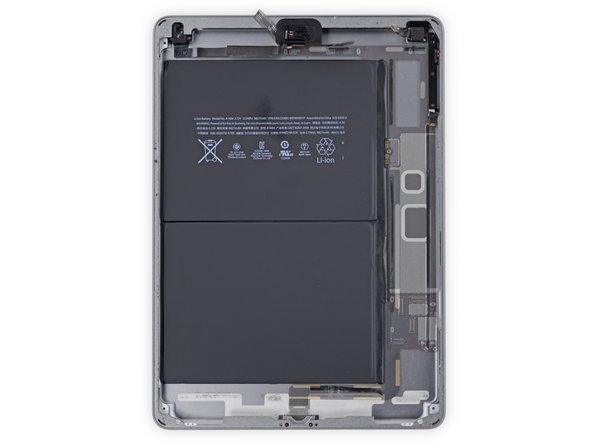
  • In the next steps, you will use an iOpener to apply heat to the rear case of the iPad to soften adhesive holding the logic board in place.

  • As you reheat and place the iOpener in each of the indicated locations, leave it in place for at least a minute to soften the adhesive through the rear case.

  • The adhesive is in the form of six pieces of black foam tape—refer to this step as you work at heating and prying to keep track of where each piece is located.

Vertaling hier toevoegen

Vertaling hier toevoegen

Vertaling hier toevoegen

Je bijdragen zijn gelicentieerd onder de open source Creative Commons-licentie.