Ga door naar hoofdinhoud

Jura Capresso IMPRESSA J5 afvoerventiel demontage

Engels
Nederlands
Stap 5
Jura Capresso IMPRESSA J5 Drainage Valve disassembly: stap 0, afbeelding 1 van 3 Jura Capresso IMPRESSA J5 Drainage Valve disassembly: stap 0, afbeelding 2 van 3 Jura Capresso IMPRESSA J5 Drainage Valve disassembly: stap 0, afbeelding 3 van 3
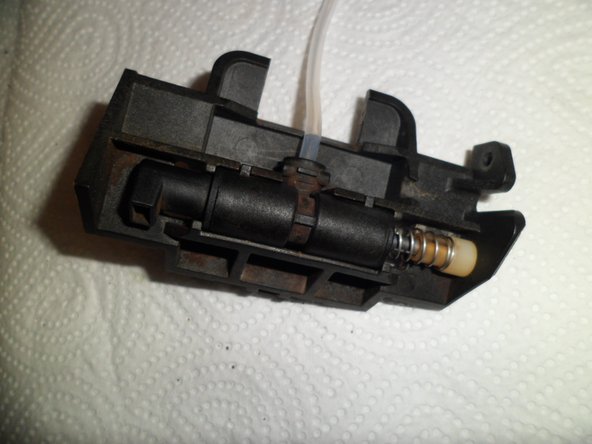
  • The first picture shows the drainage-valve-block from the right side. The white, round part must sit in center of the circle, otherwise it won't close and water will run through it.

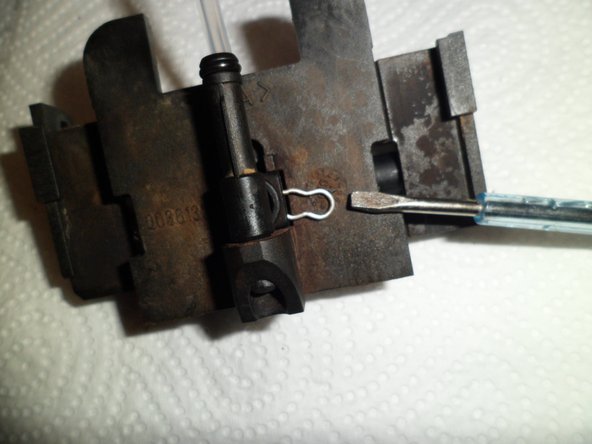
  • Push it sometimes it should move easy.

  • Don't forget the spring-claw to secute the tube from the valve.

  • That's it, now you can replace the drainage valve back in the brew-group of your nice Jura. :)

Op de eerste foto zie je de hele gemonteerde set vanaf de rechterkant. De witte dop moet precies in het gat passen, anders sluit de klep niet goed.

Duw erop en het zou gemakkelijk moeten bewegen.

Vergeet de veerklem niet om de slang van het ventiel te bevestigen.

Dat was het, nu kun je het aftapventiel terugplaatsen in de zetgroep van je koffiemachine.

Je bijdragen zijn gelicentieerd onder de open source Creative Commons-licentie.